
Shirt of Many Colors: Draped in Summer’s Sun

As a person who is deeply sentimental, I’m infatuated with the process of using natural dyes to apply my favorite moments, emotions, and places to fabric, and then literally wearing them on my sleeve. A pair of hand- knit gloves dyed with oak galls and flowers from my favorite farm in Oregon reminds me of my formative farming years, brotherhood, and dream-like summers in the Pacific Northwest. A shirt dyed with an old sig vat of invasive dyer’s woad that was wild-harvested with my sister from the mountains around our hometown is exceptionally personal, and now it serves as a dear friend’s work shirt. A cozy seed-stitch cowl dyed with cabbage scraps pulled from my first successful compost pile reminds me of how far I’ve come as a gardener and farmer. Each piece I’ve dyed for myself is drenched in color and significance.
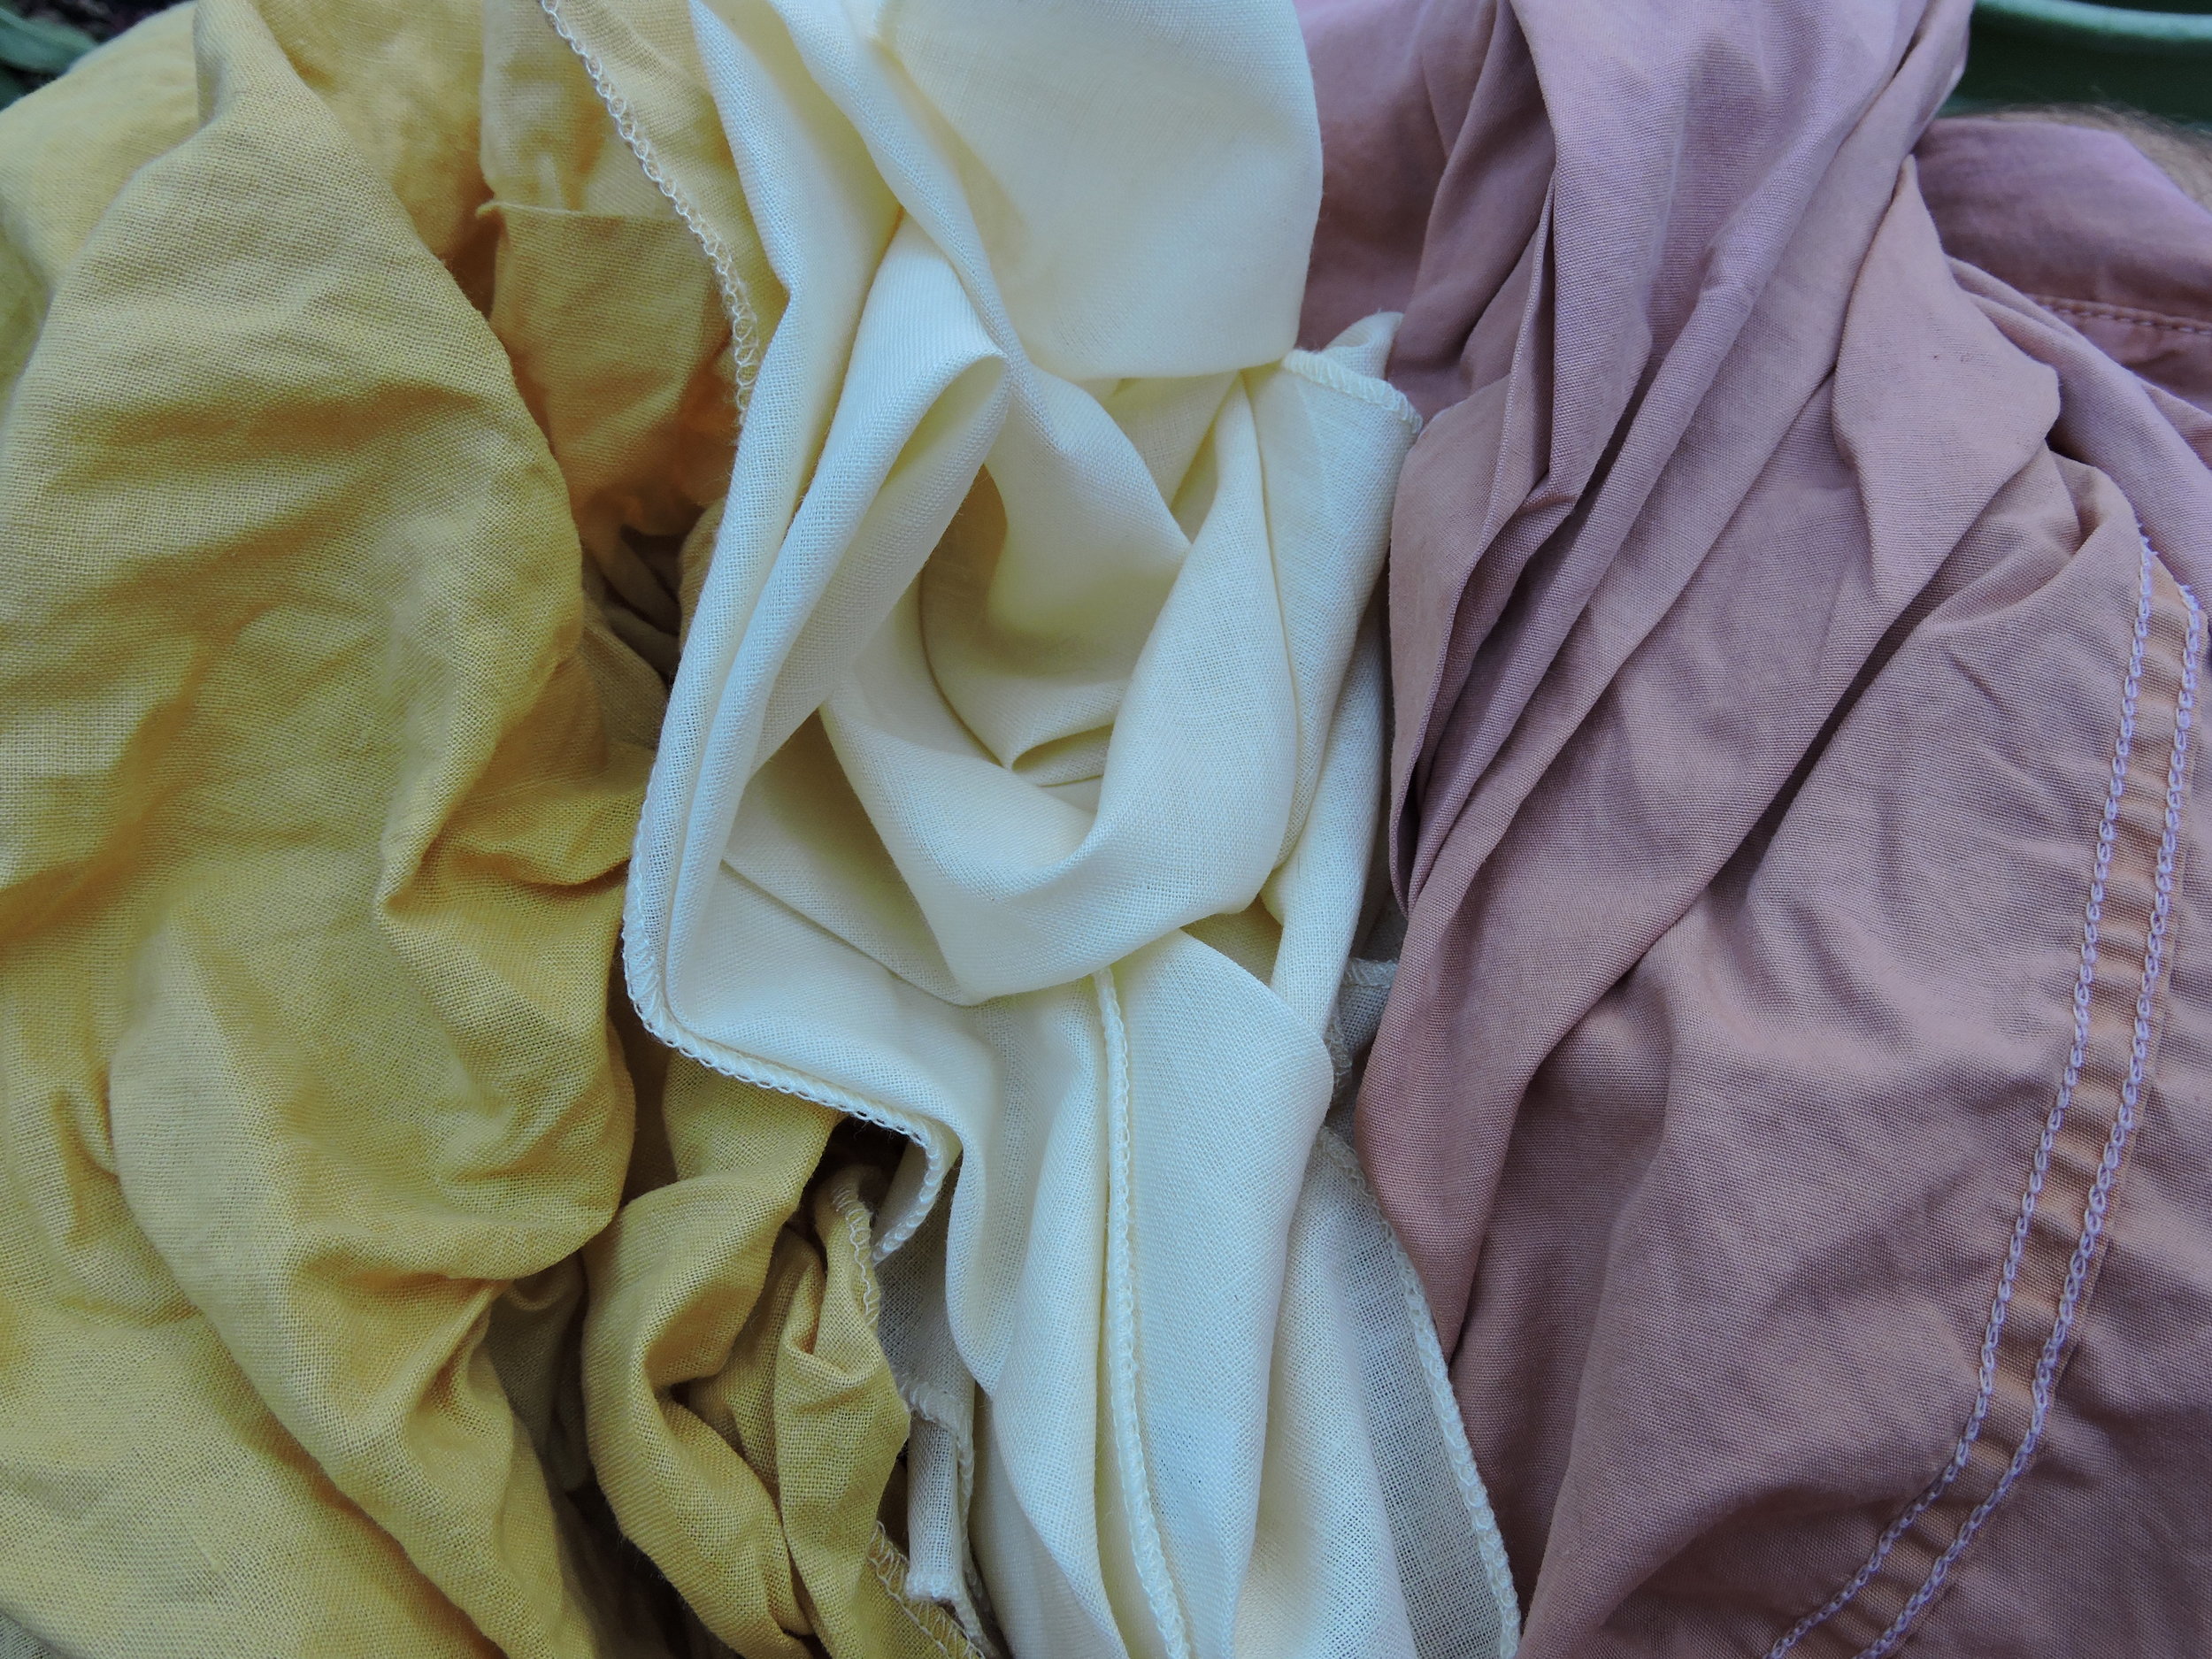
One of my most cherished dye projects from last season was my color morphing harvest shirt. What started as a thrifted white cotton work shirt became an evolving piece of art. As I incrementally imbued my harvest shirt with colors of the seasons, the garment began to feel like a love letter to our little farm. The small rips from getting snagged on hog panels and barbed wire, the sun-bleached patterns highlighting time spent bent over our crops, the color inconsistencies where sweat stains reacted to dye compounds -- these all serve as verses expressing my gratitude and commitment to our seed venture. The above spectrum shows the color transition from over-dyeing my harvest shirt throughout the season (left-to-right): dyer’s chamomile, ‘Shades of Gold’ marigold, cochineal, Japanese indigo, and double black hollyhock. This blog post follows the color transition of this project, with tips and observations about the dye materials used.
Fiber and mordant note: When cellulose fibers in cotton break down from wear, sunlight, and washing, they become more receptive to dyes, which makes a cotton work shirt a perfect canvas for natural dye projects. It’s also a cheap and low risk object to practice on. The older and more damaged the shirt, the more receptive it will be to color. This shirt was mordanted a single time with aluminum acetate (a rate of 6 g of mordant for 100 g of cotton), followed by a wheat bran after-wash. My go-to reference for mordanting is Kristine Vejar’s The Modern Natural Dyer. Remember to wear protection when working with mordants.
Dyer’s Chamomile

Dyer’s chamomile (Cota tinctoria) is one of my favorite dye plants. It is easy to start by direct sowing in late winter or early spring, or transplanting near your last frost date. It quickly perennializes in Utah, and self-seeds readily, which makes it a dependable dye plant in our region. The flowers are beautiful in arrangements, and they attract soldier beetles and ladybugs, among other beneficial insects, to your garden or farm.
While I prefer the deep yellow that it imparts on wool, the gentle yellow it gives to cotton (above) is wonderful for over-dyeing. It also makes a nice crisp yellow when used in contact bundle-dyeing (see below).
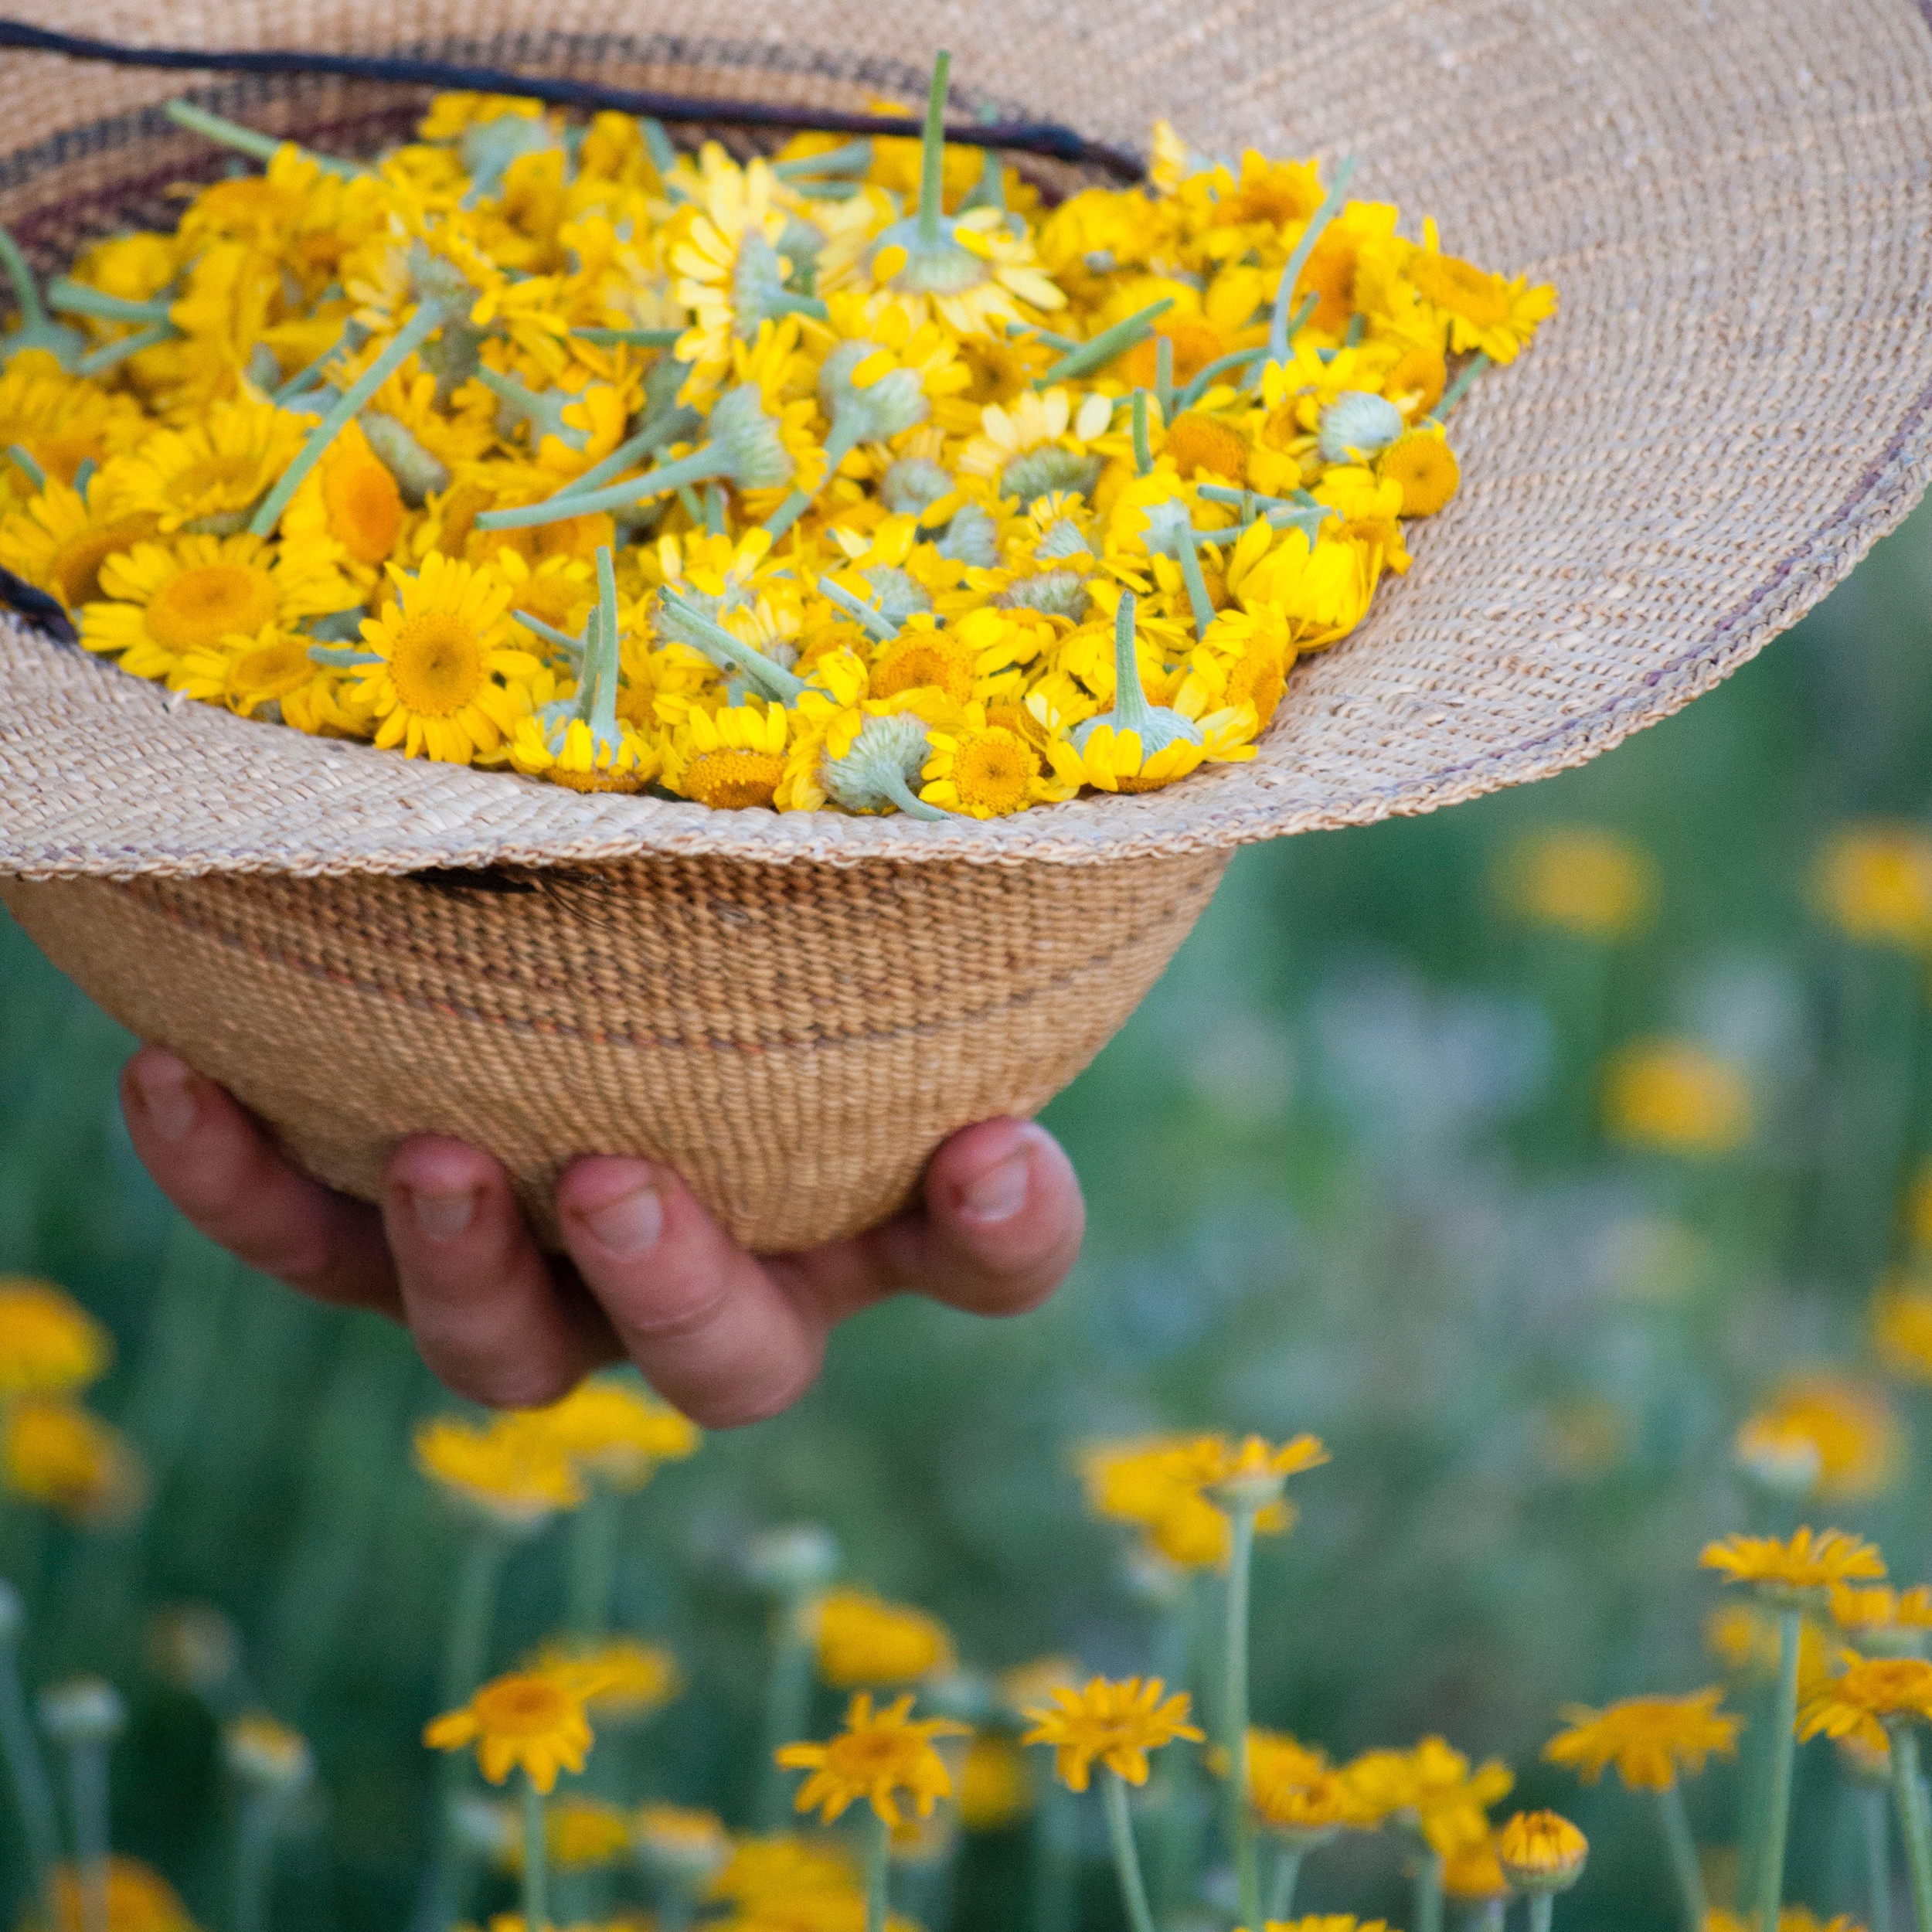
When dyer’s chamomile seeds are started early enough, they are predictably our first dye plant to bloom. Although flower rakes do an excellent job harvesting a large quantity of blooms, I prefer to harvest by hand. There is something so satisfying about putting away dirty tools at the end of the day and getting intimate with thousands of fresh flowers. The stress that builds up from irrigation disasters, pest issues, high desert weather fluctuations, and a multitude of other unavoidable farm issues gets washed away by a wave of yellow blooms.
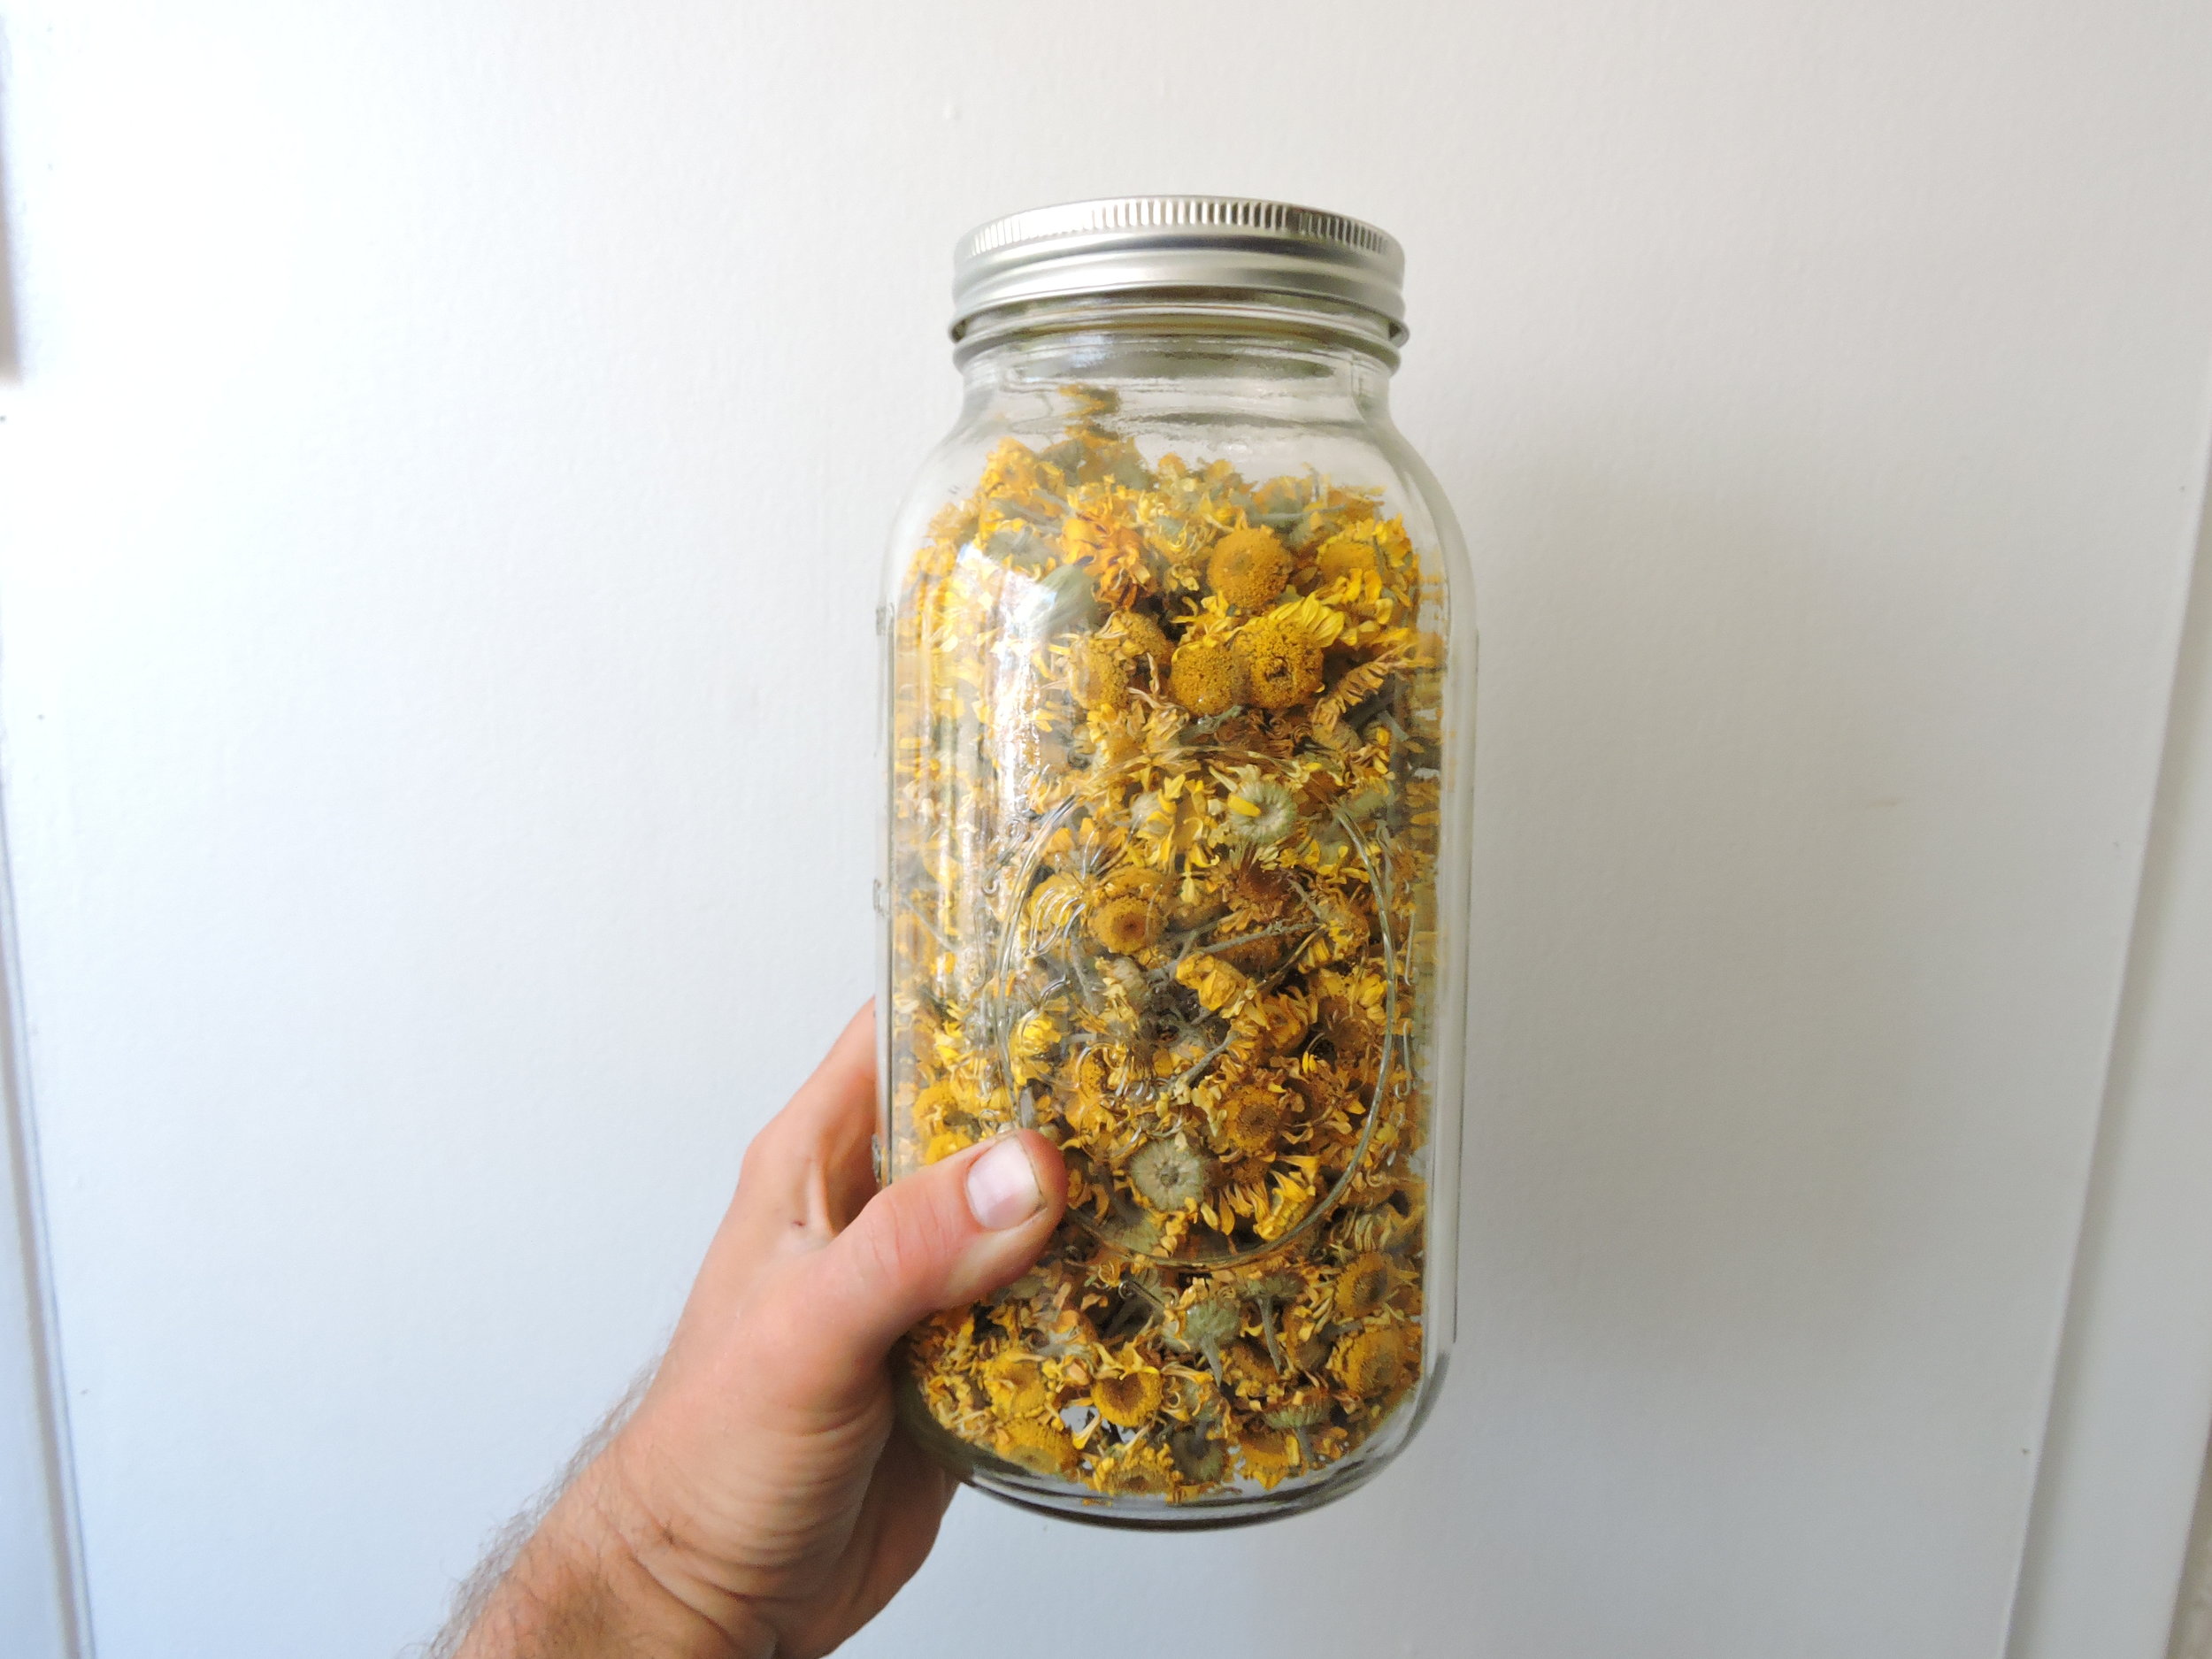
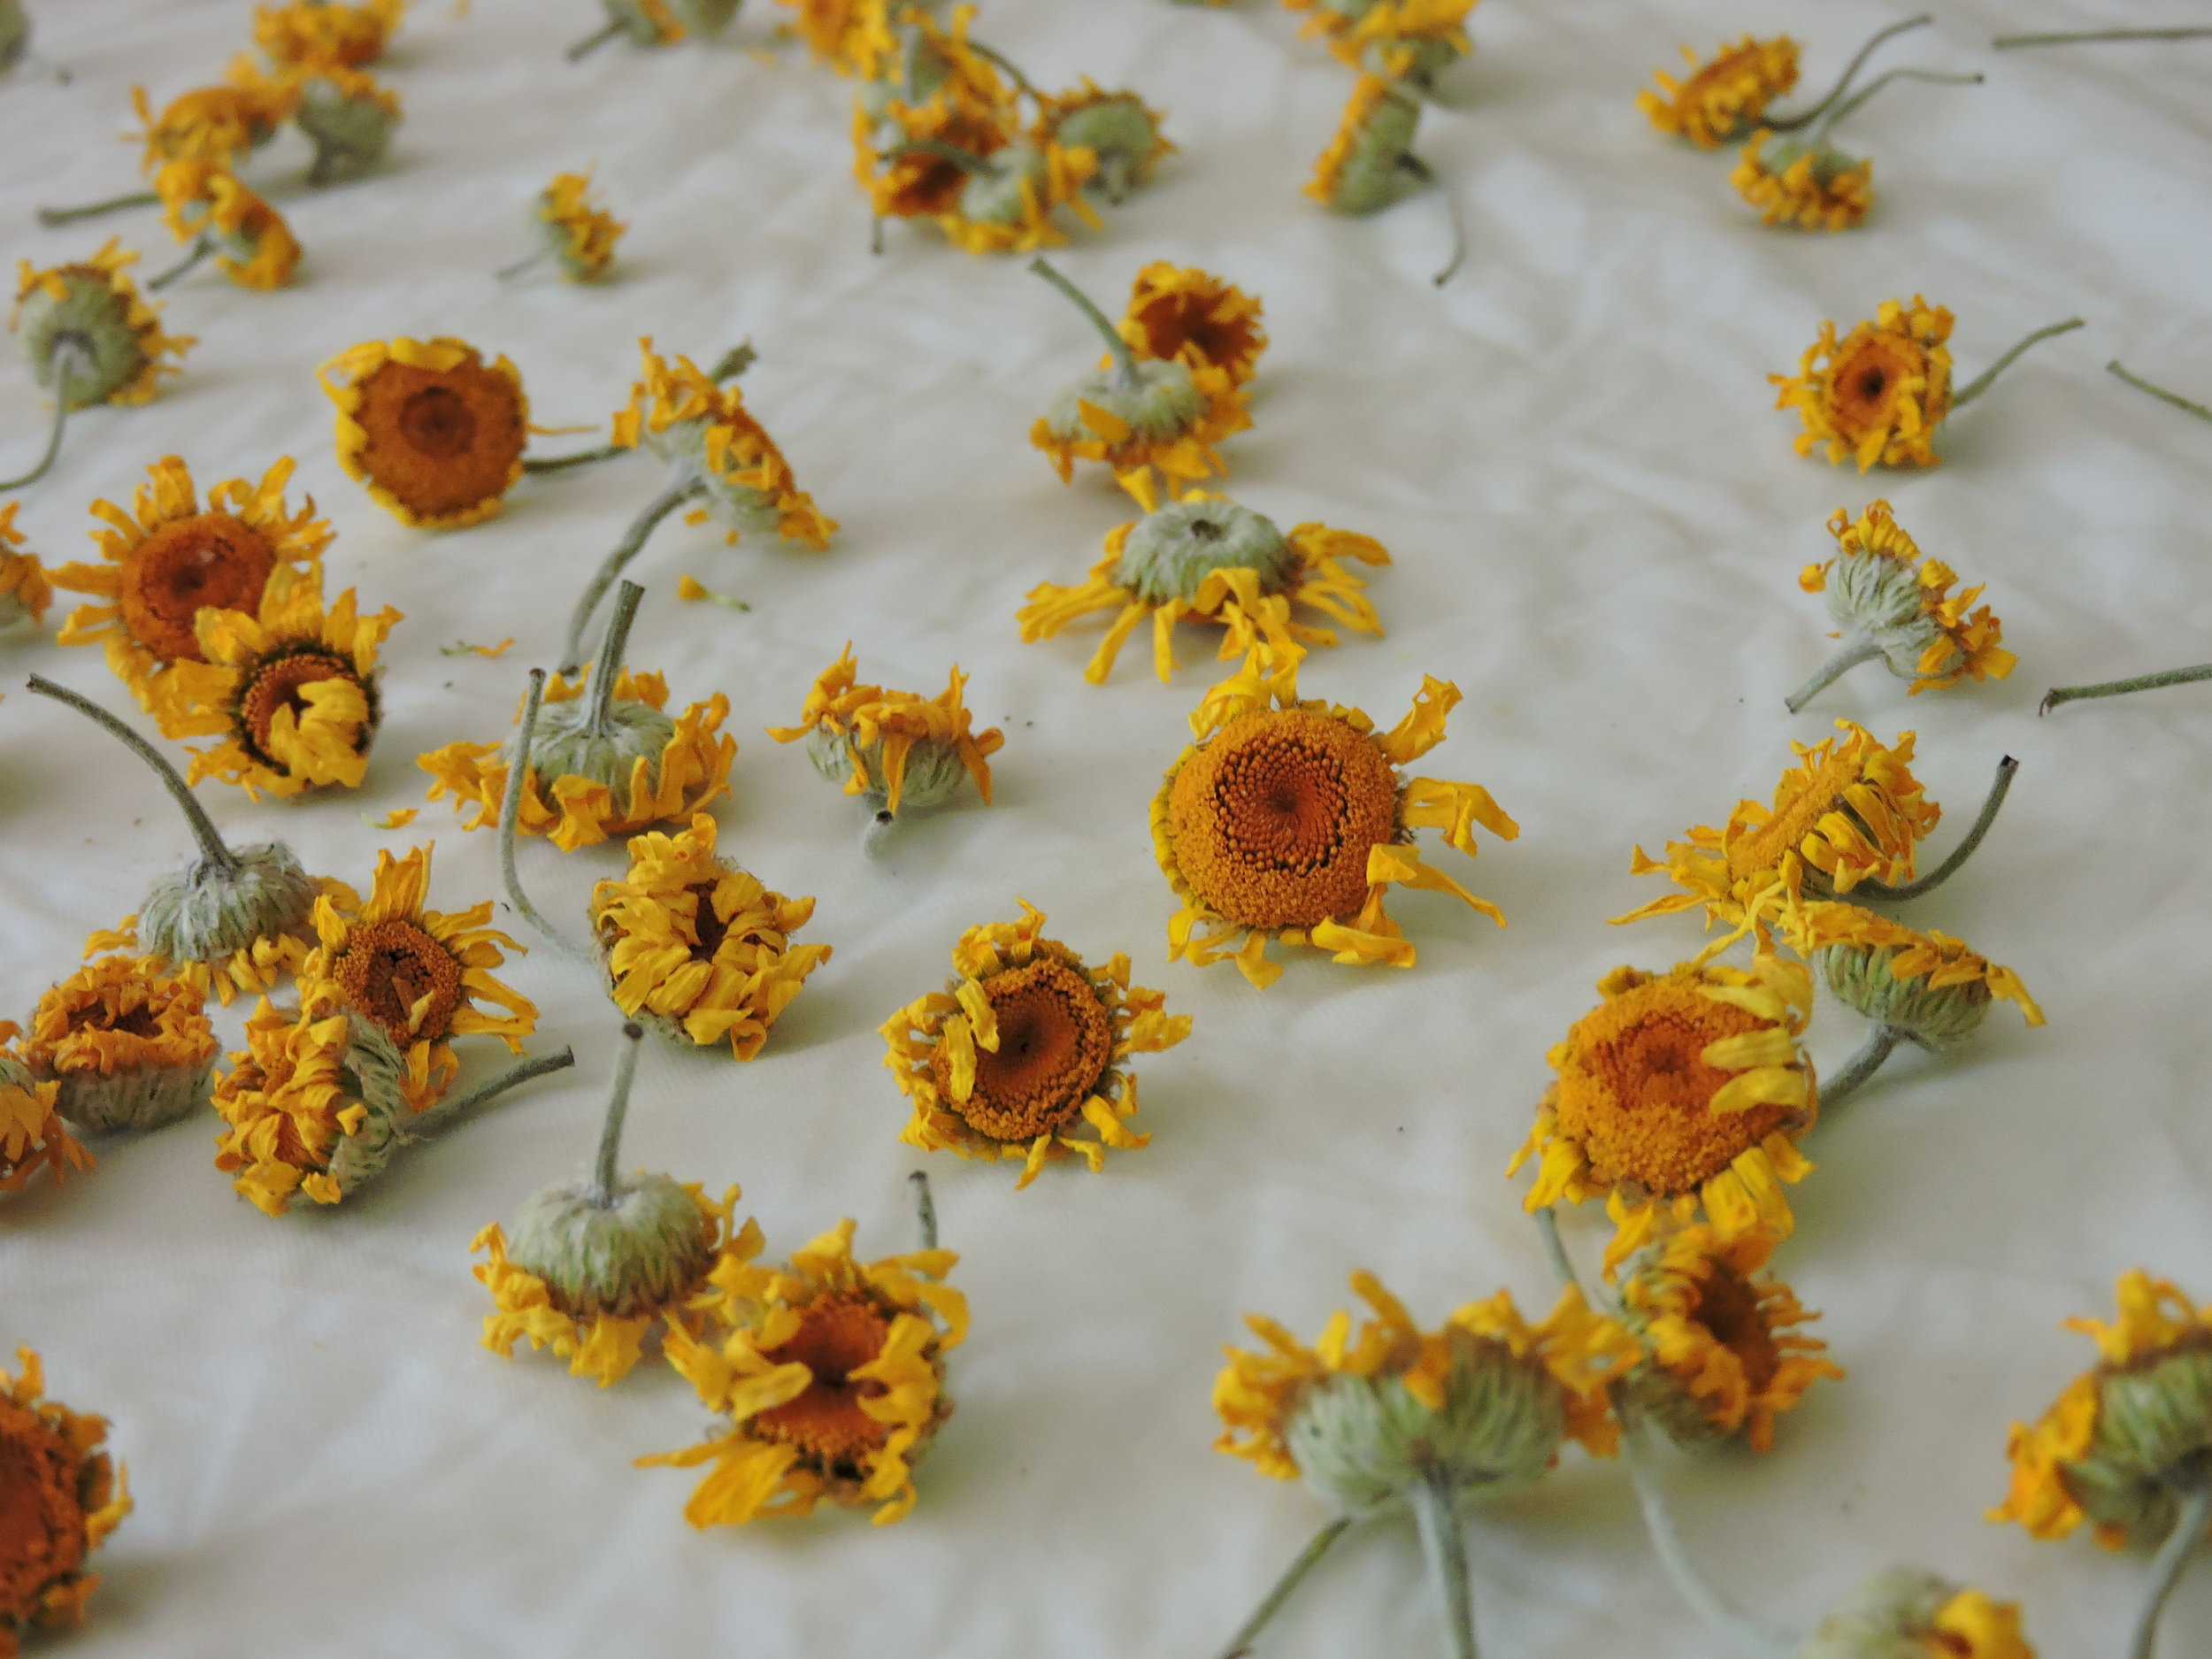
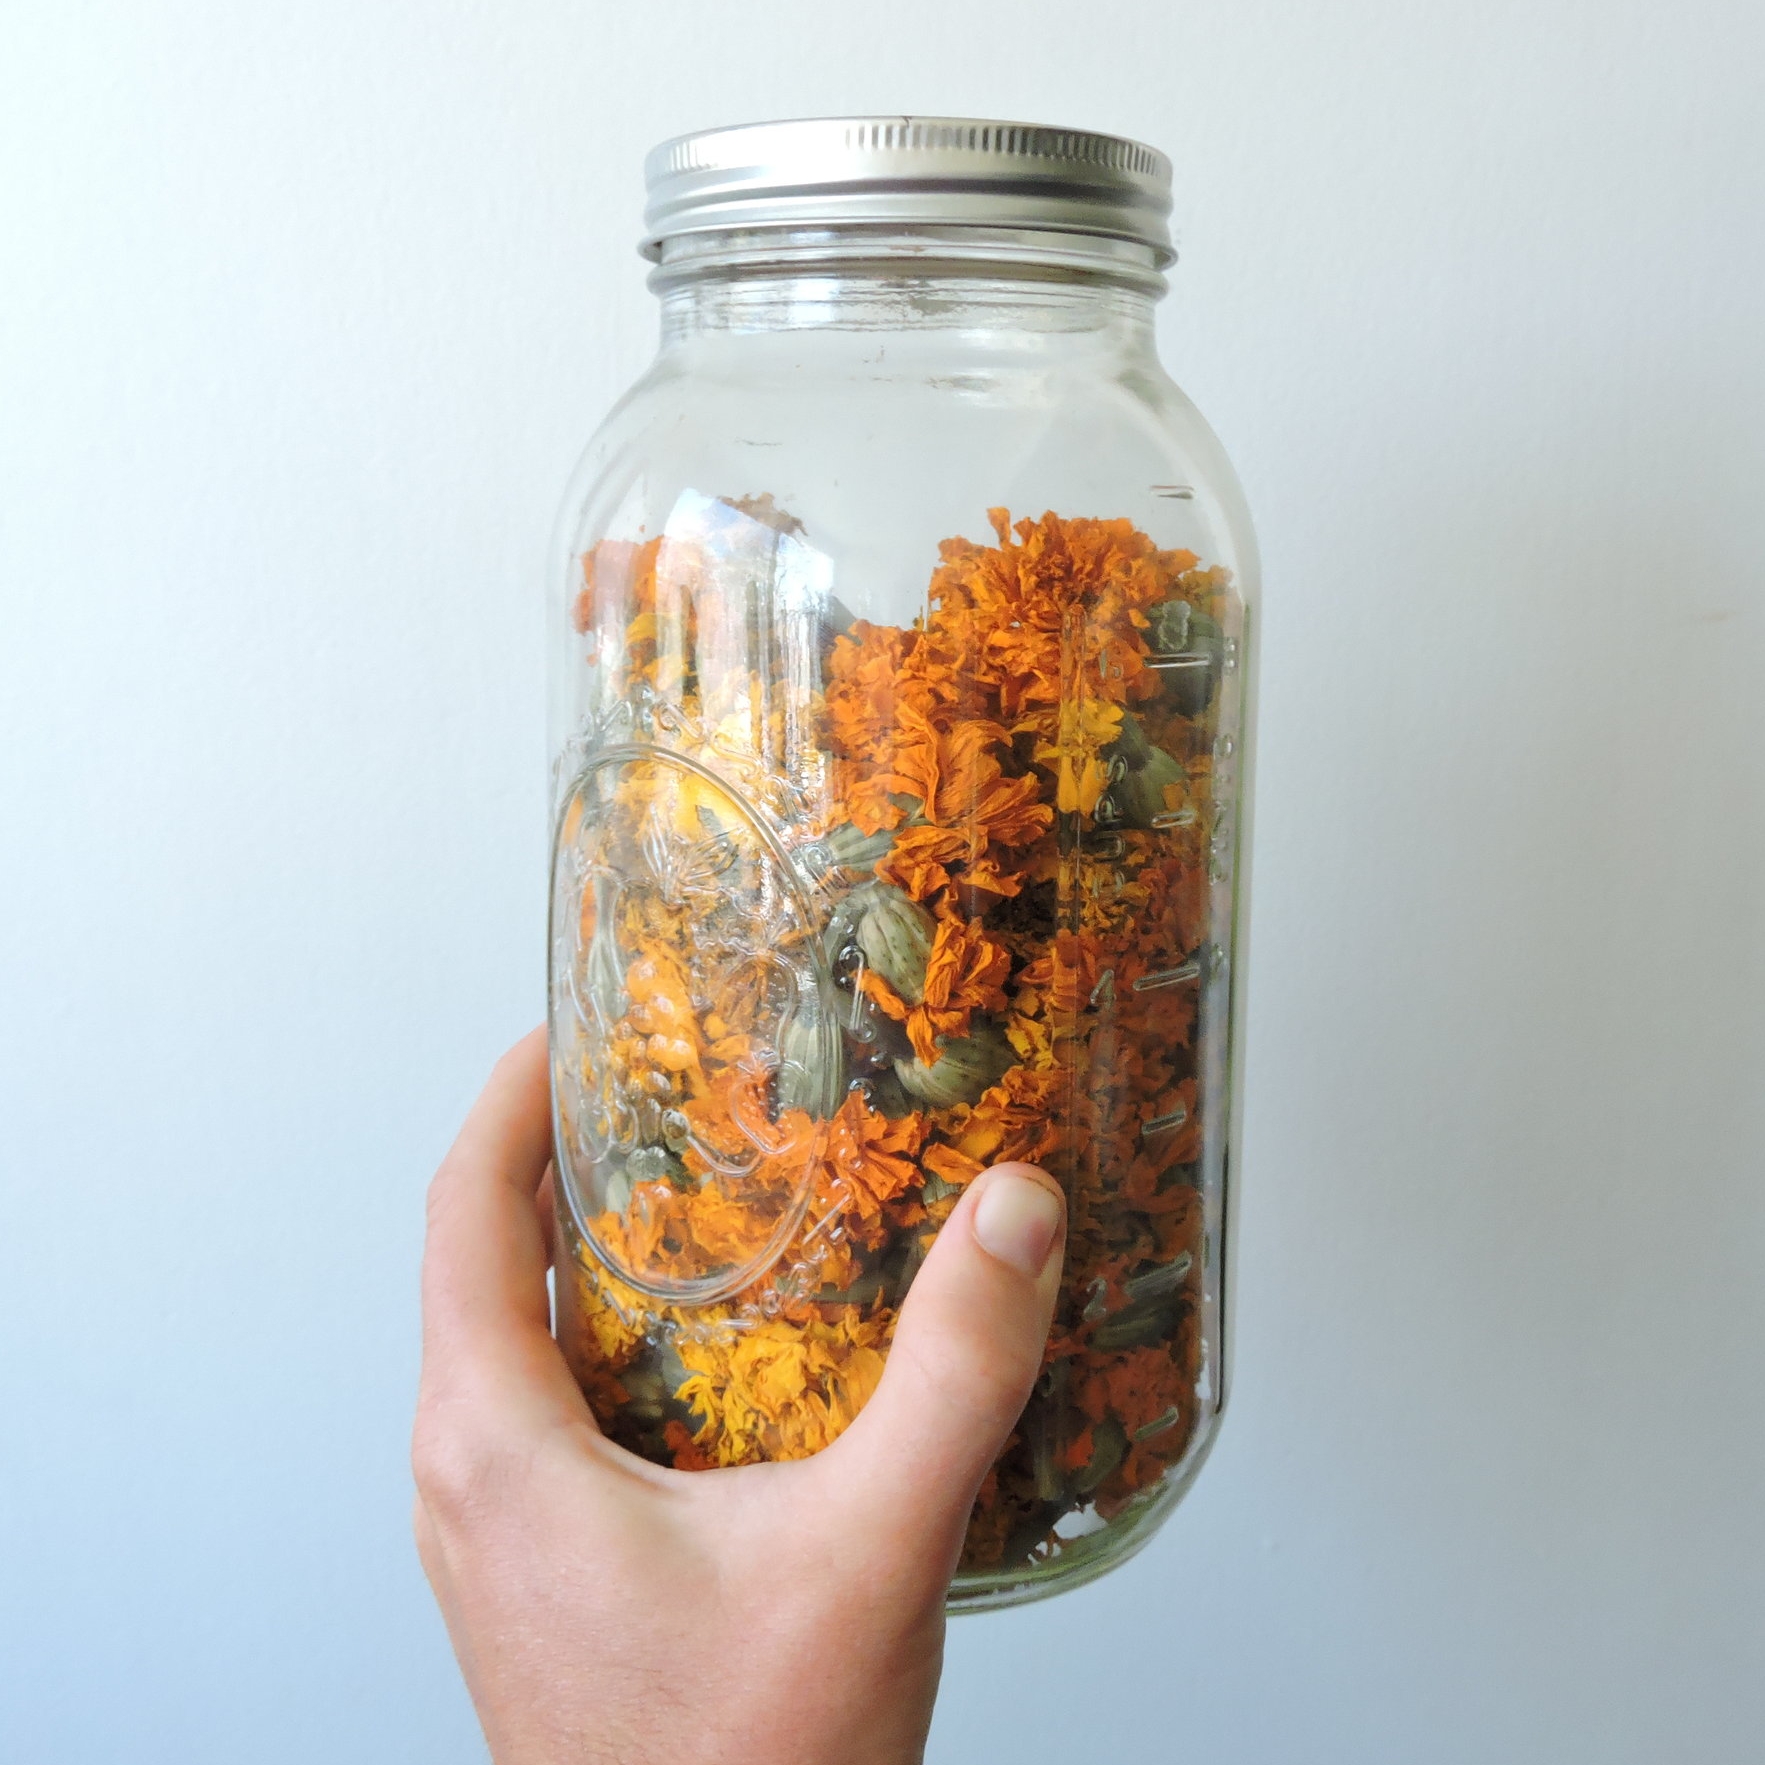
Like all of the dye flowers we grow, dyer’s chamomile can be used fresh or dried in a hot water bath. We gently simmer the petals for about an hour (making sure the pot doesn’t boil) before straining out the organic materials and introducing our fibers. For wool, make sure to let the dye bath cool prior to introducing your materials, and slowly adjust heat to avoid felting. We prefer to dry most of our petals for later use in autumn and winter when having a hot dye pot that smells like summer is most welcome. Here in Utah we dry our blooms on screens left outdoors (in the shade to prevent sun bleaching), but in humid locations, you may want to use a dehydrator to avoid mold growth.

‘Shades of Gold’ Marigold

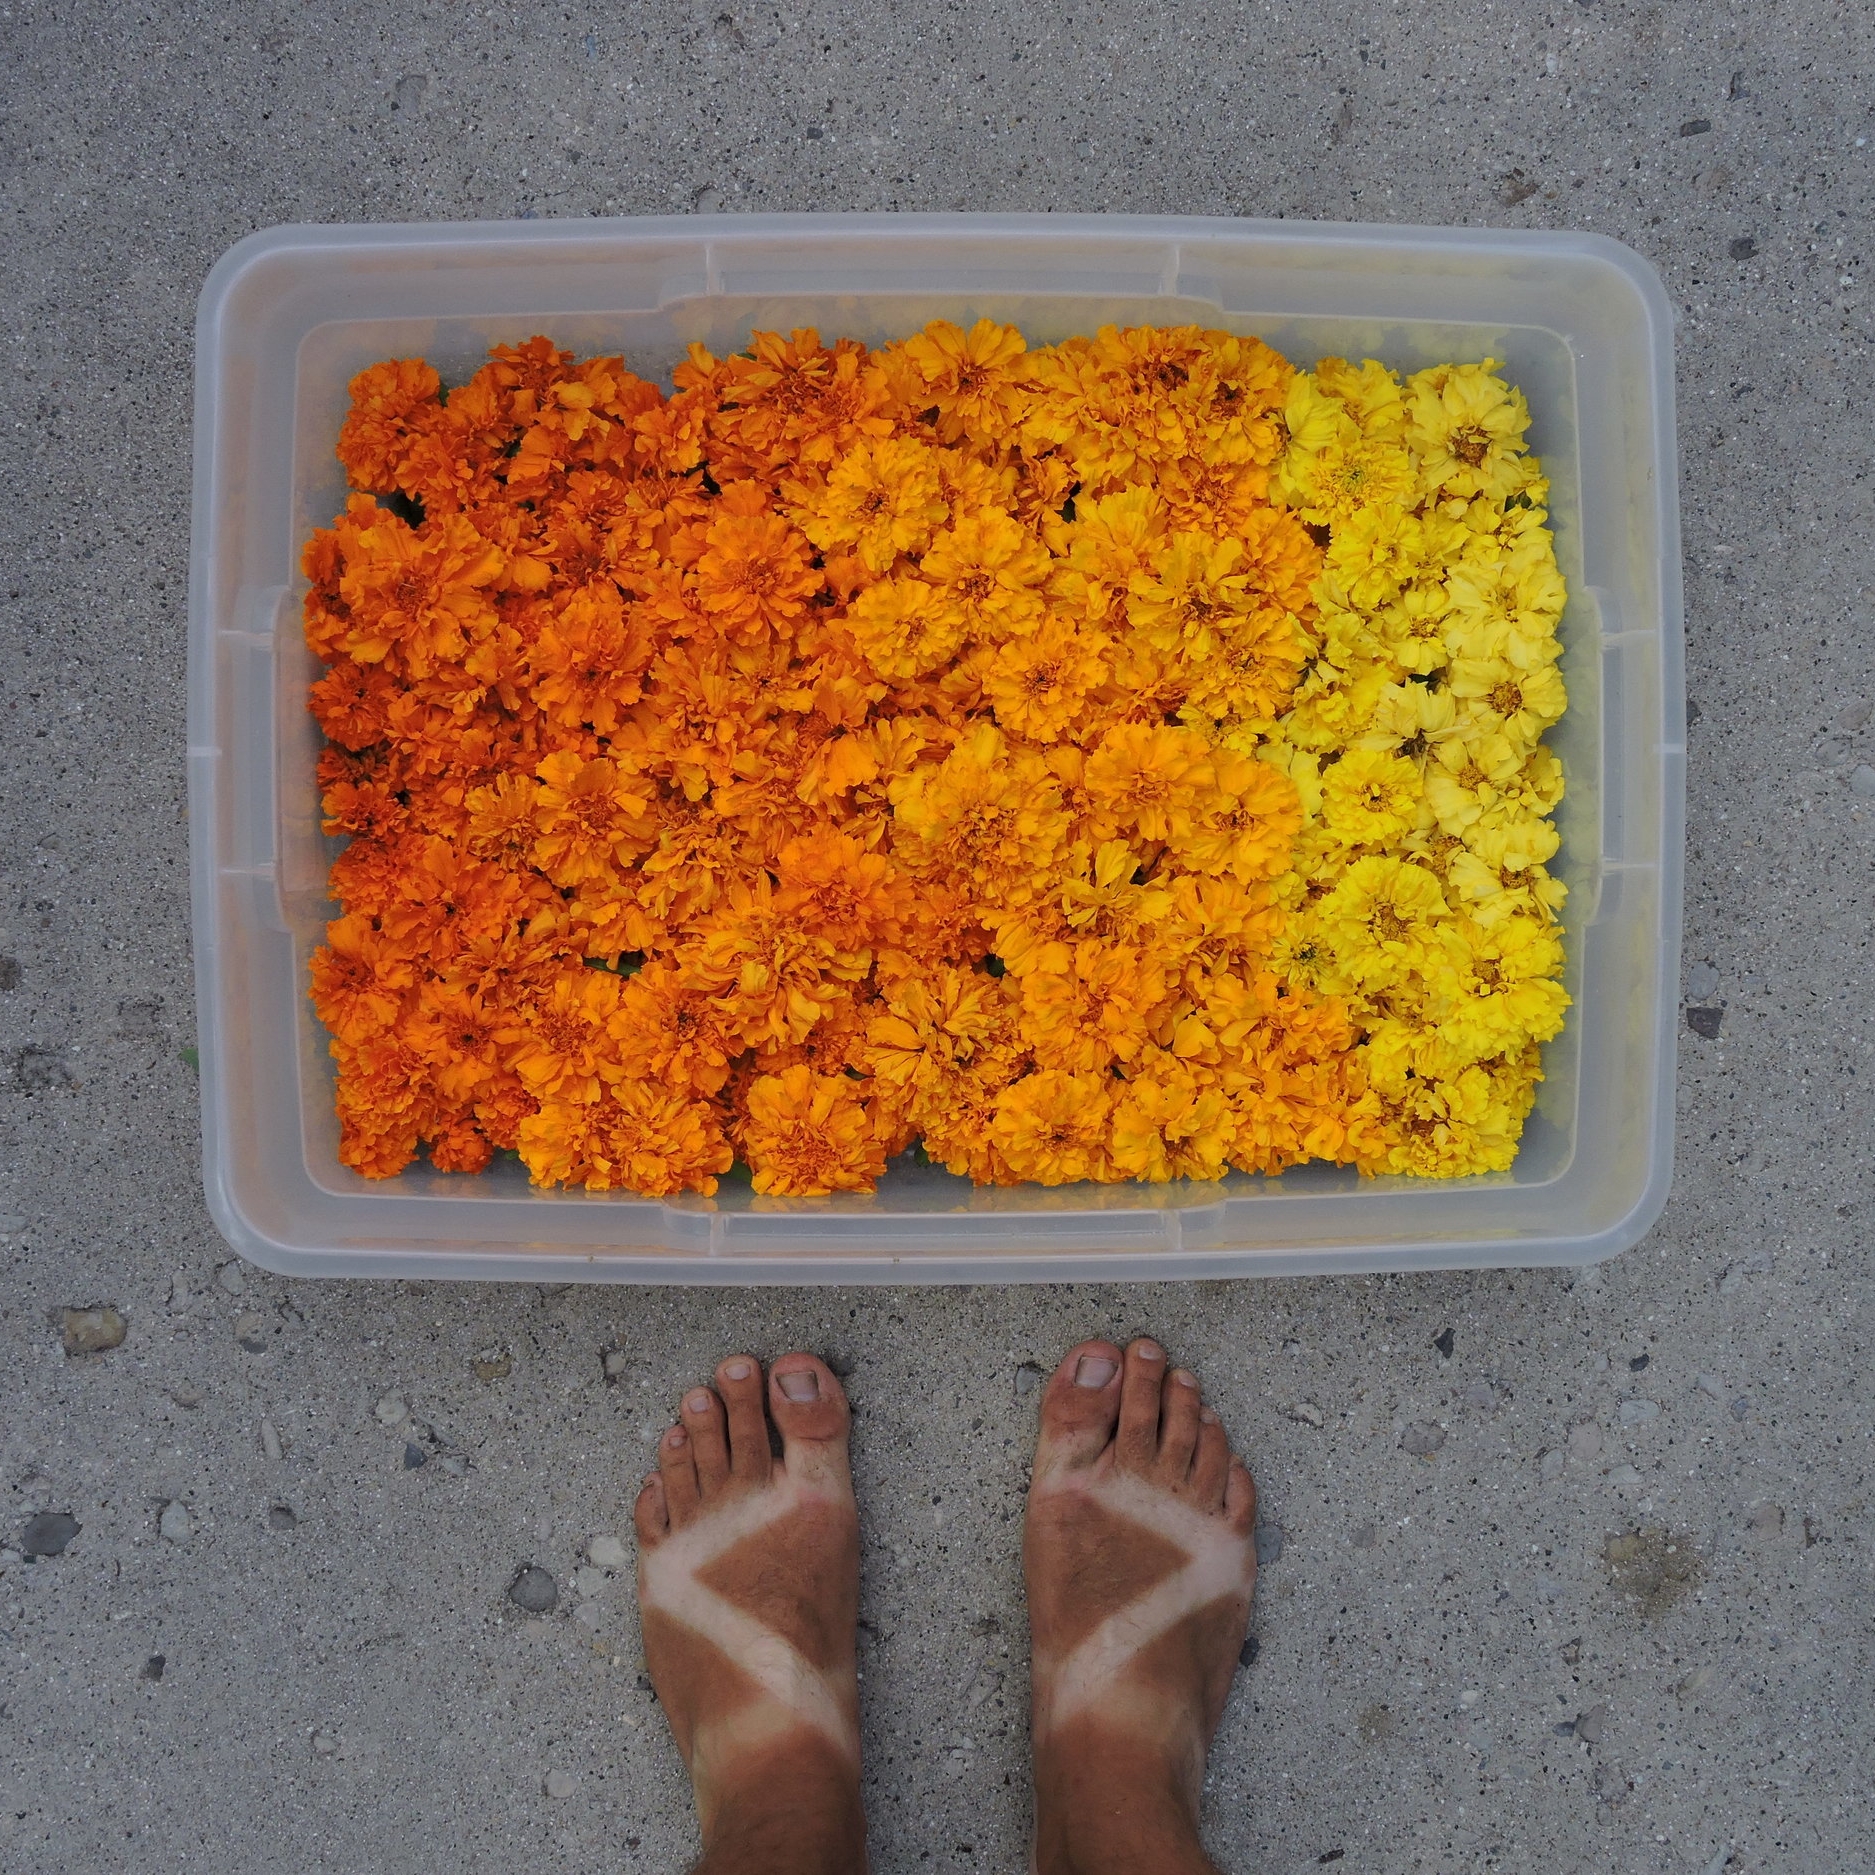
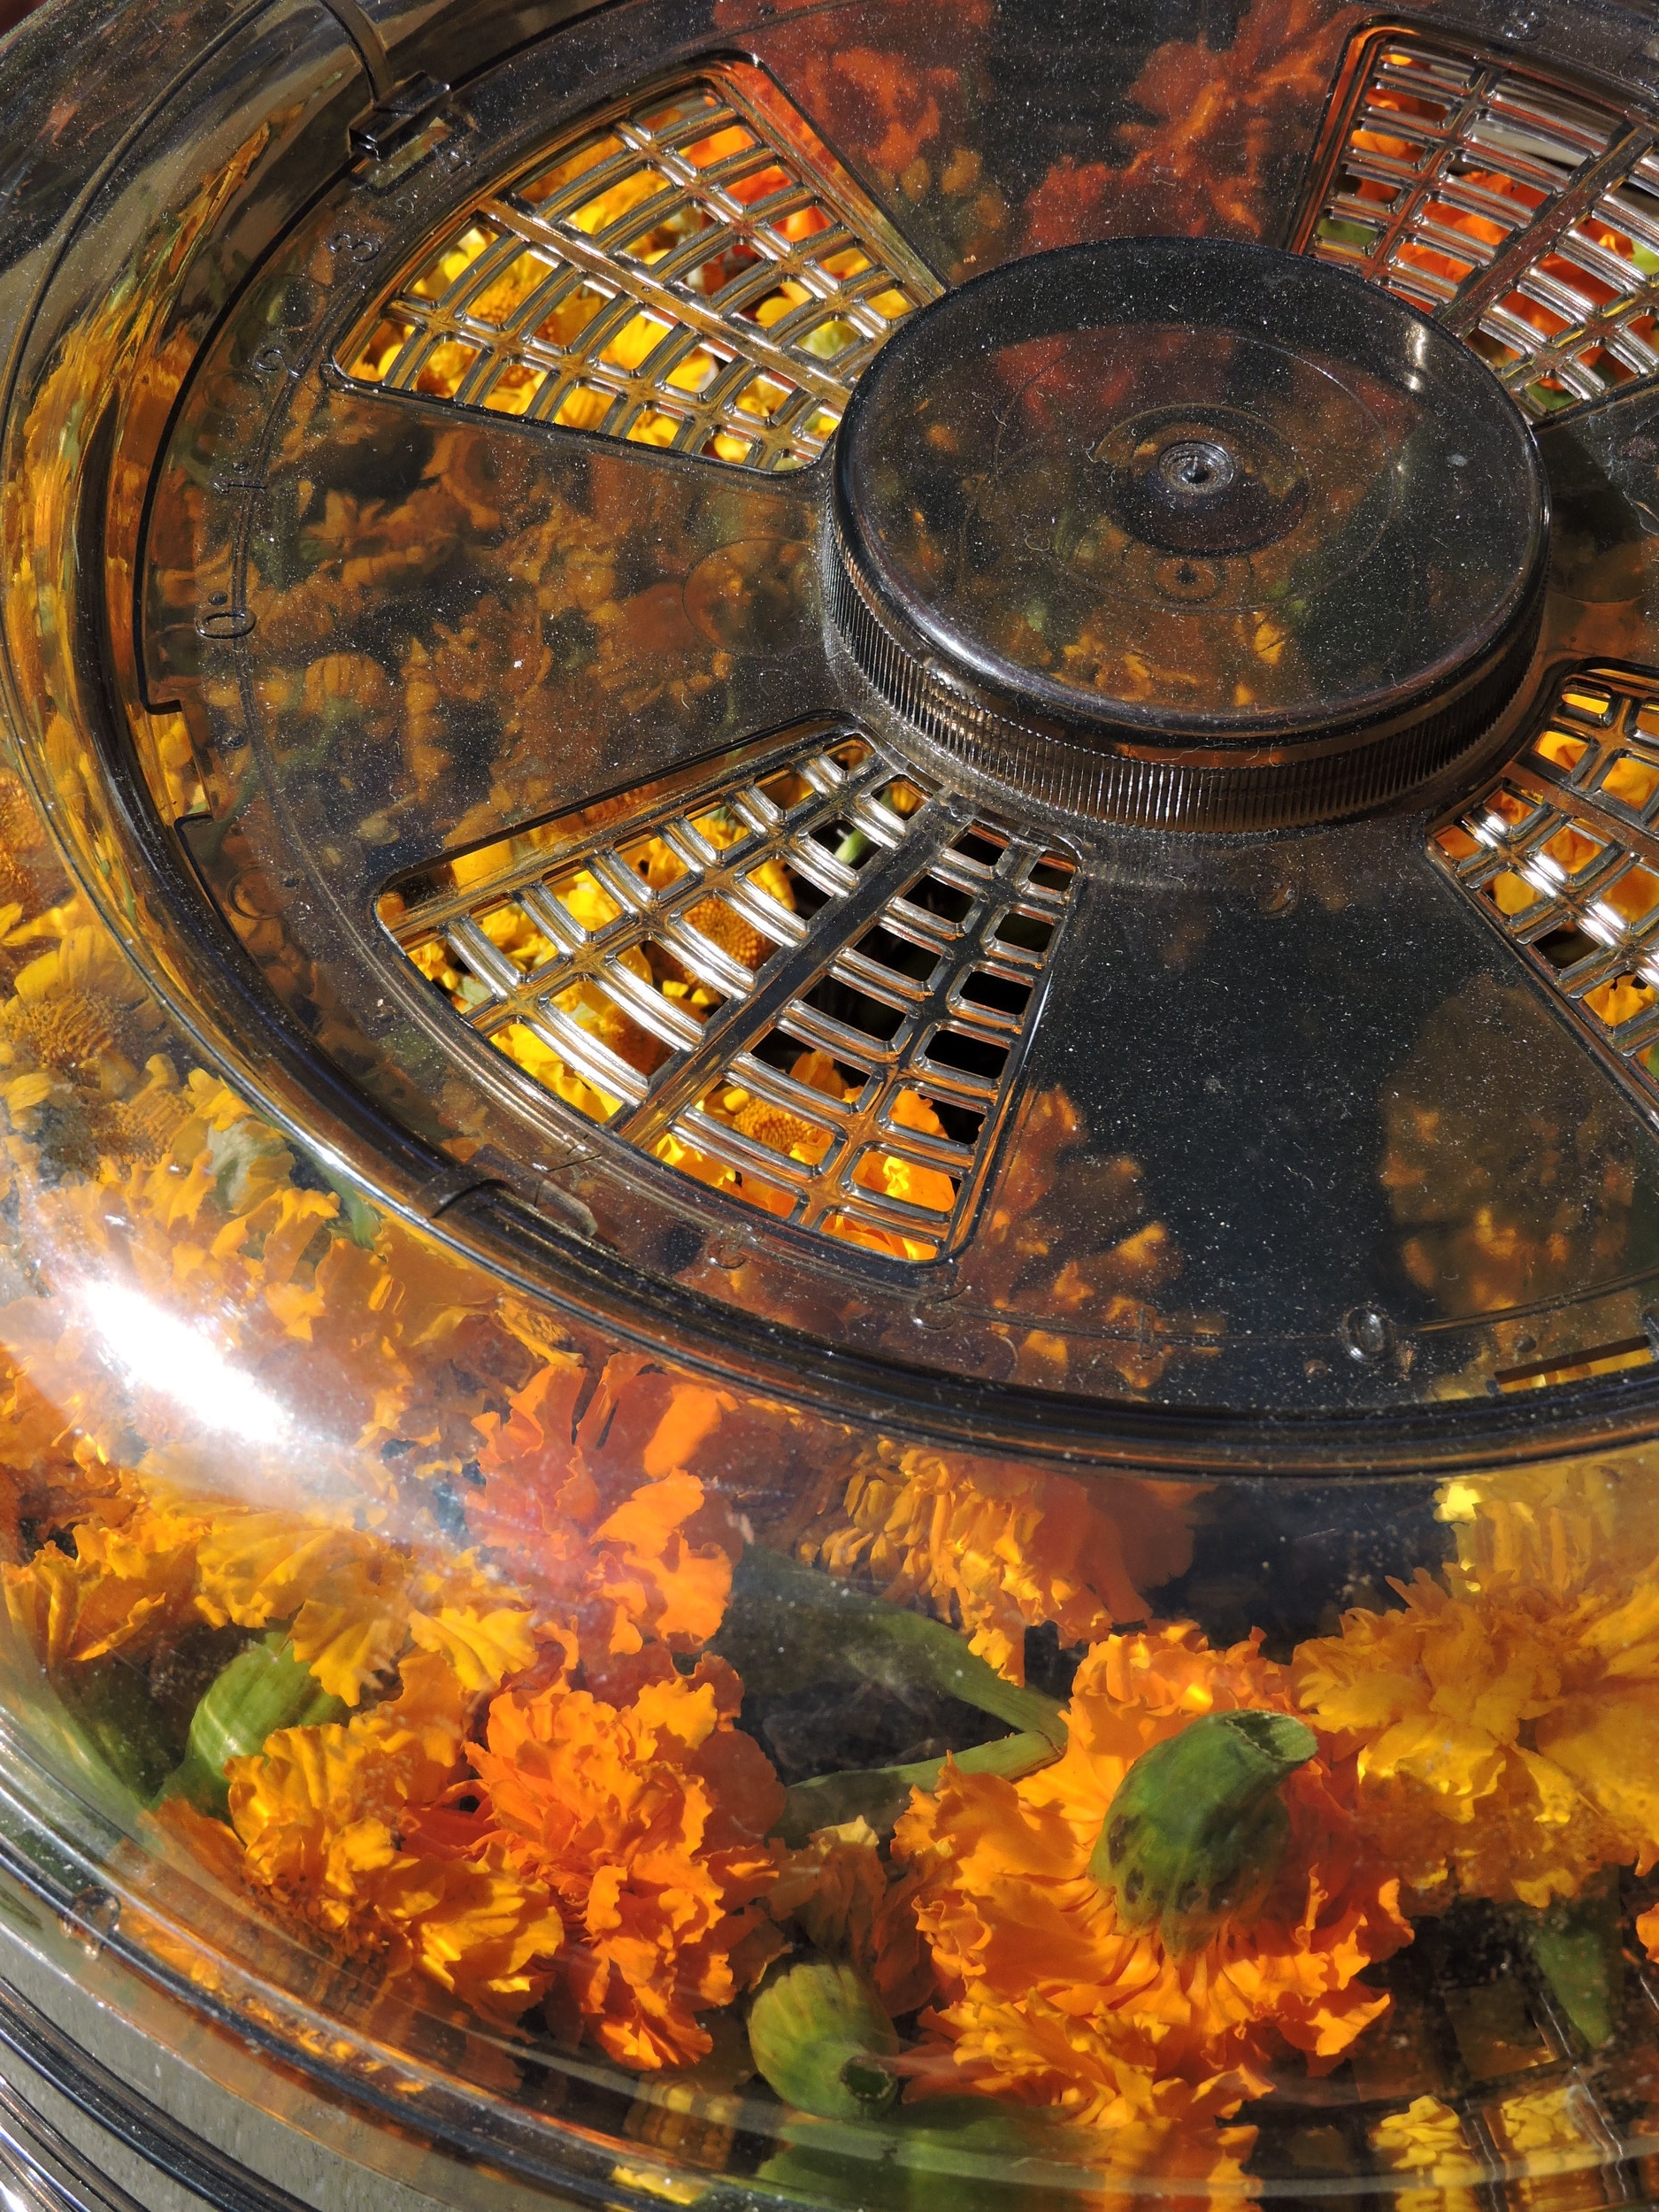
Mexican marigold (Tagetes erecta), like the ‘Shades of Gold’ variety we offer, is one of the best-smelling dye baths you can cook up! So sweet and summery! Marigold dye is very potent, and a few flowers can go a long way on plant or animal based fibers. Sow seeds in flats on a heated tray indoors and transplant outdoors after danger of frost has passed. You can also direct sow the seeds when the soil has warmed in areas with a longer growing season. Harvest your flowers often to encourage continuous blooming until frost.
Larger, double-petaled flowers will get moldy quickly if you don’t provide them with adequate airflow, so make sure to spread out your bounty shortly after harvest for a brighter dye bath. If your flowers happen to get funky, use them anyways! Just know the color won’t be as clear, but the dusty/earthy mustard colors produced are lovely in their own way. We find that these large flowers are a favorite place for bumblebees to sleep, often preferring the underside of the flowers, so be careful when quickly hand harvesting large amounts!
I’m not the biggest fan of wearing Easter/pastel yellows, so although I thought the dyer’s chamomile shirt was lovely, I was ready to shift the color when summer brought the marigolds into full bloom. I really like the subdued earthy color created by combining these two flowers.

Cochineal

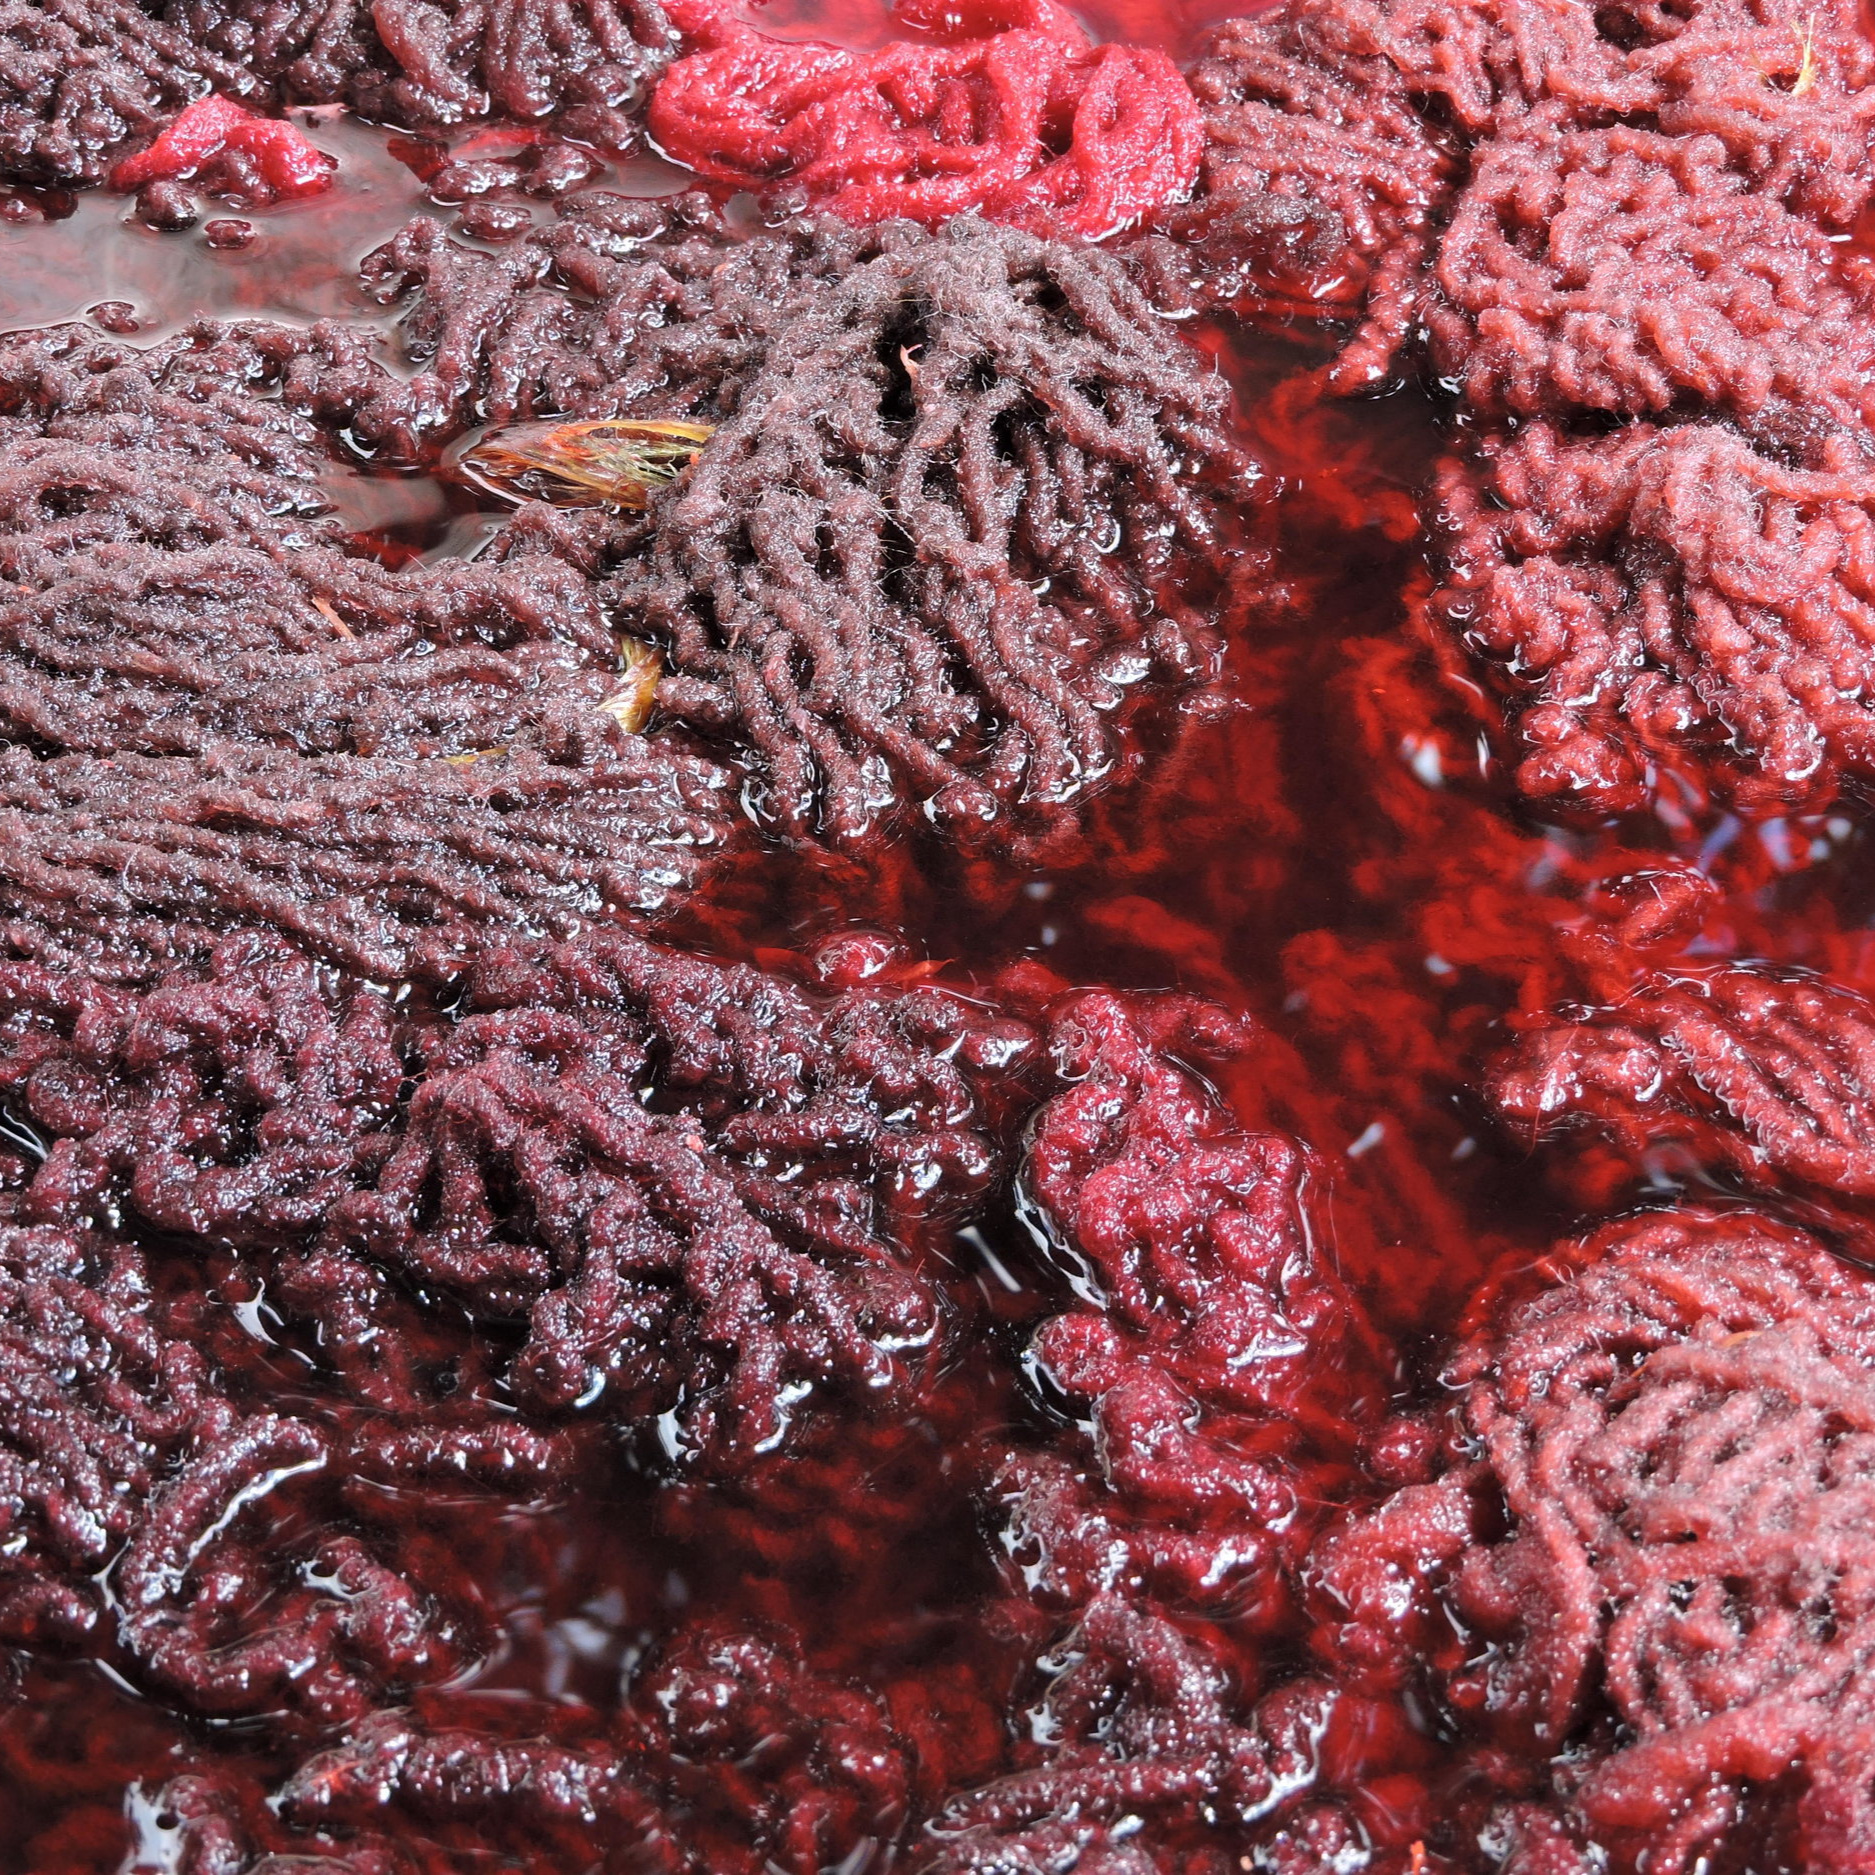
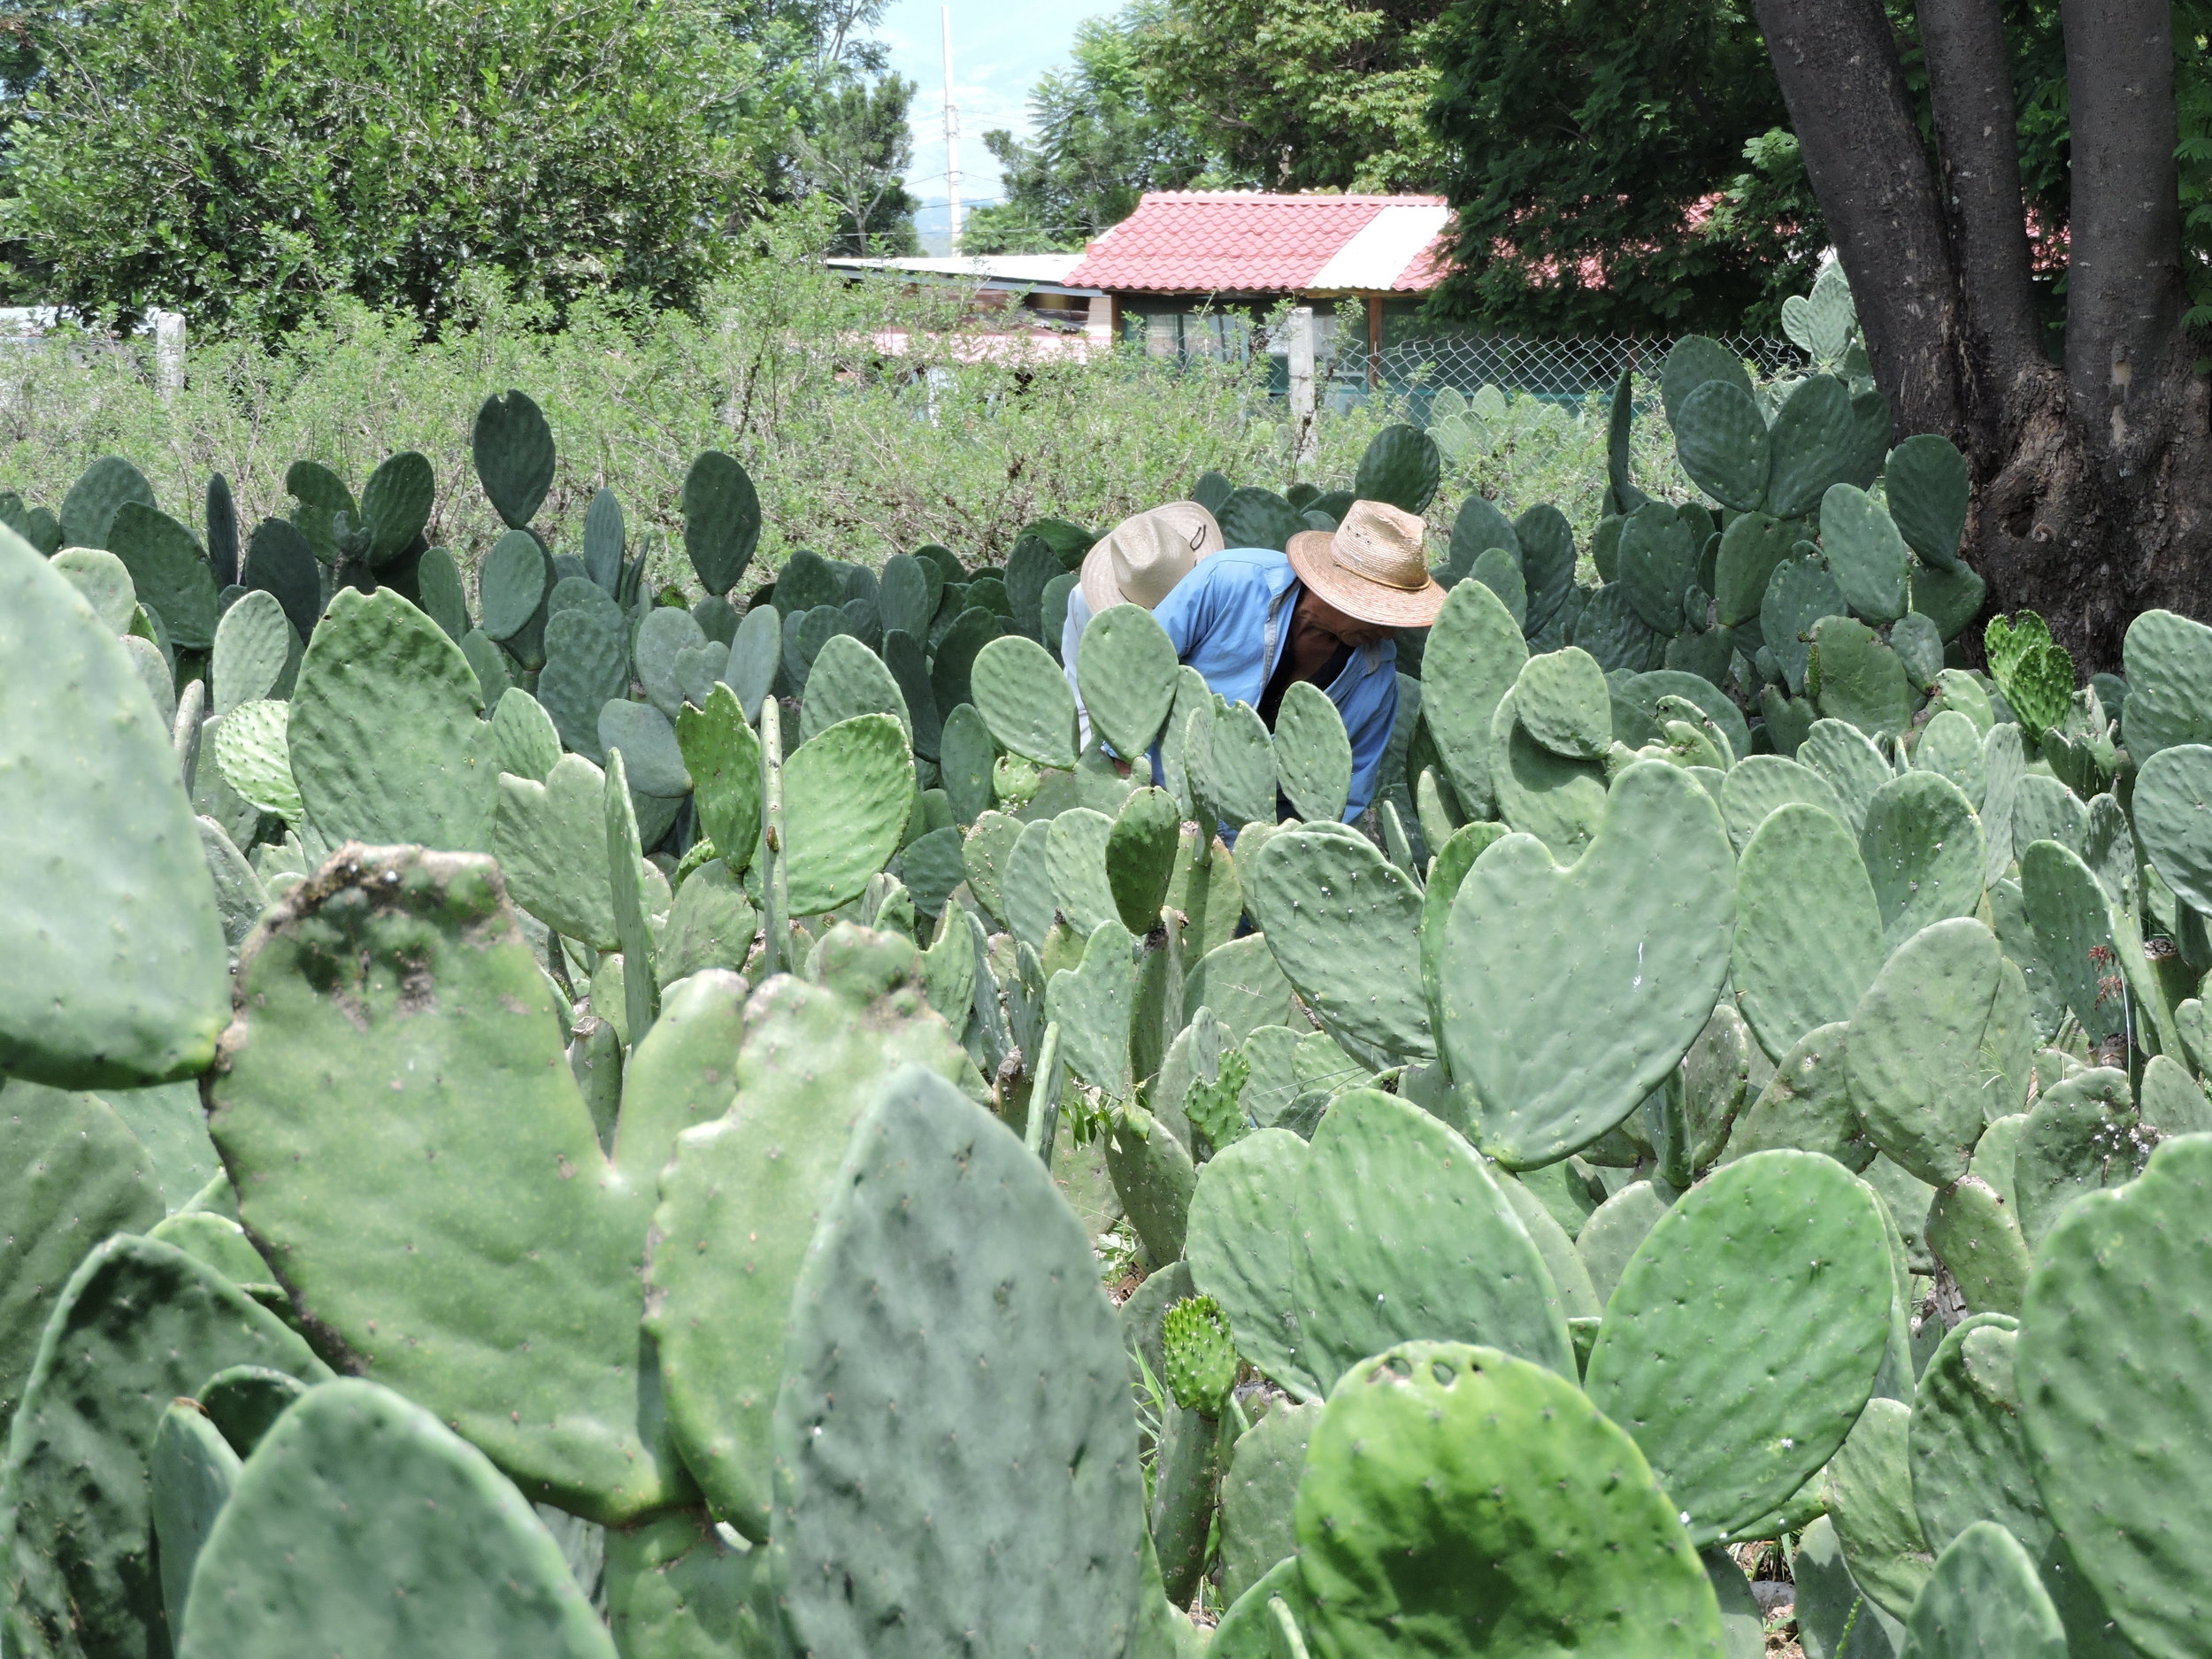
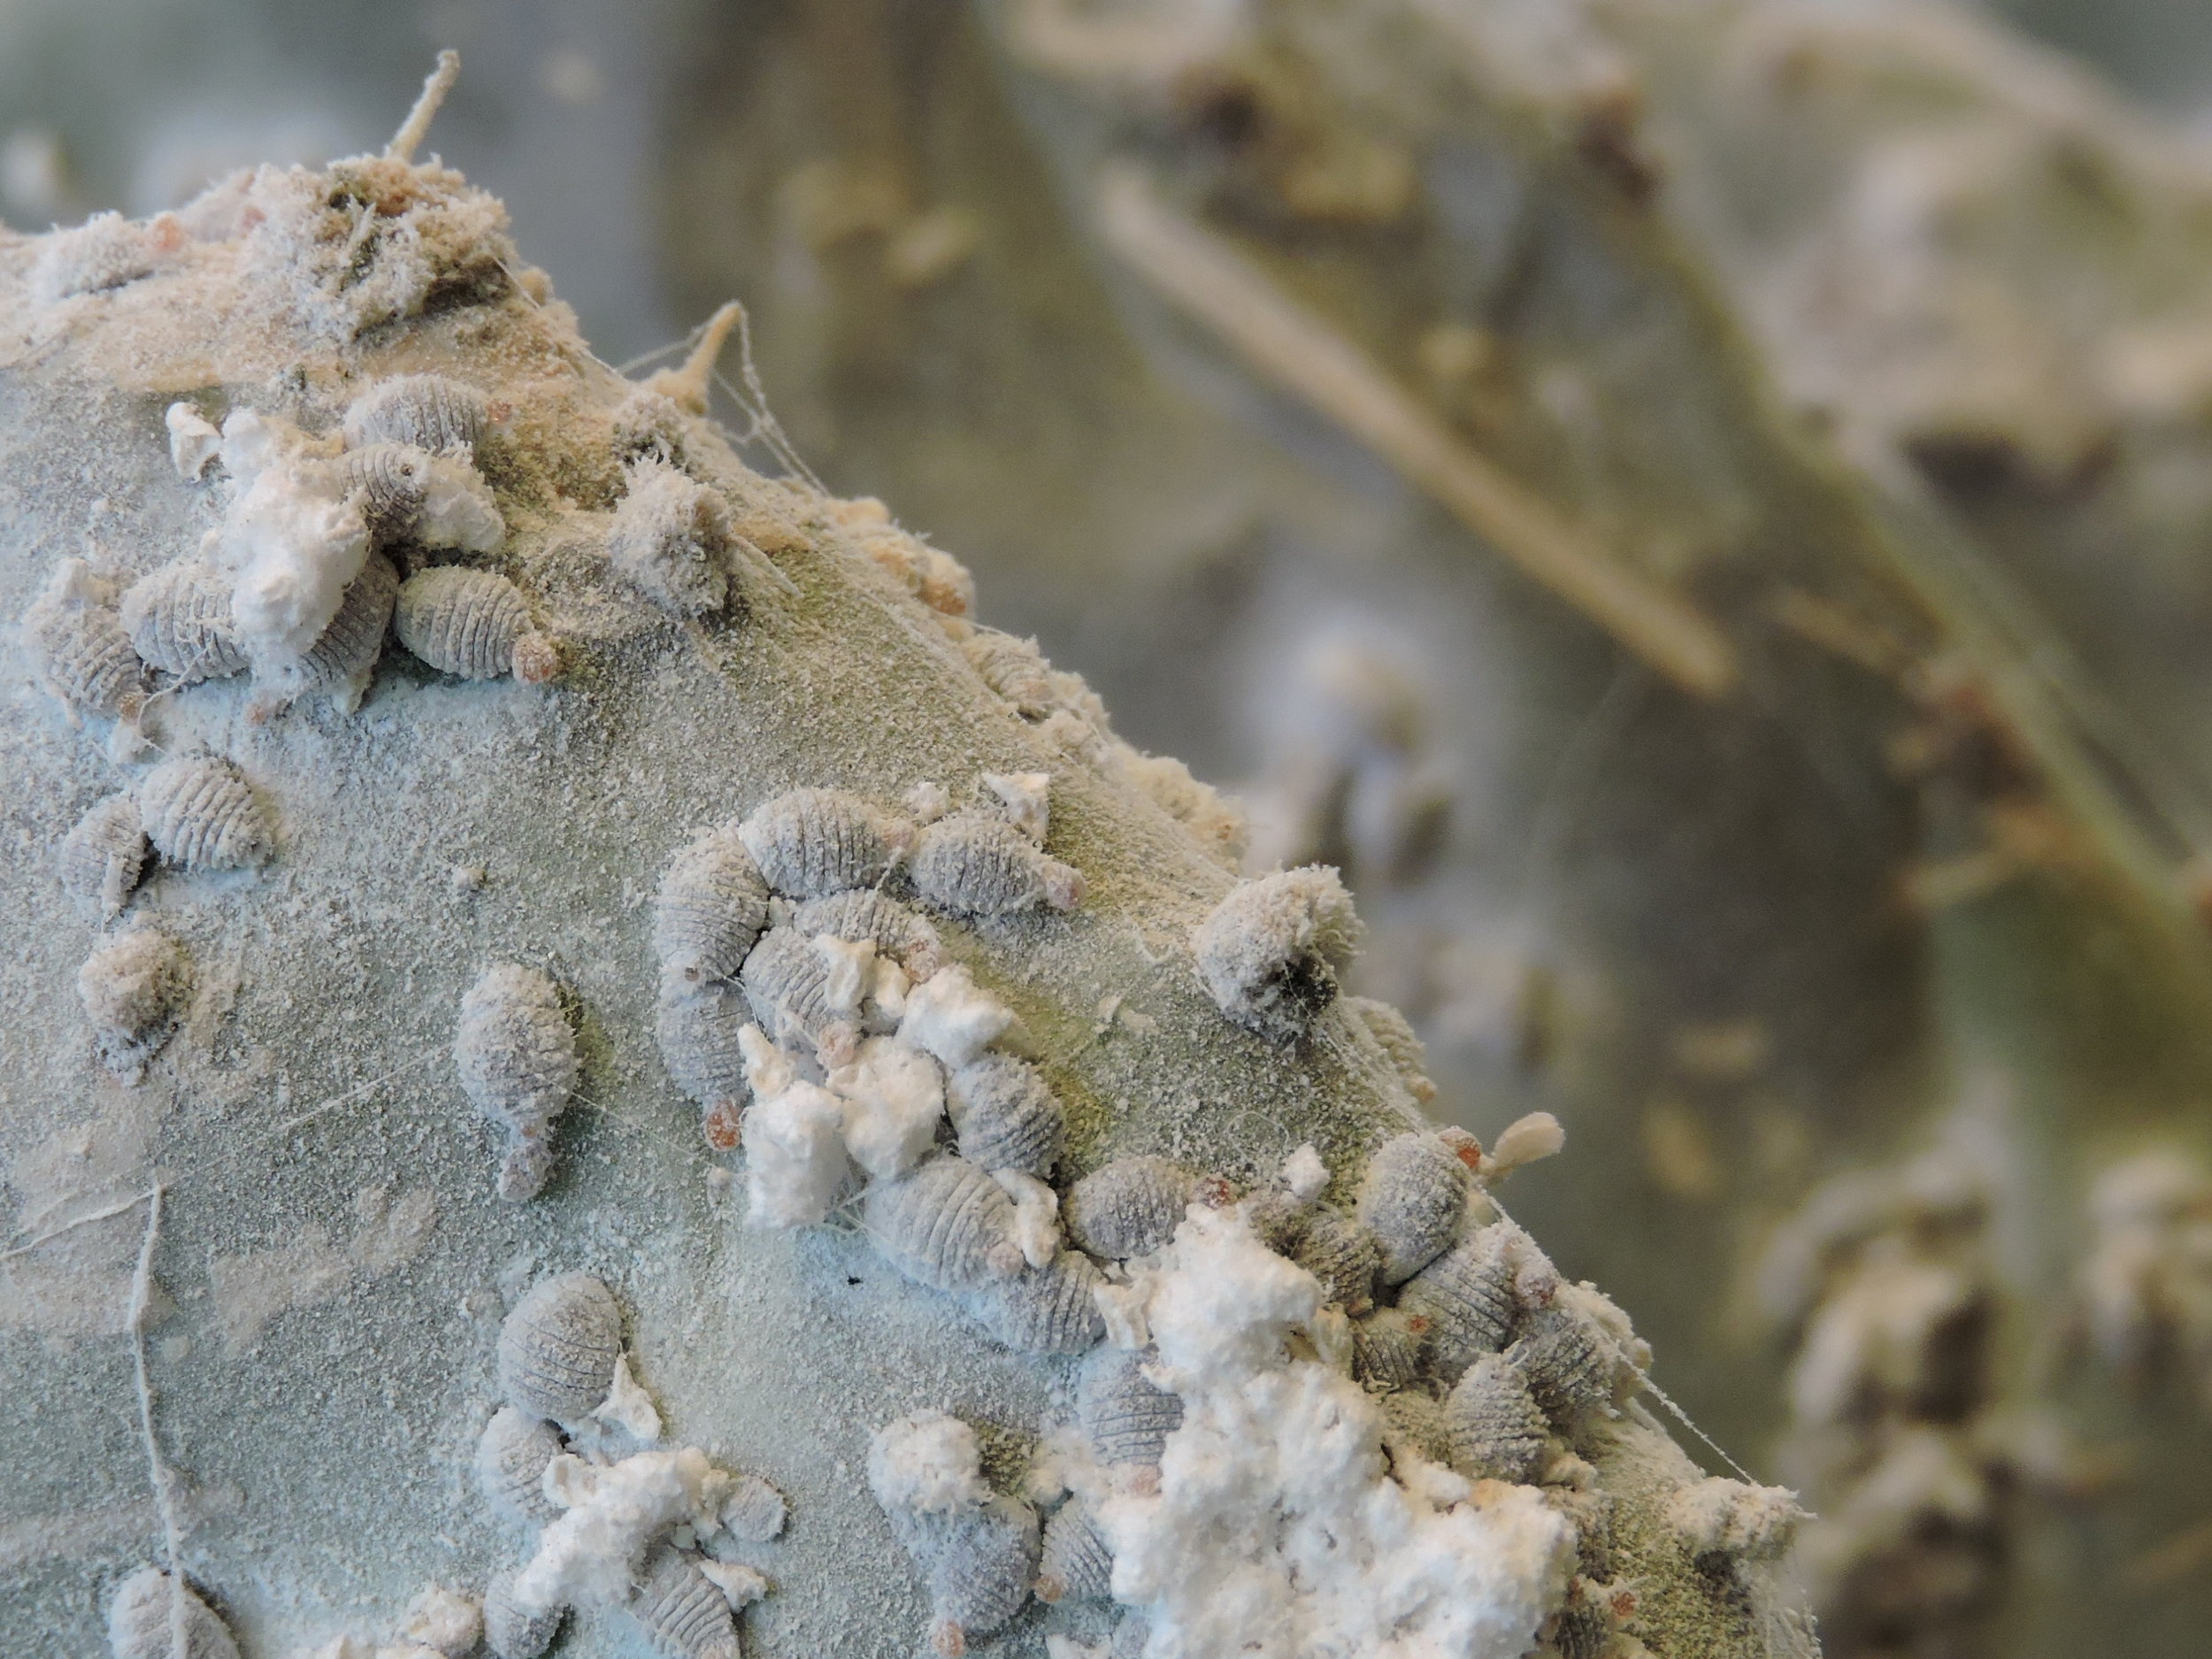
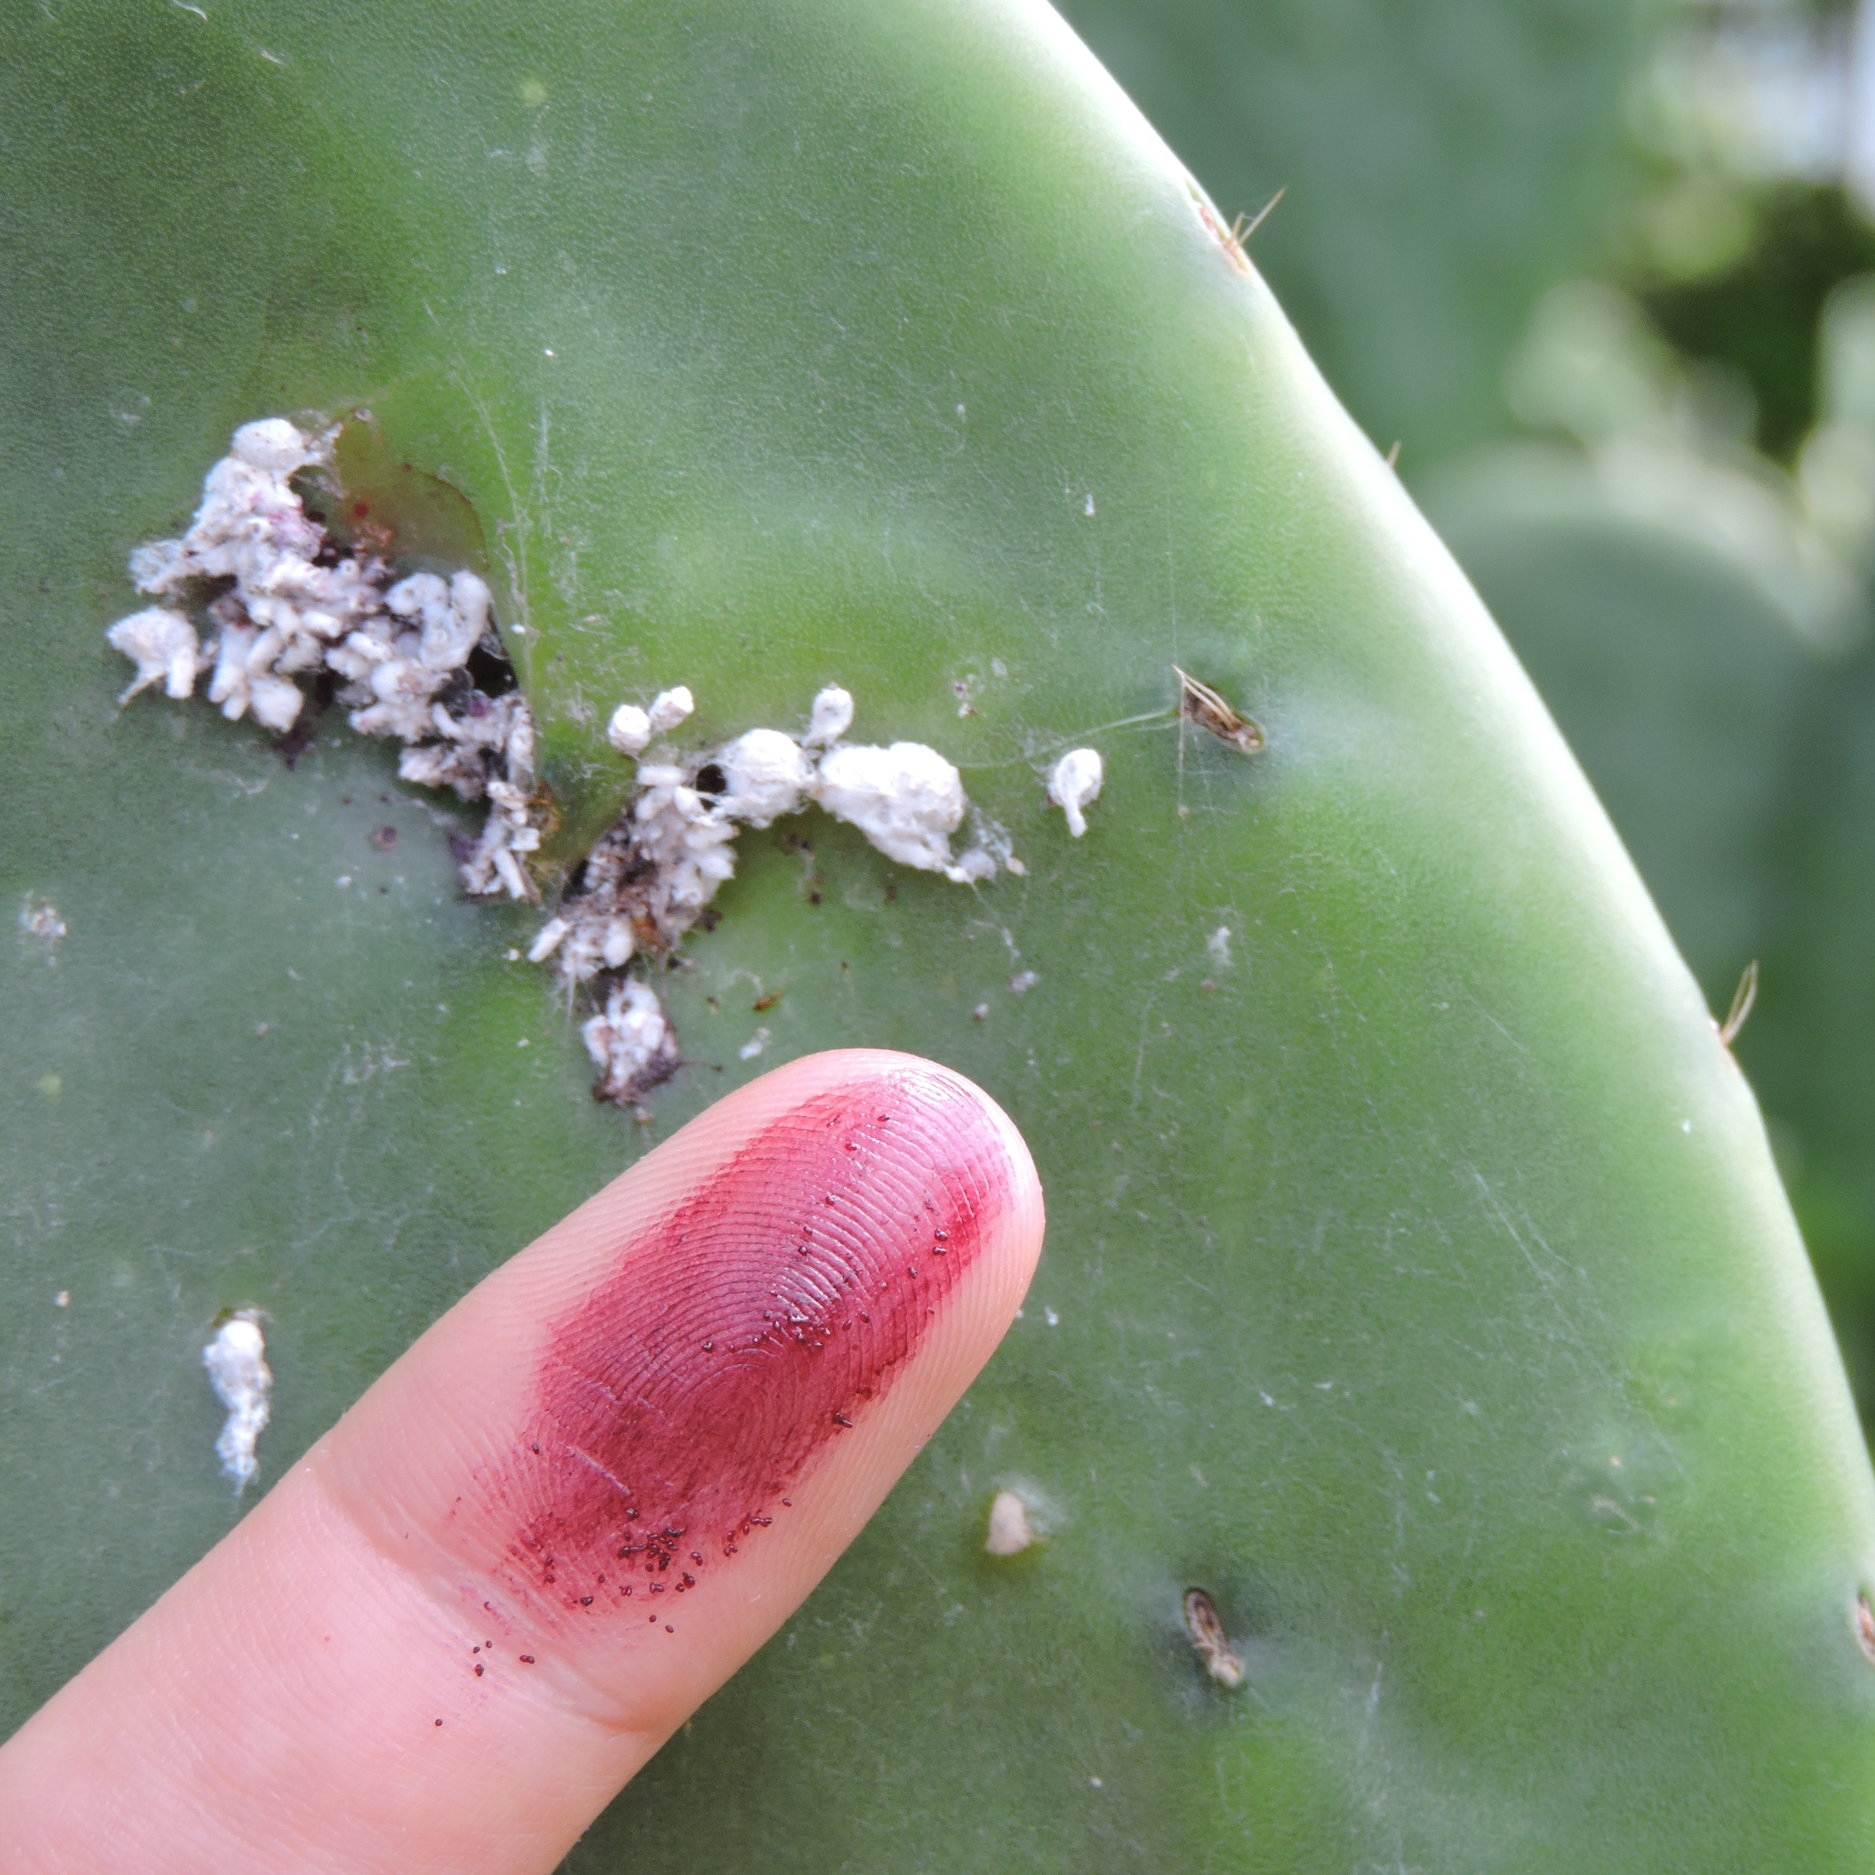
Cochineal (Dactylopius coccus) is a scale insect that grows on a wide range of prickly pear (Opuntia) species. The females are full of carminic acid, which is a powerful substantive dye that creates a range of purple, pink, and red dyes based on pH. Cochineal was domesticated in modern-day Oaxaca, Mexico, and is now produced primarily in Peru and on the Canary Islands.
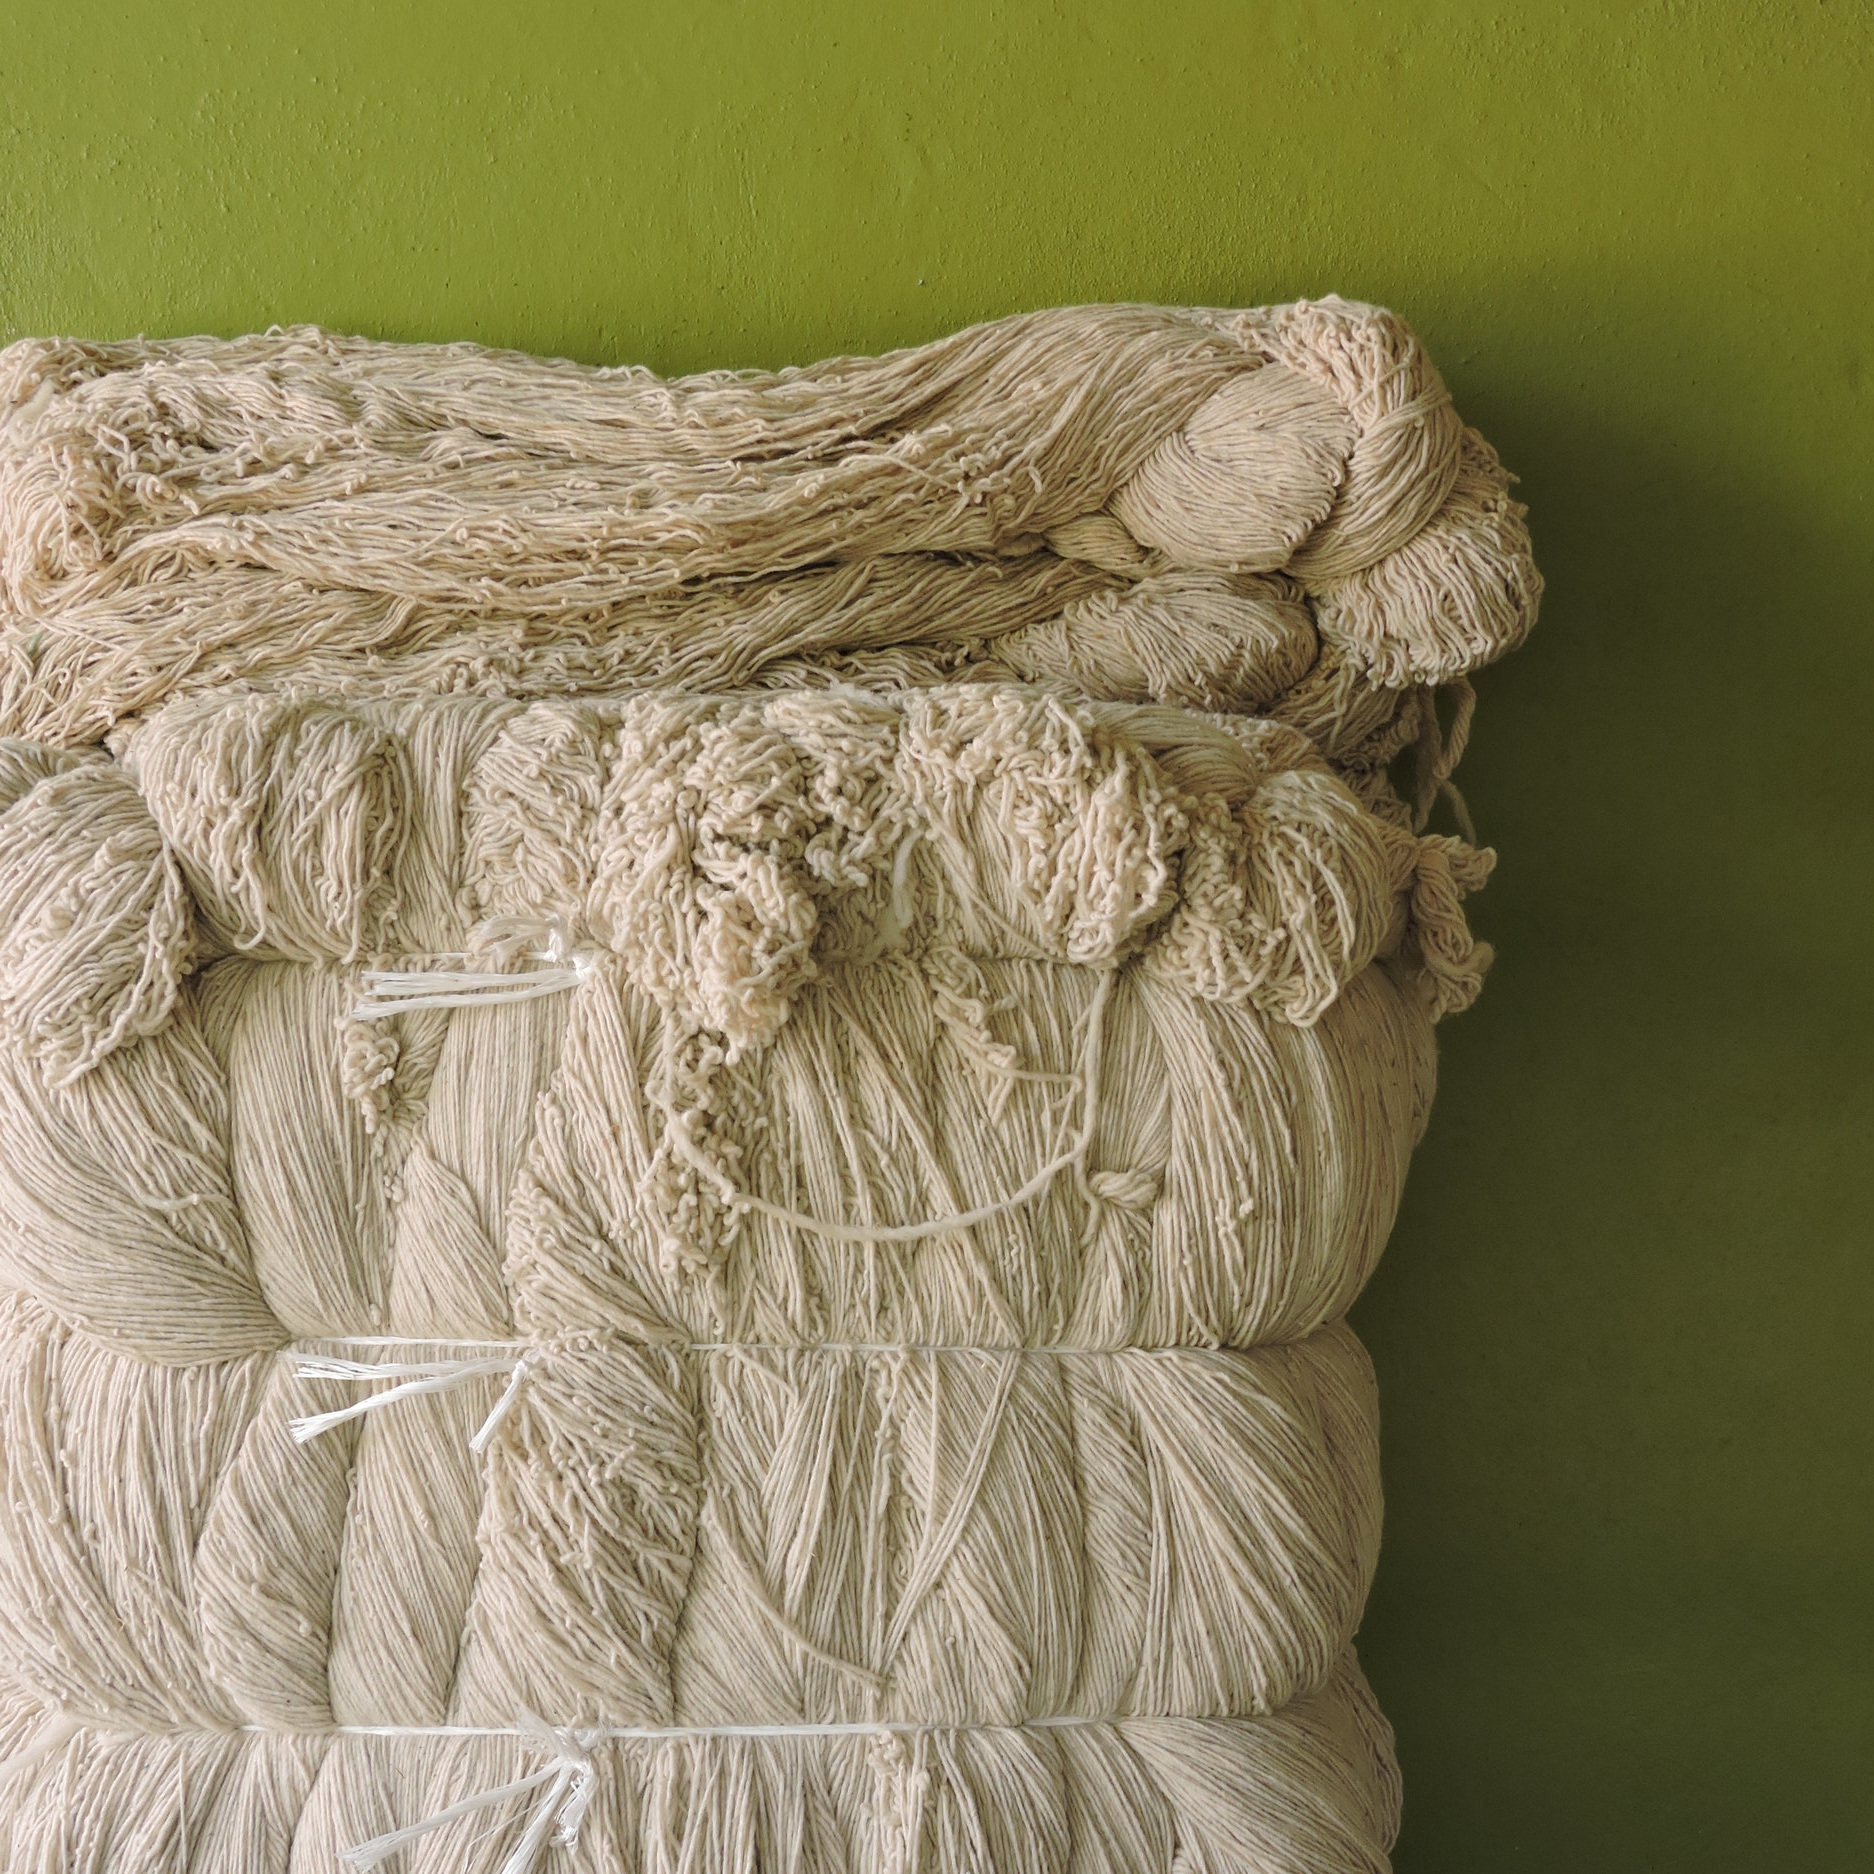
The dried female insects are extremely easy to use. Because cochineal is a substantive dye, you don’t have to spend additional time mordanting your fiber. I love this salmon color produced by overdyeing the marigold/dyer’s chamomile shirt with cochineal. This effect is even more dramatic when overdyeing marigold-dyed yarn with cochineal, creating a beautiful rusty red-orange.
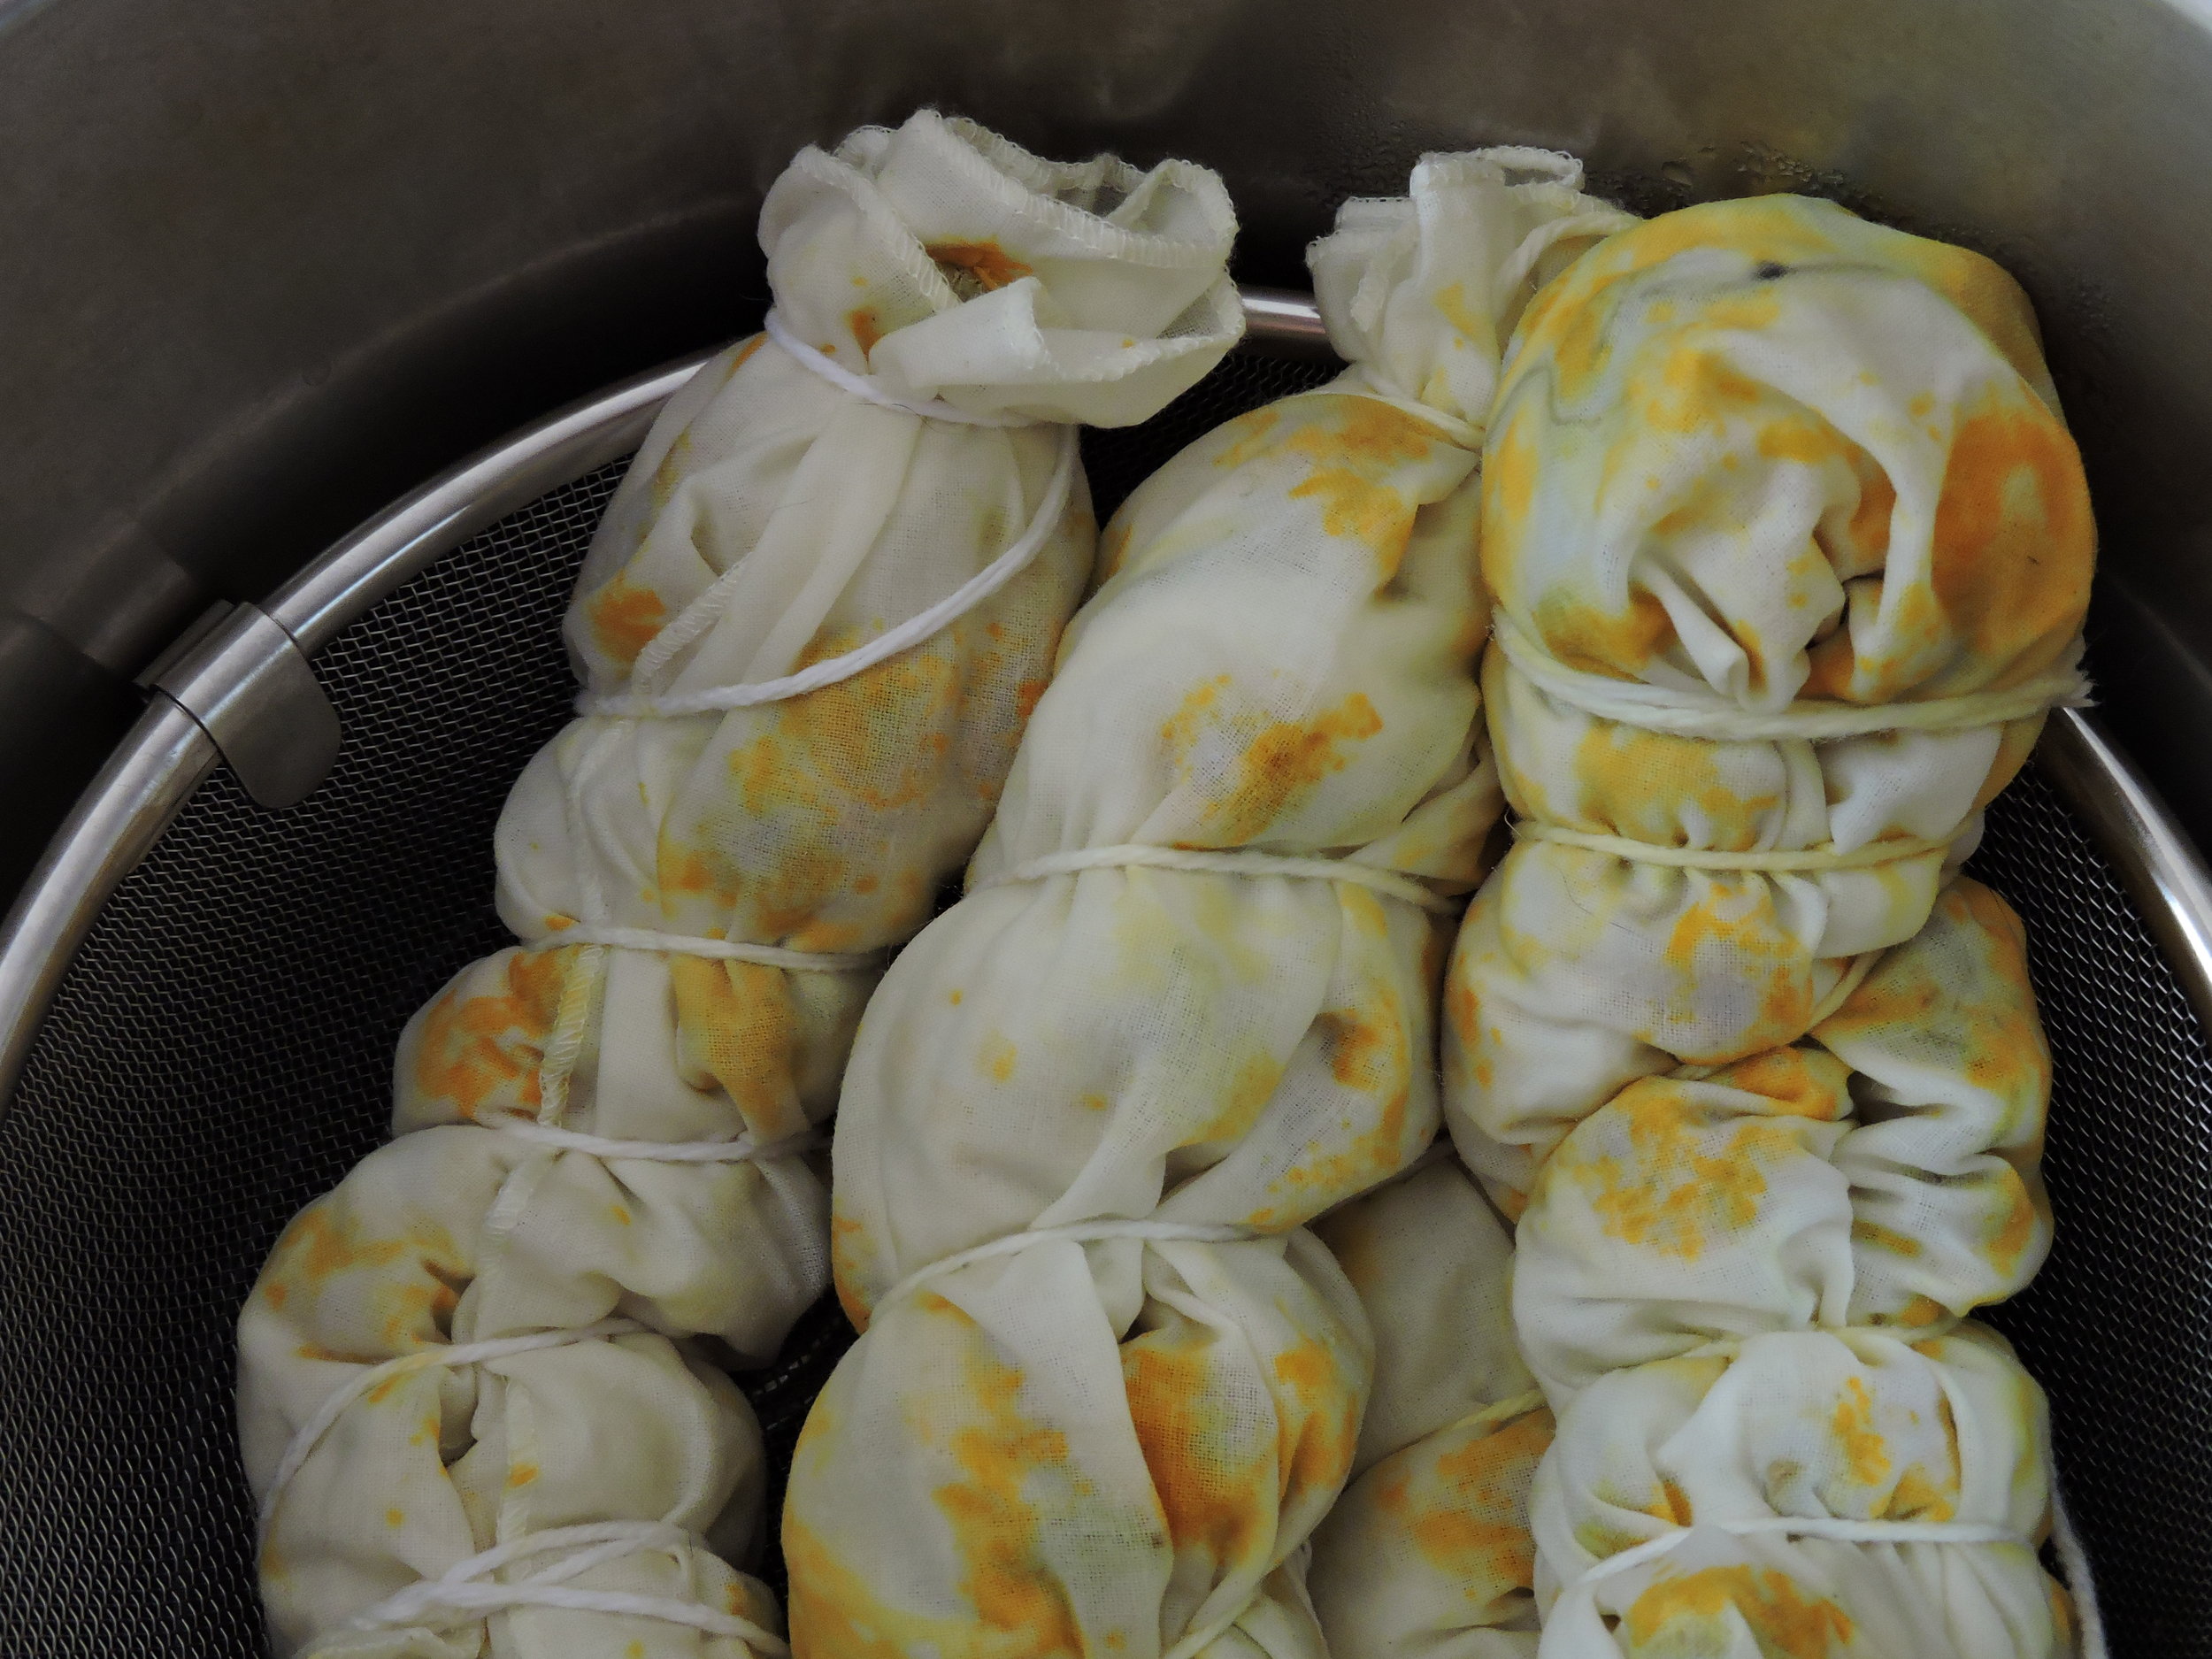
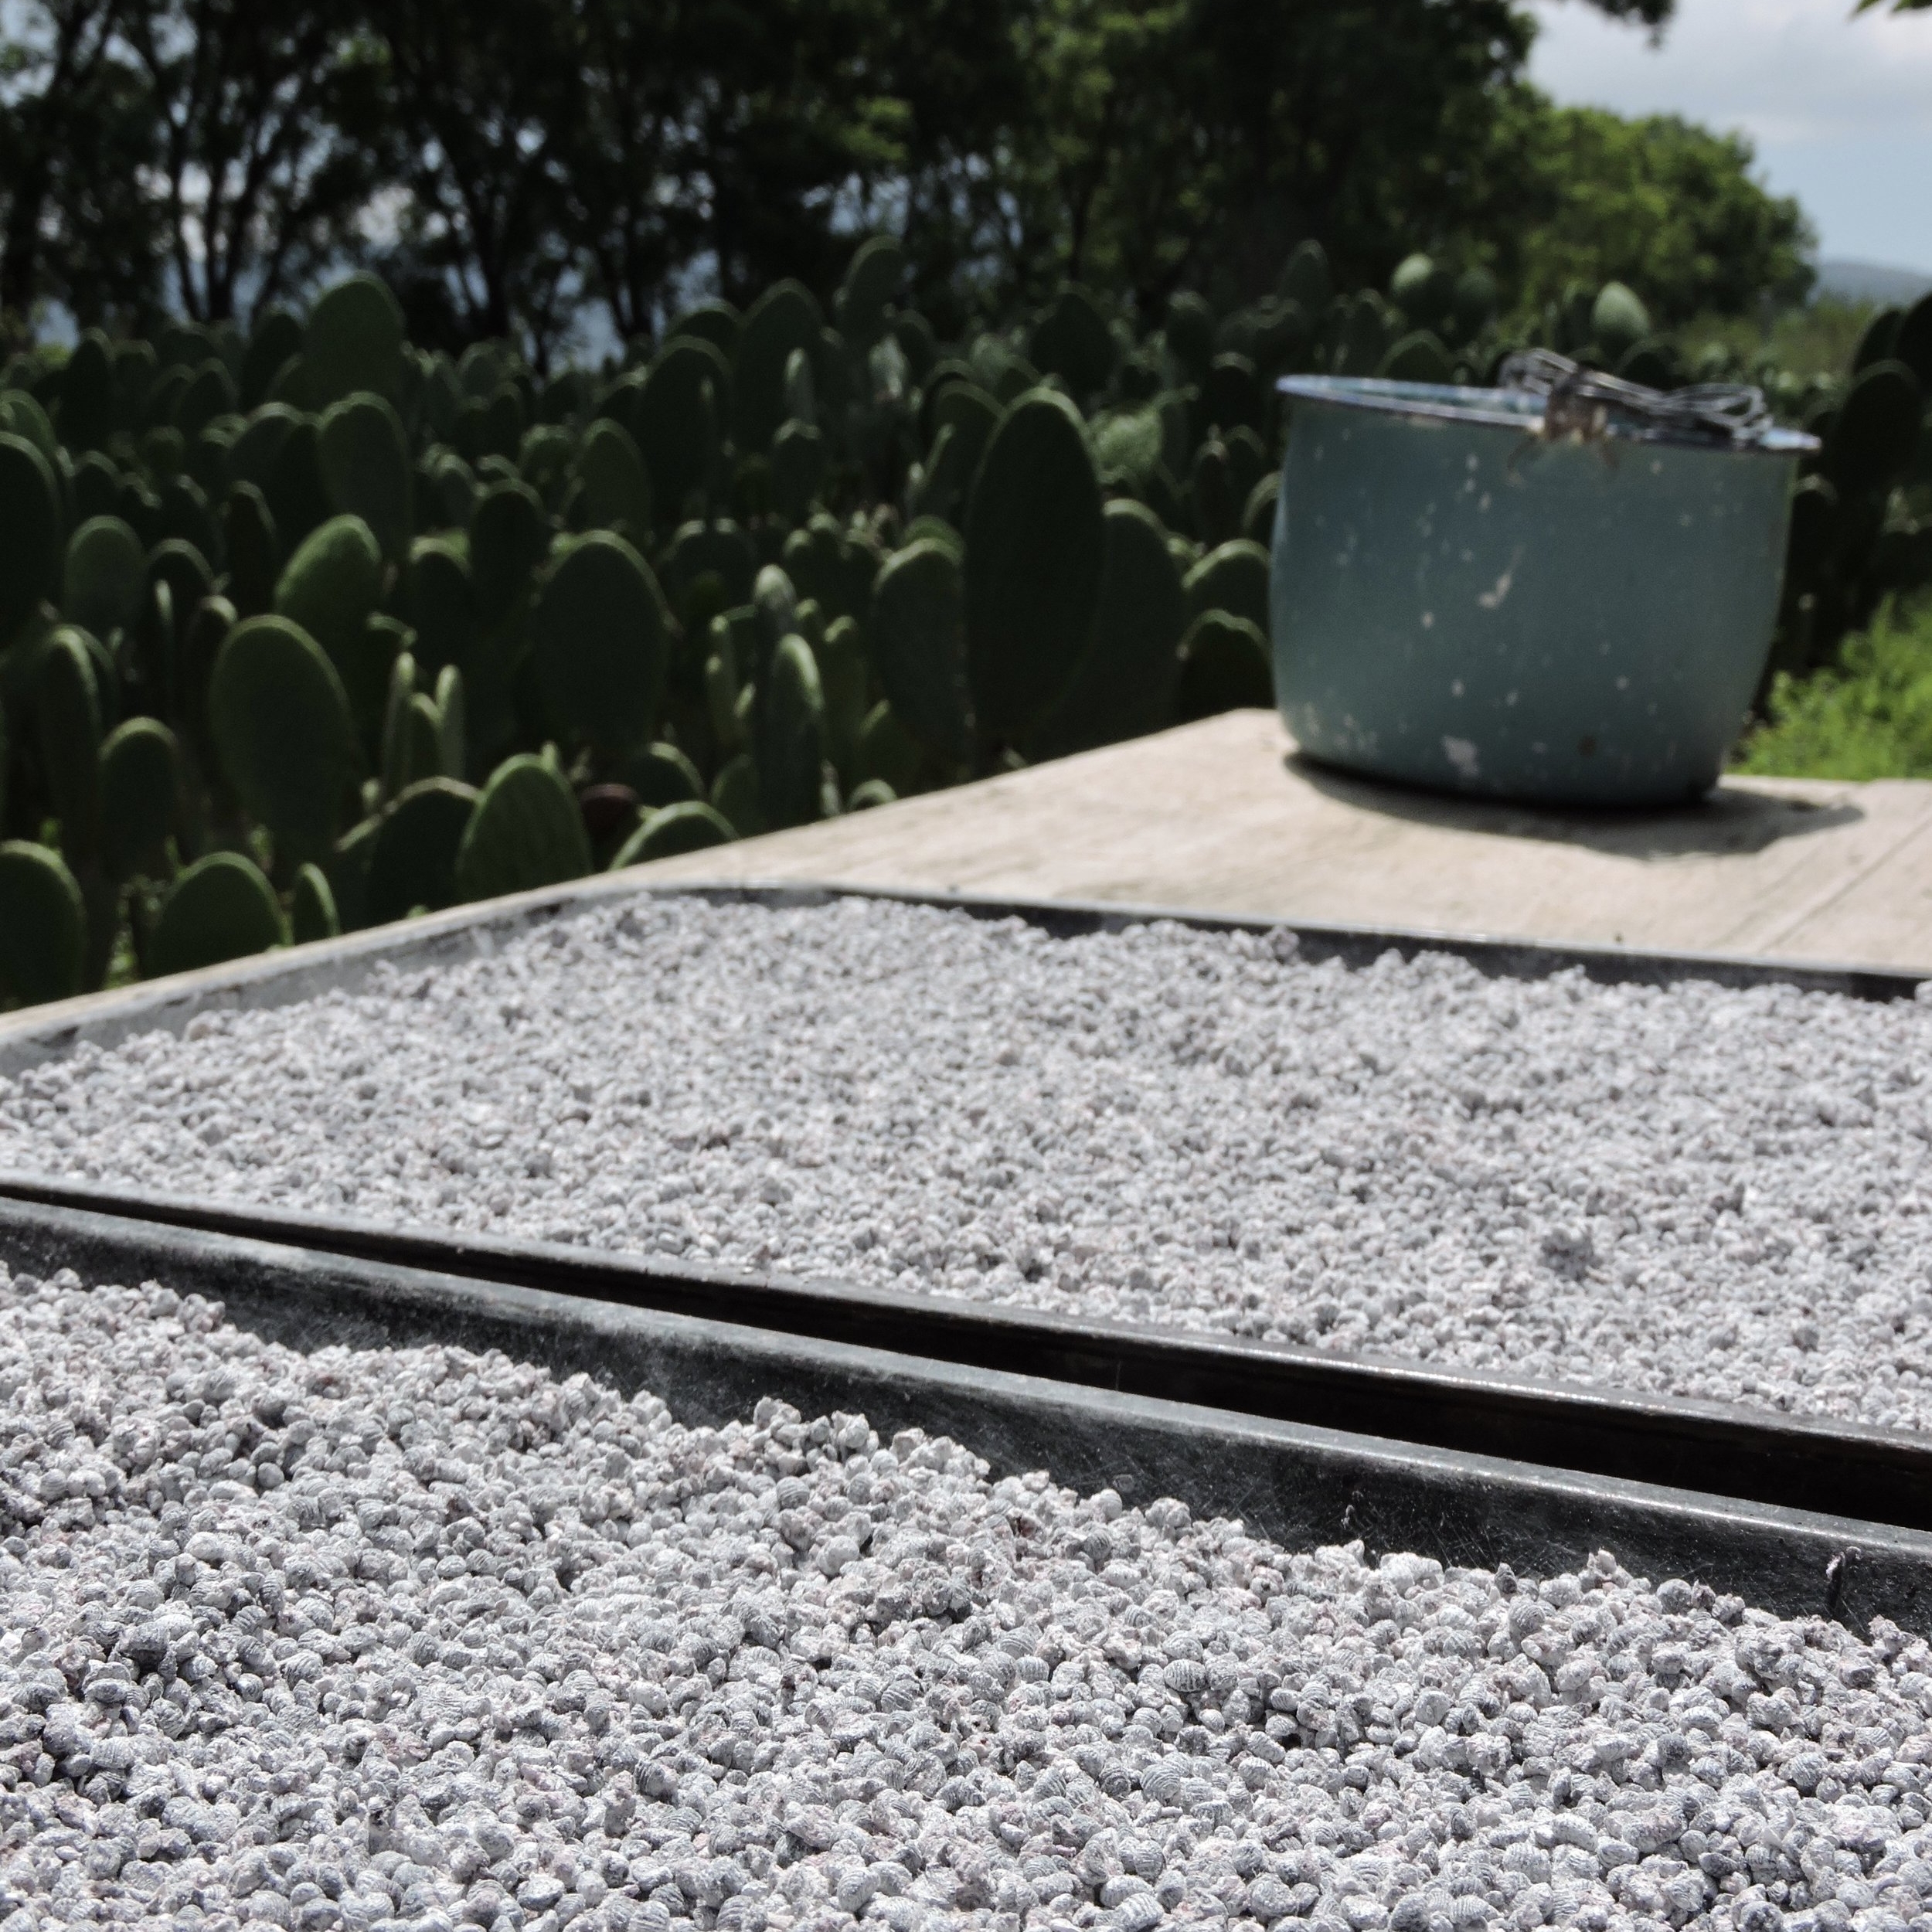
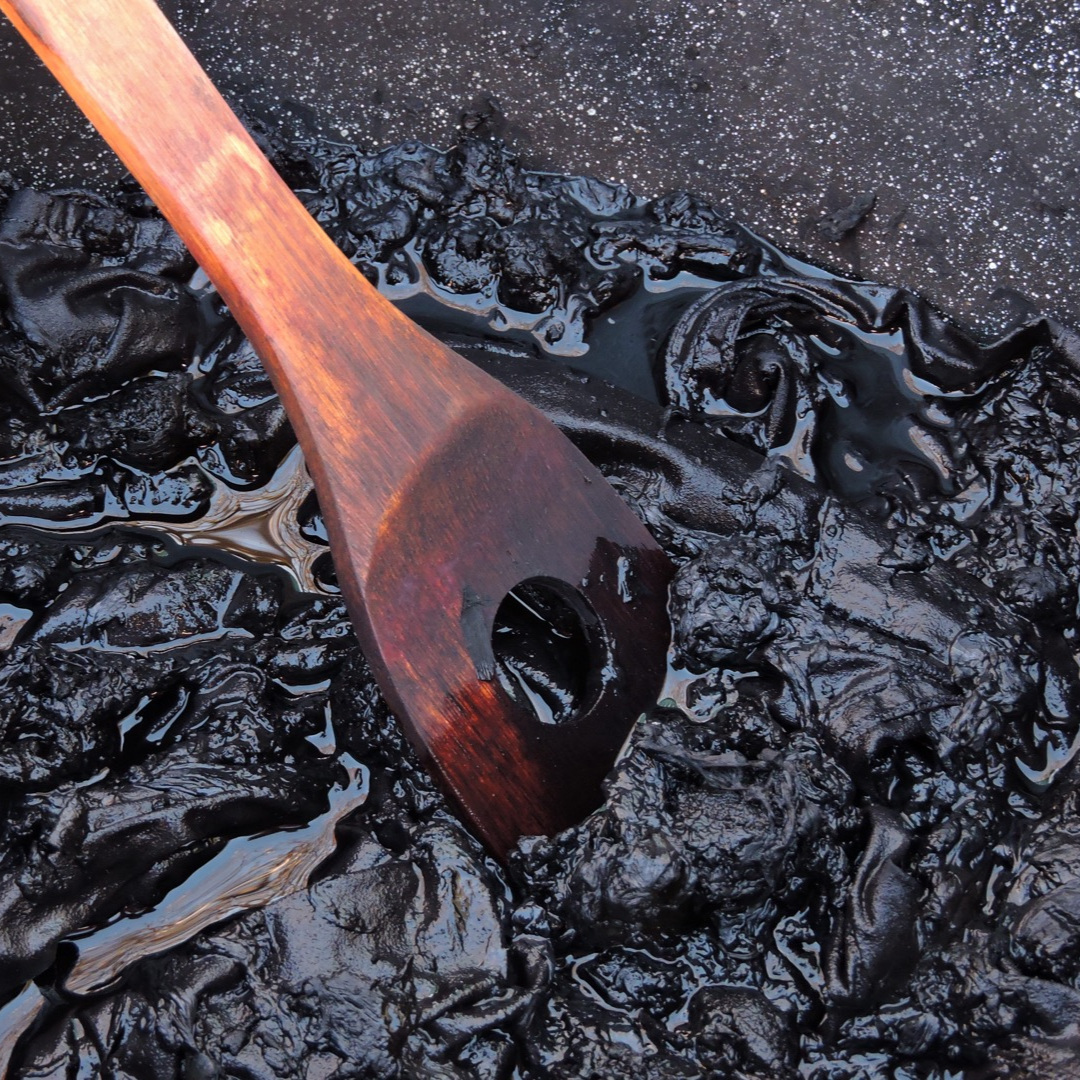
To use cochineal, we prefer to make a powder from the insects by using a coffee grinder. We then add the powder to water and make sure to break up any clumps of powder that form to avoid concentrated flecks of red on our fiber. After thoroughly dissolving the powder, simmer the dye bath with your garment for an hour, or until the fibers stop absorbing pigment. The traditional Zapotec method of grinding cochineal uses a metate (below are photos from metate to loom at our friend Sam’s family’s farm in Teotitlán del Valle. If you are headed to Oaxaca, their Airbnb is a must!). Many natural dyers in Oaxaca will have a separate metate reserved for cochineal to prevent food and other dyes from coming in contact with carminic acid. Some dyers I’ve met prefer soaking their bugs overnight and then mixing the rehydrated mixture into their dye bath. I often dye on a whim, so the coffee grinder works best for me.
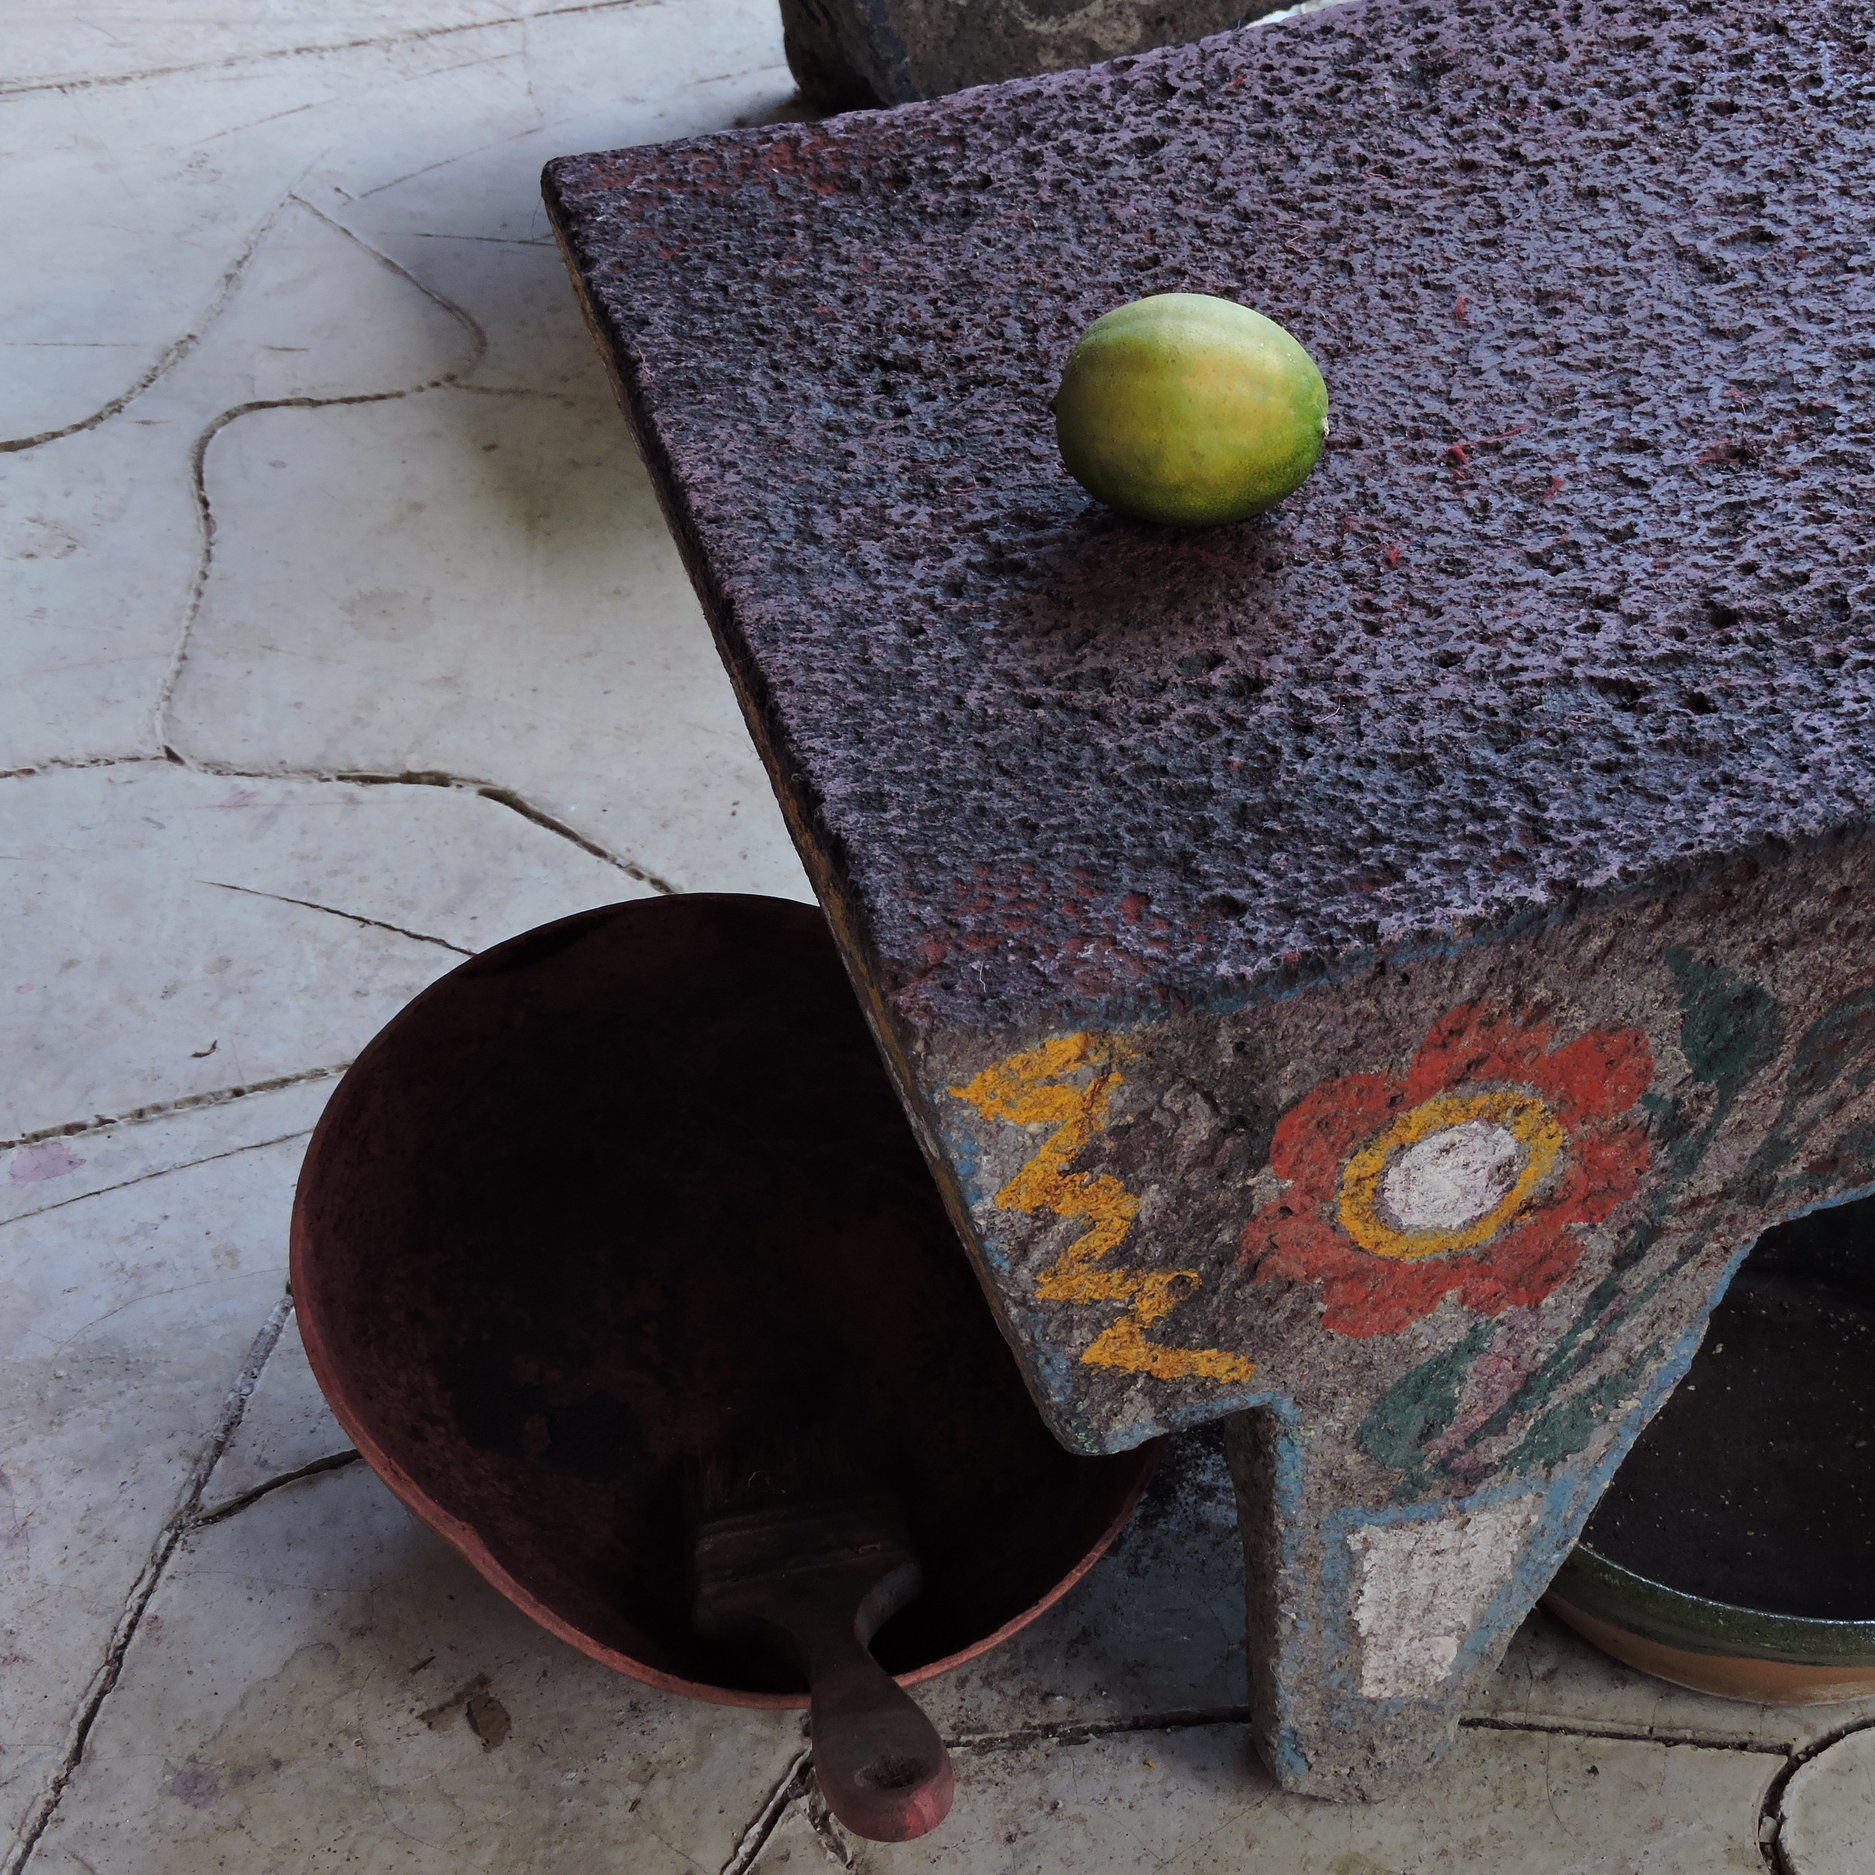
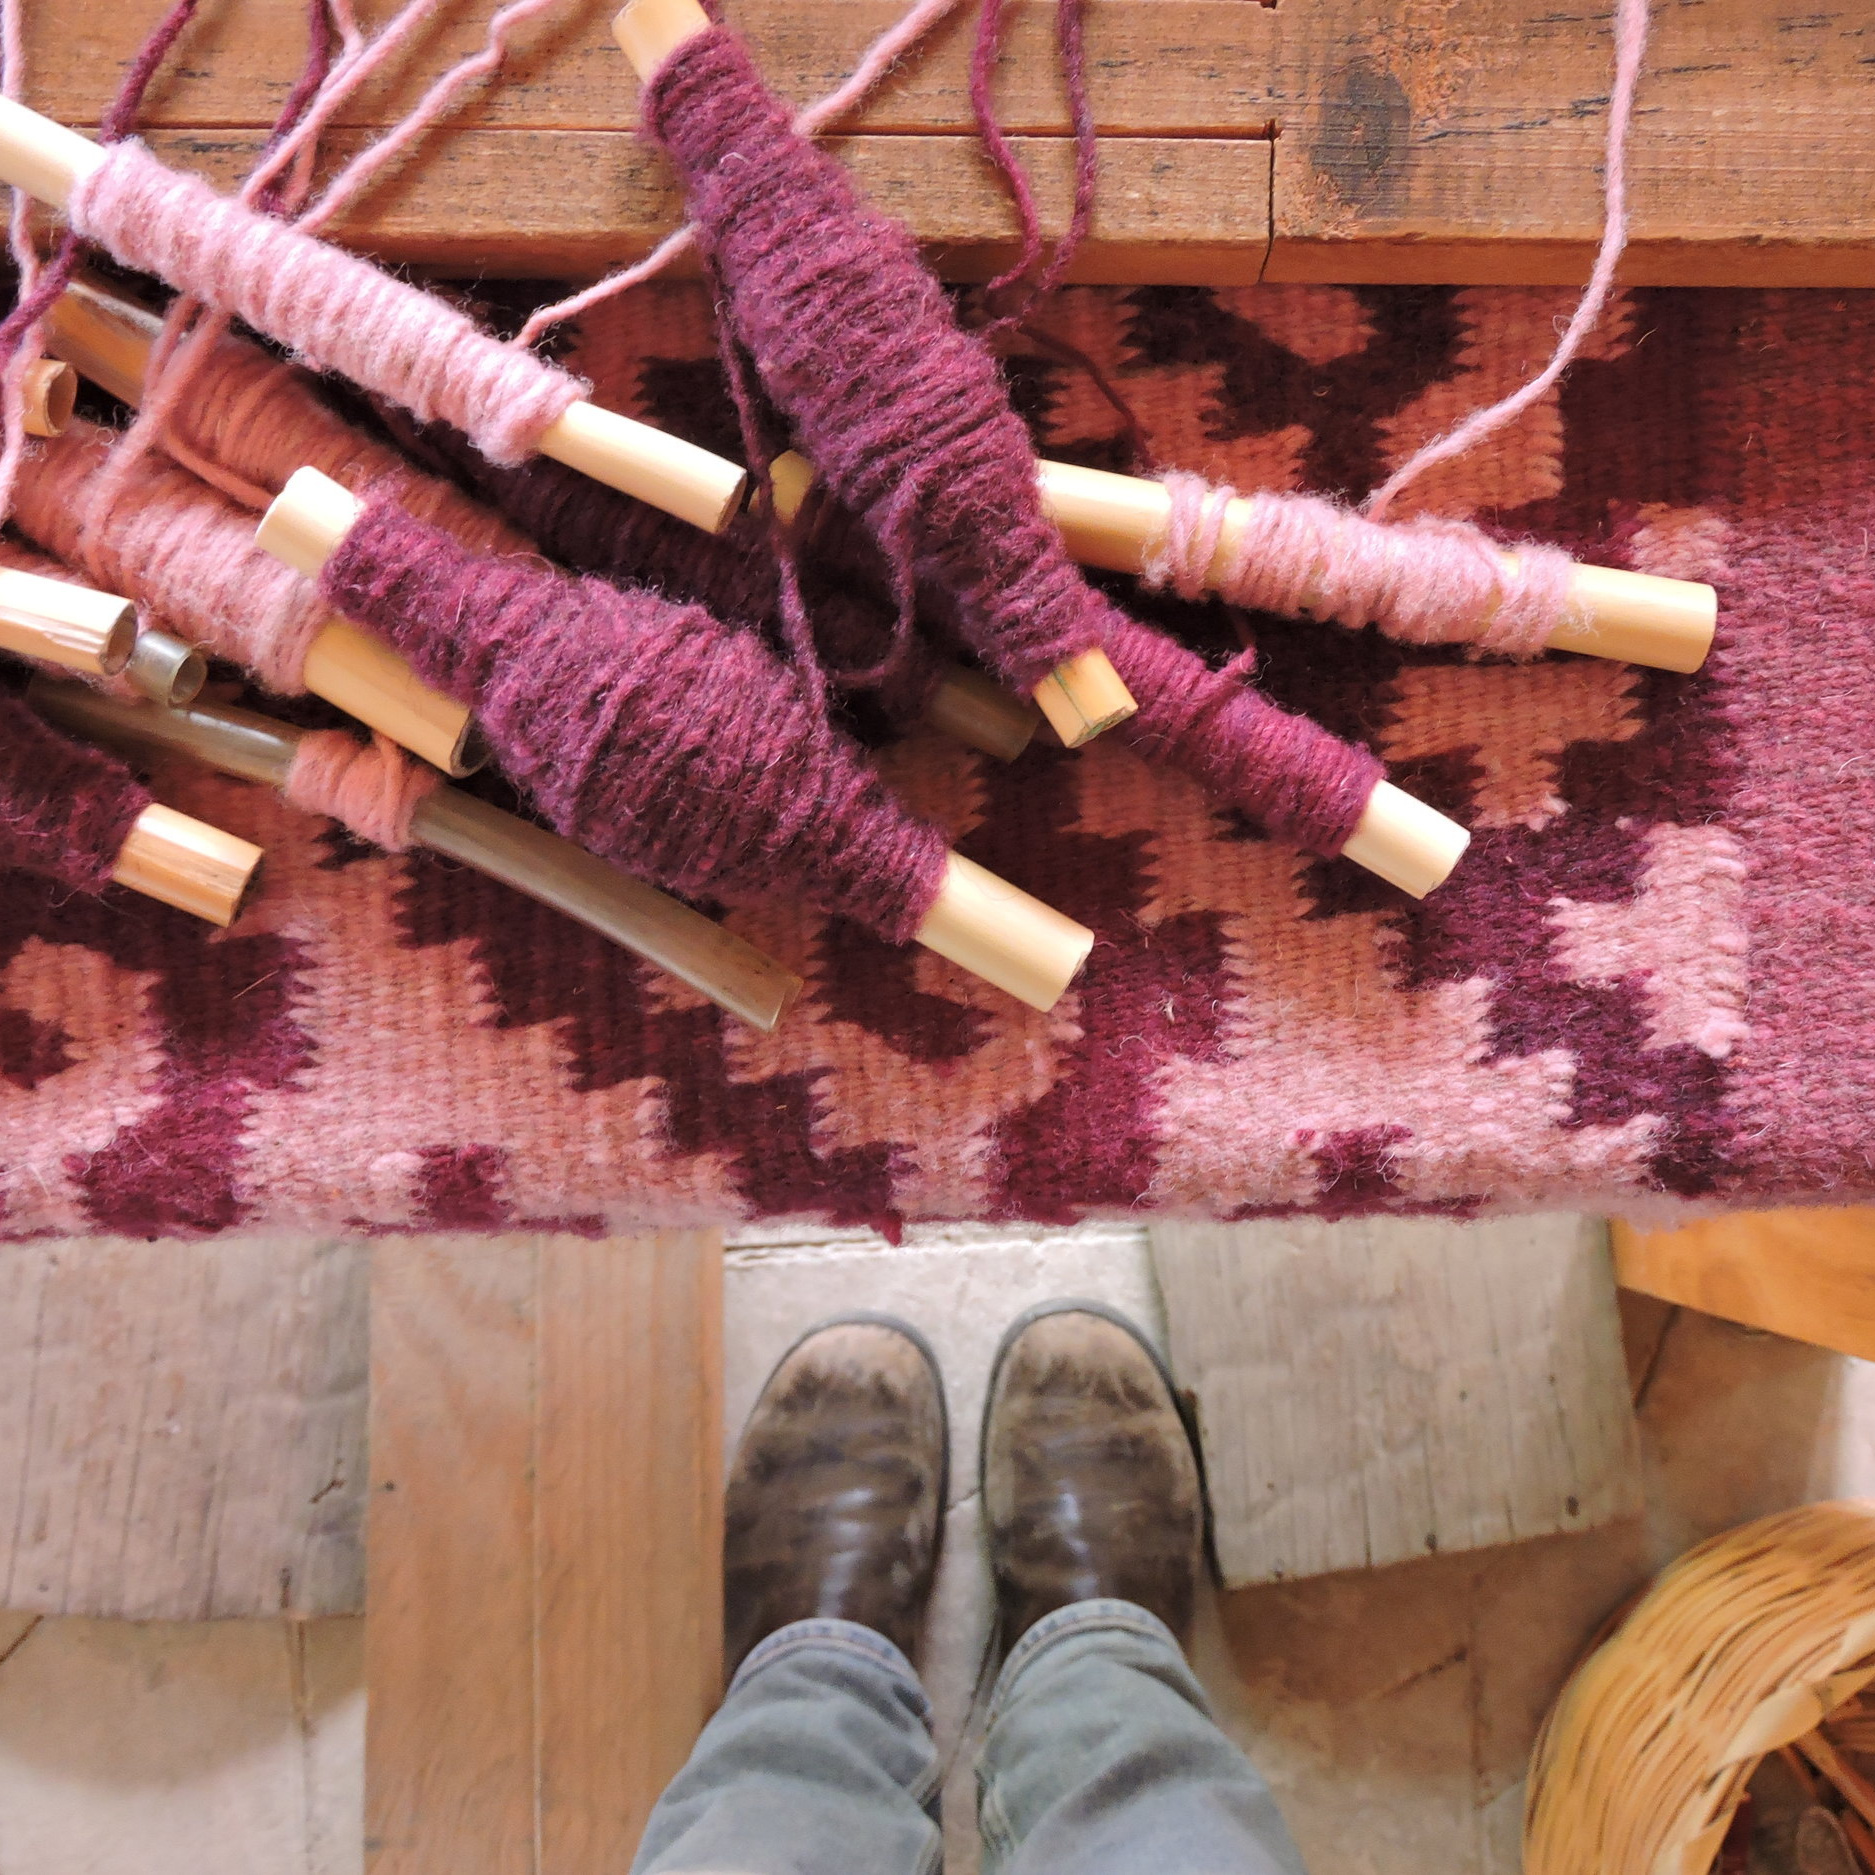
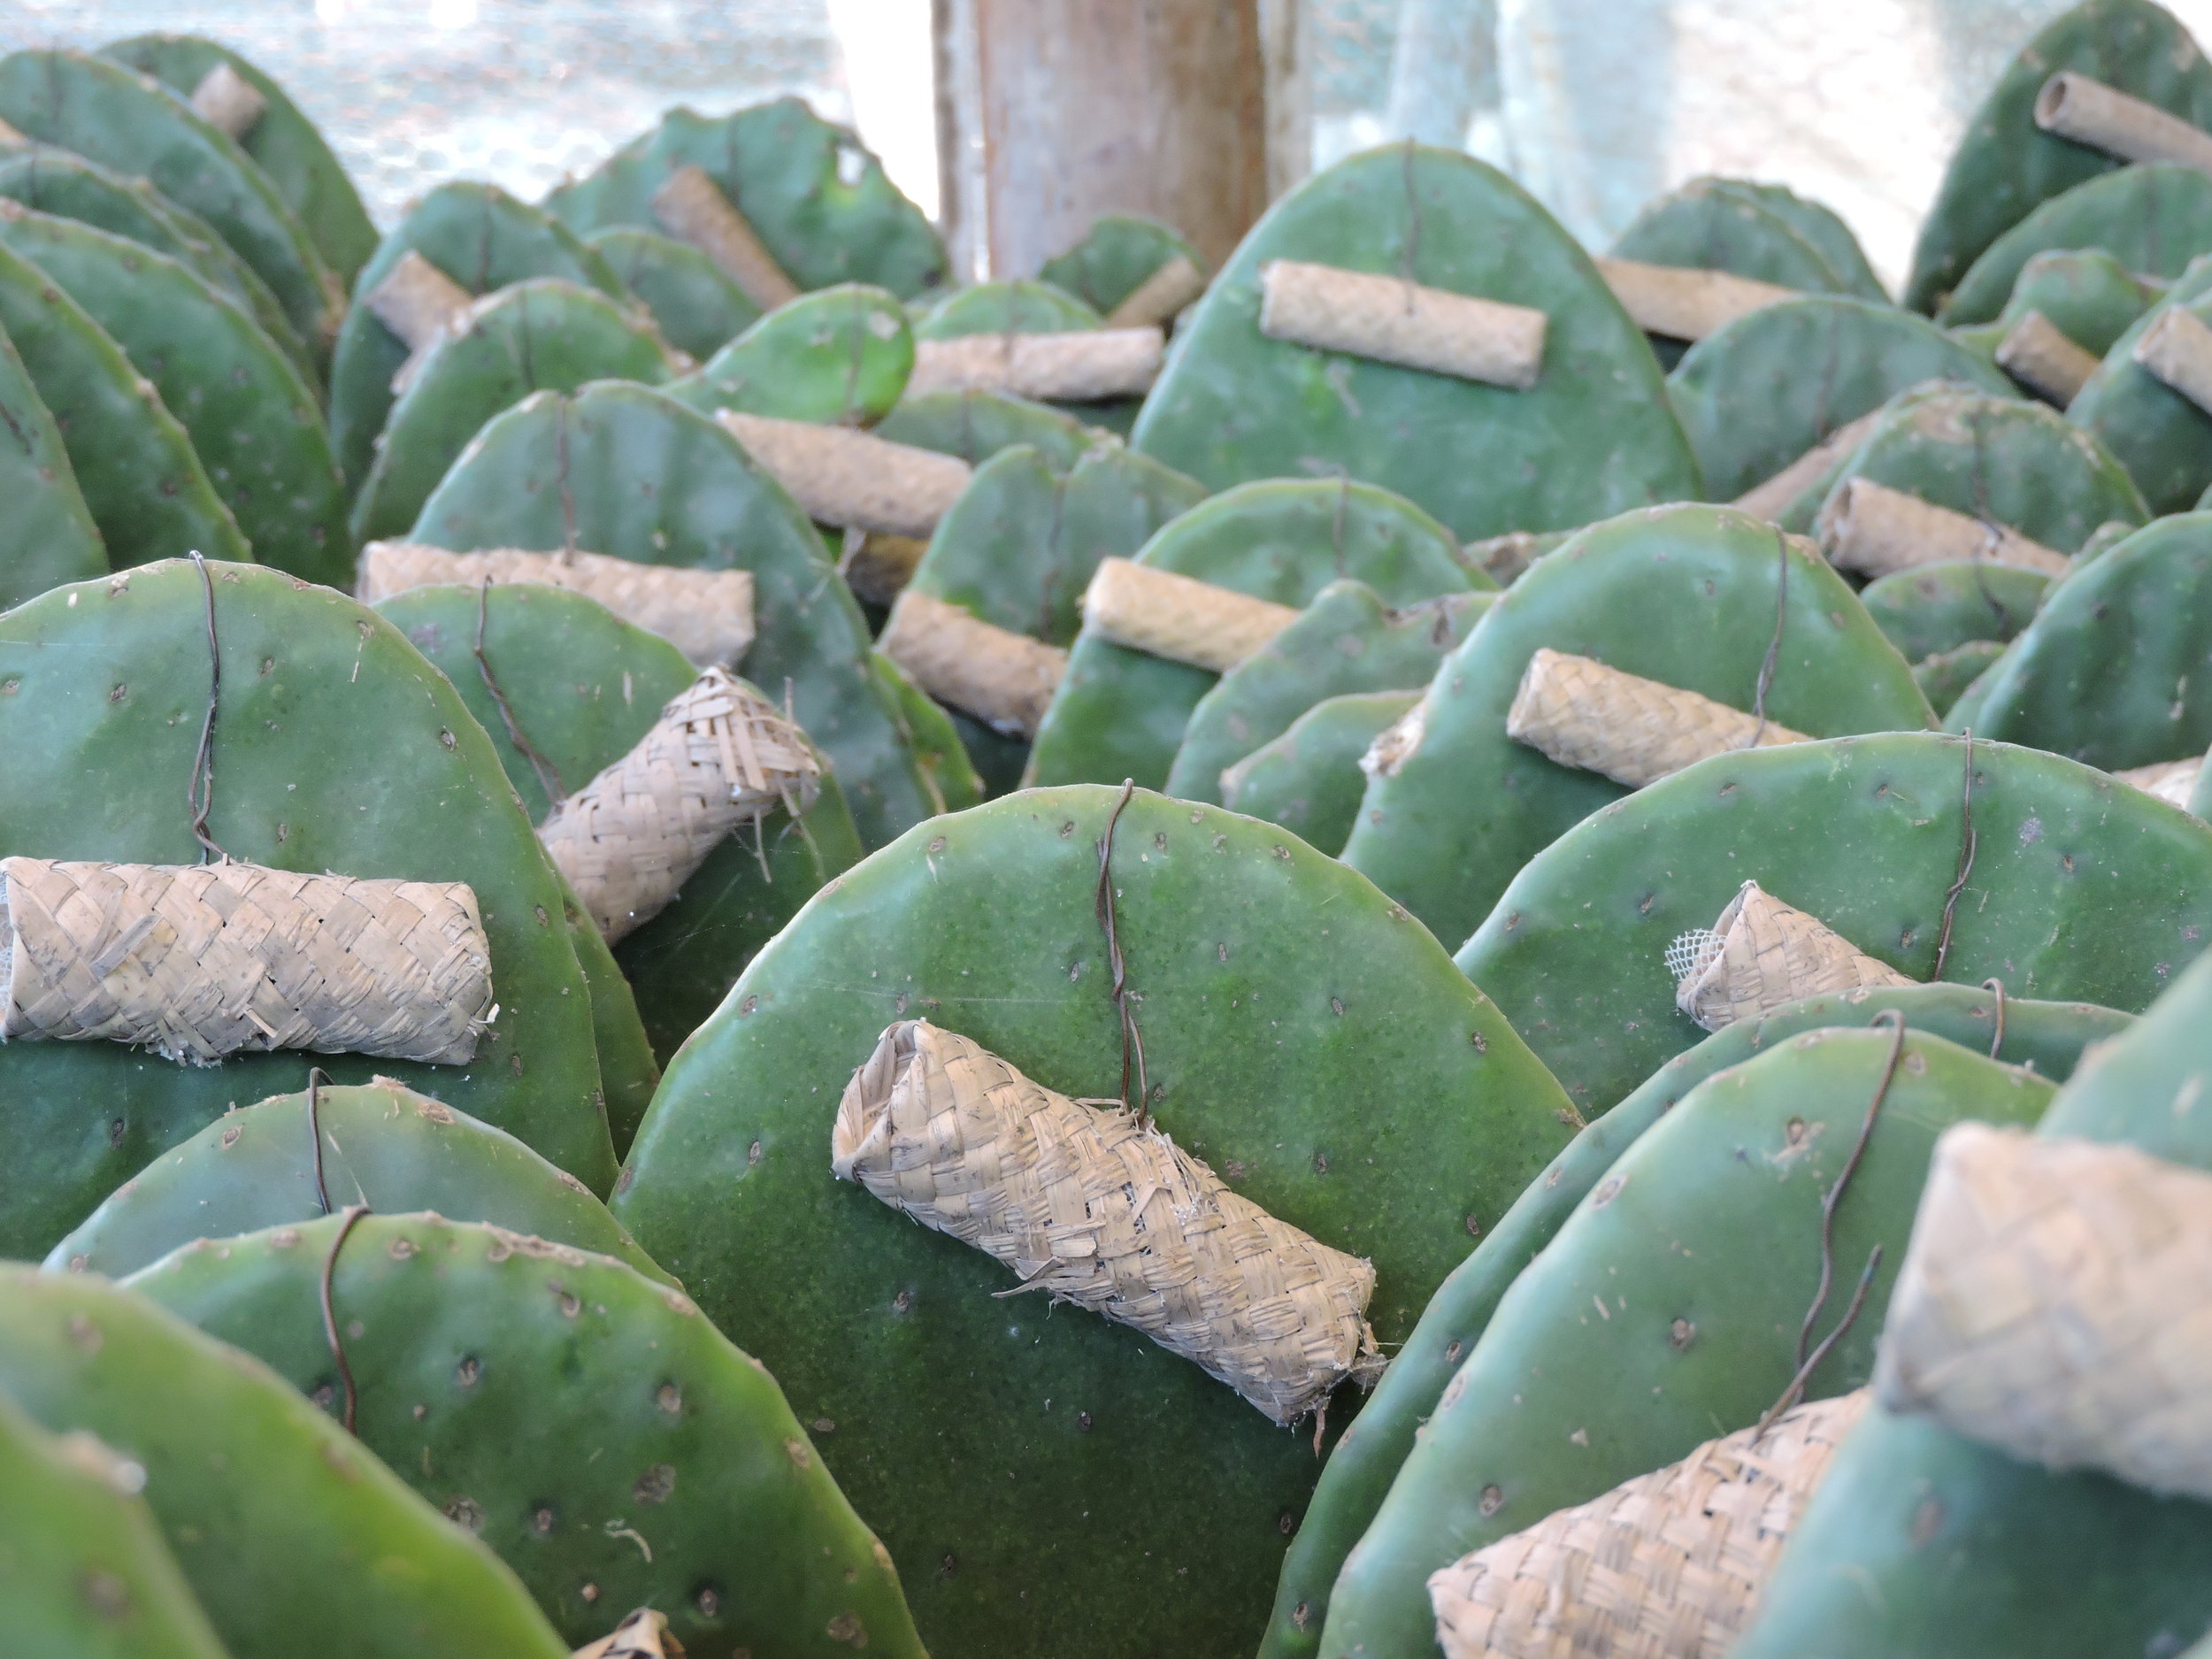
Below are pictures from a 2015 visit to Tlapanochestli, a cochineal farm in Santa Maria Coyotepec, Oaxaca. The cochineal growing process involves inoculating prickly pear pads with little woven baskets (called nidos, or nests) that carry the largest and healthiest females from the last generation. These females quickly lay hundreds of eggs to colonize new cacti pads. After a pad reaches maximum capacity, the females are scraped off and screened to select the largest females to continue the next generation. The smaller insects are then dried in the sun to use as dye.

Japanese Indigo
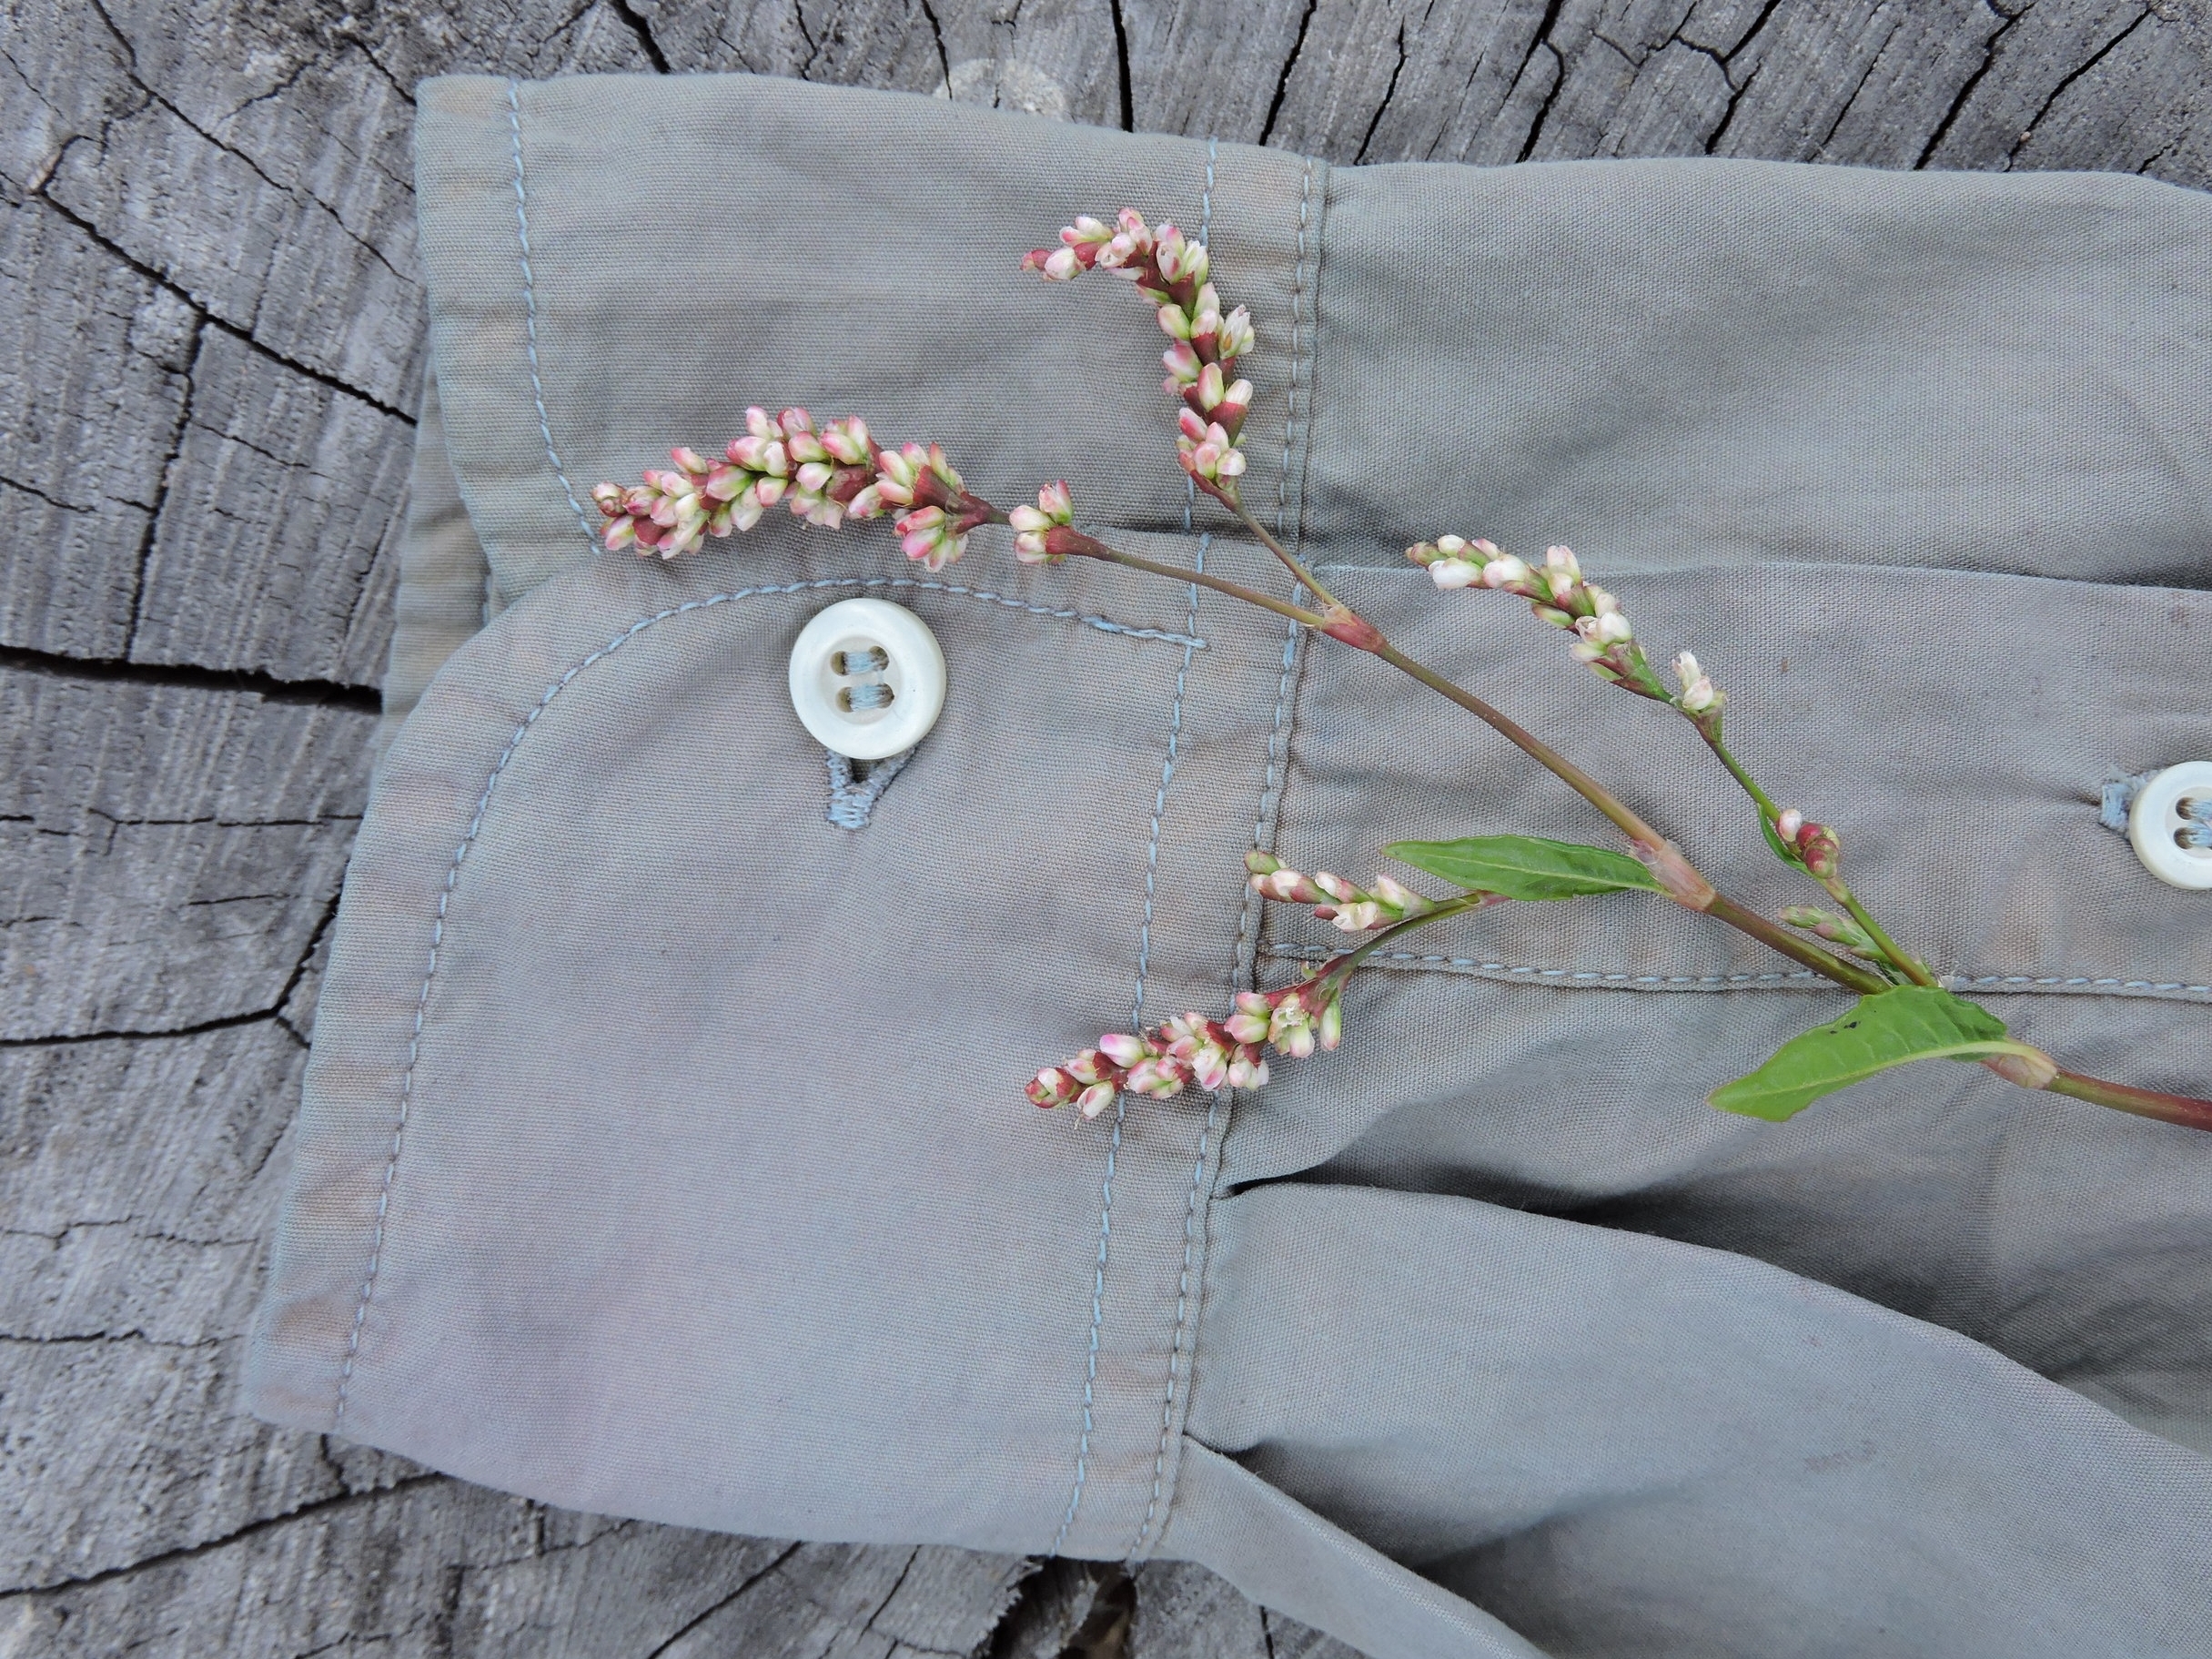
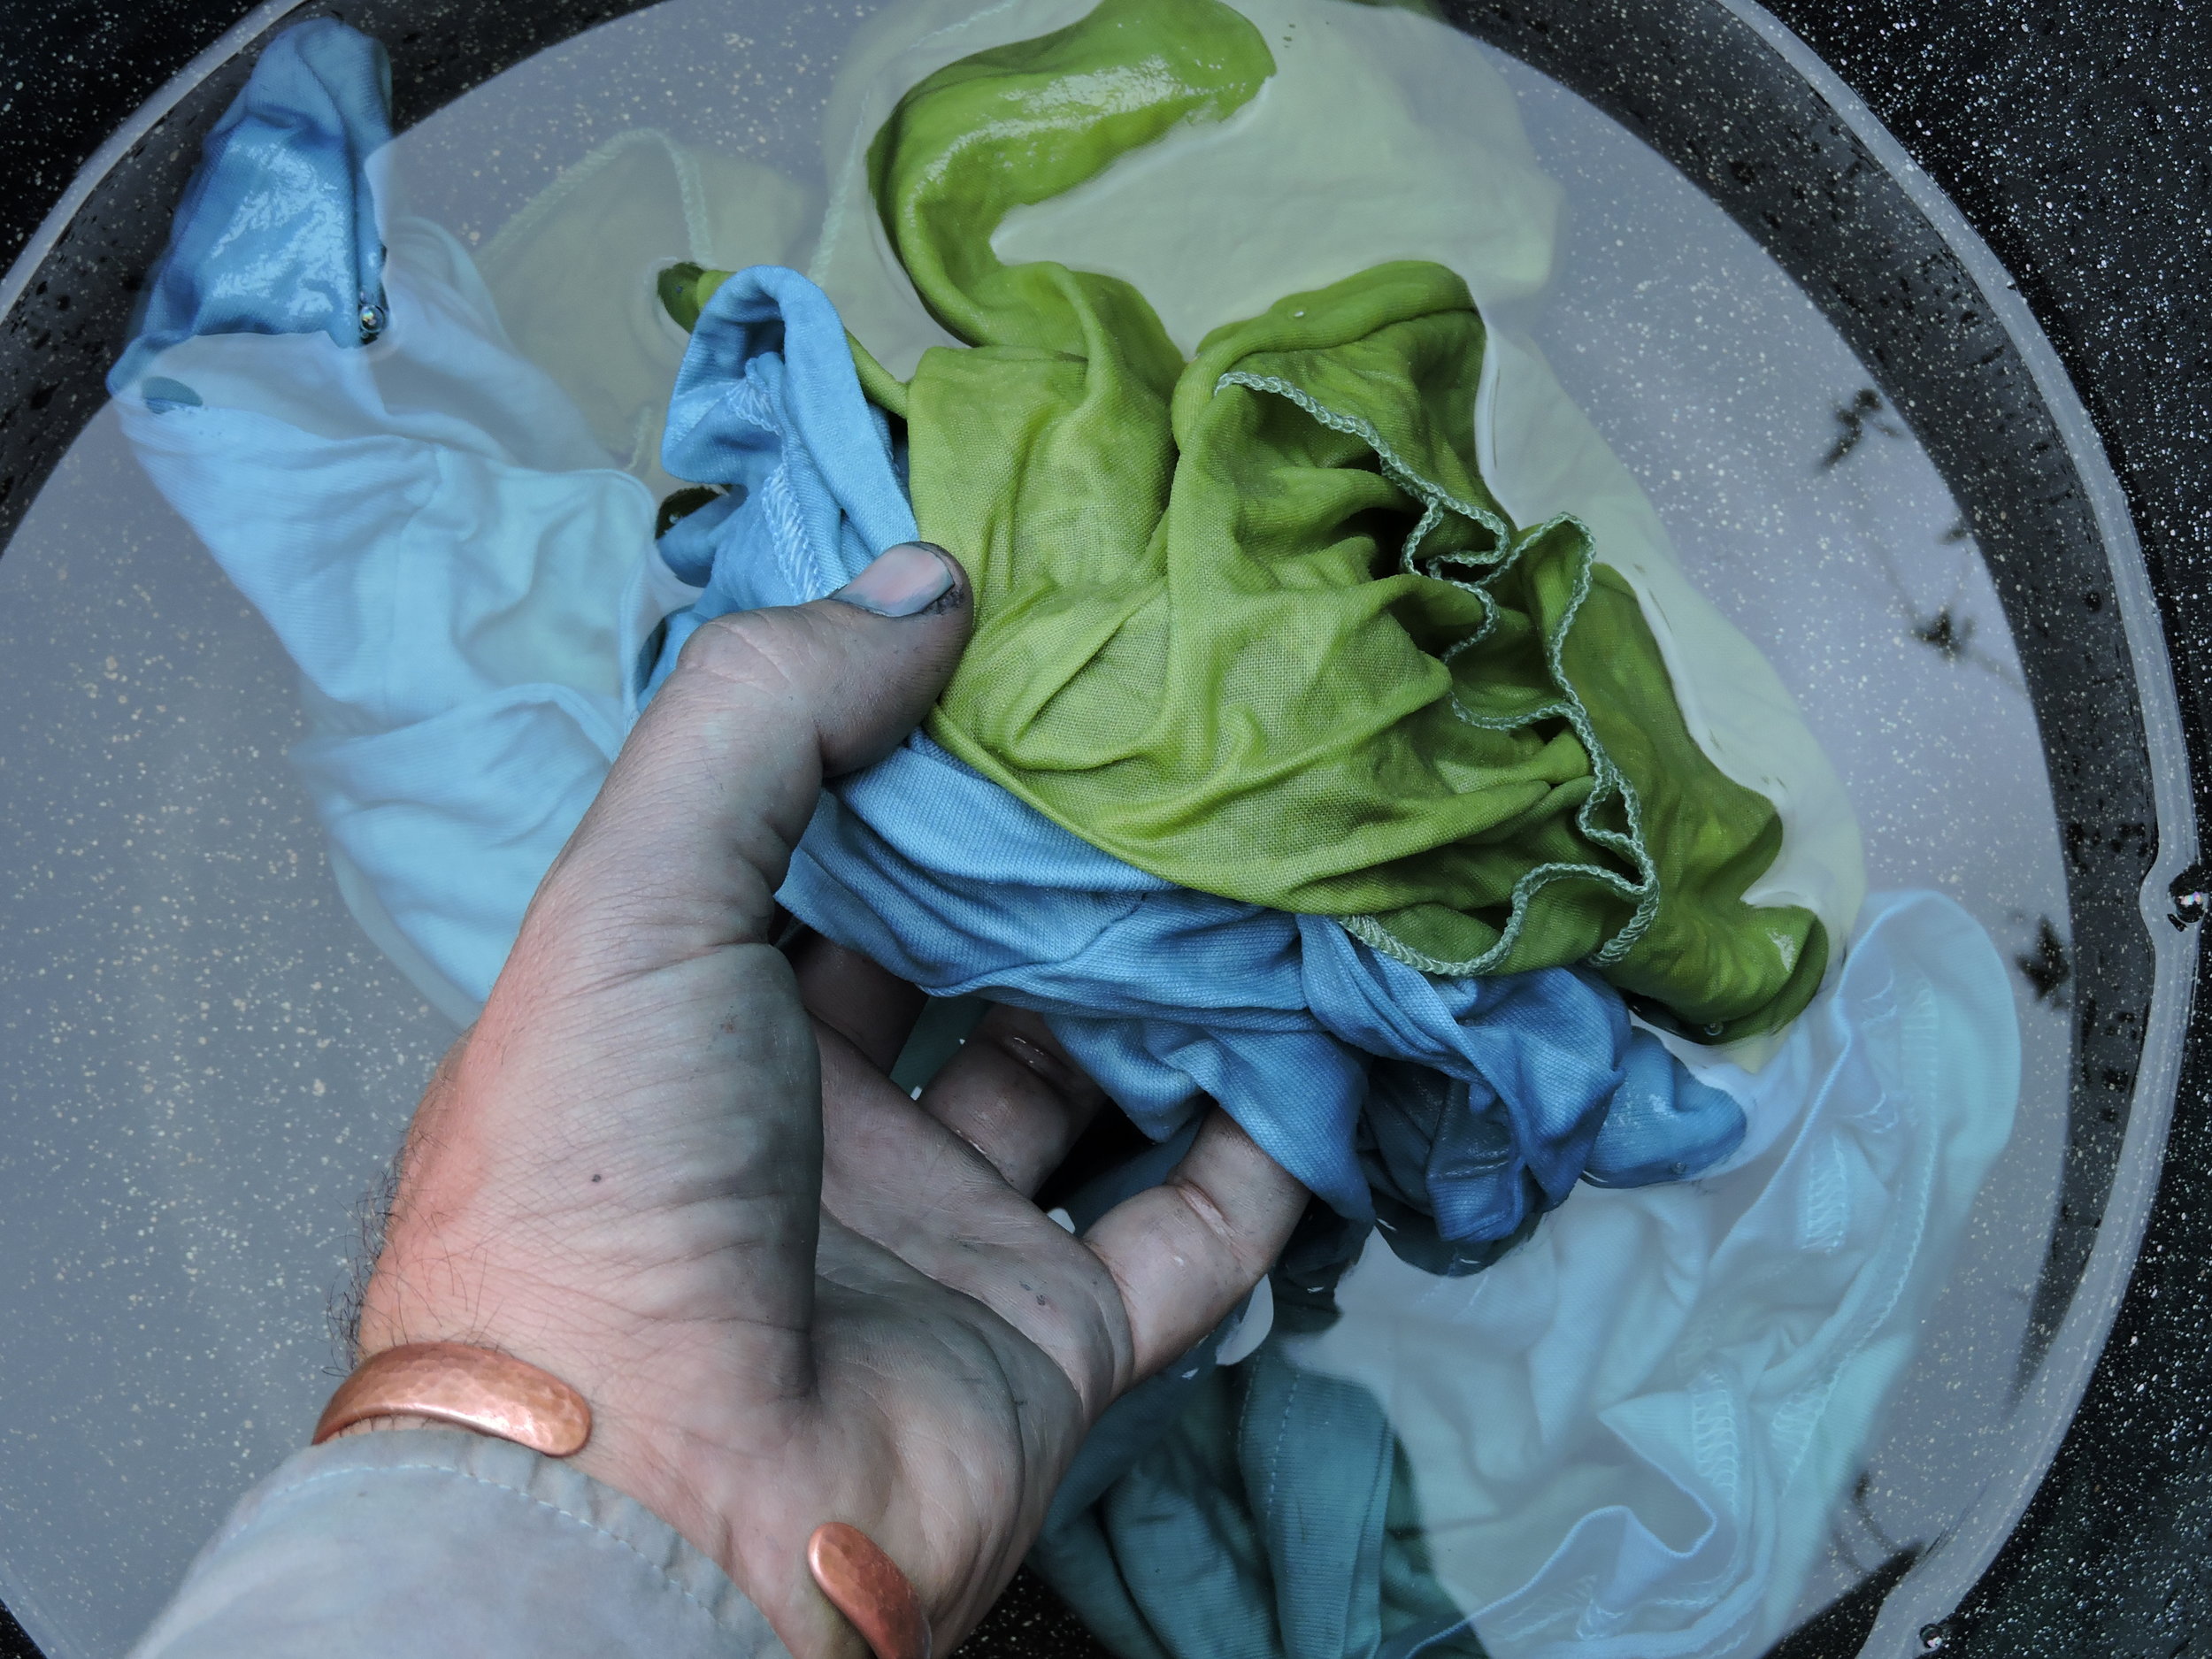
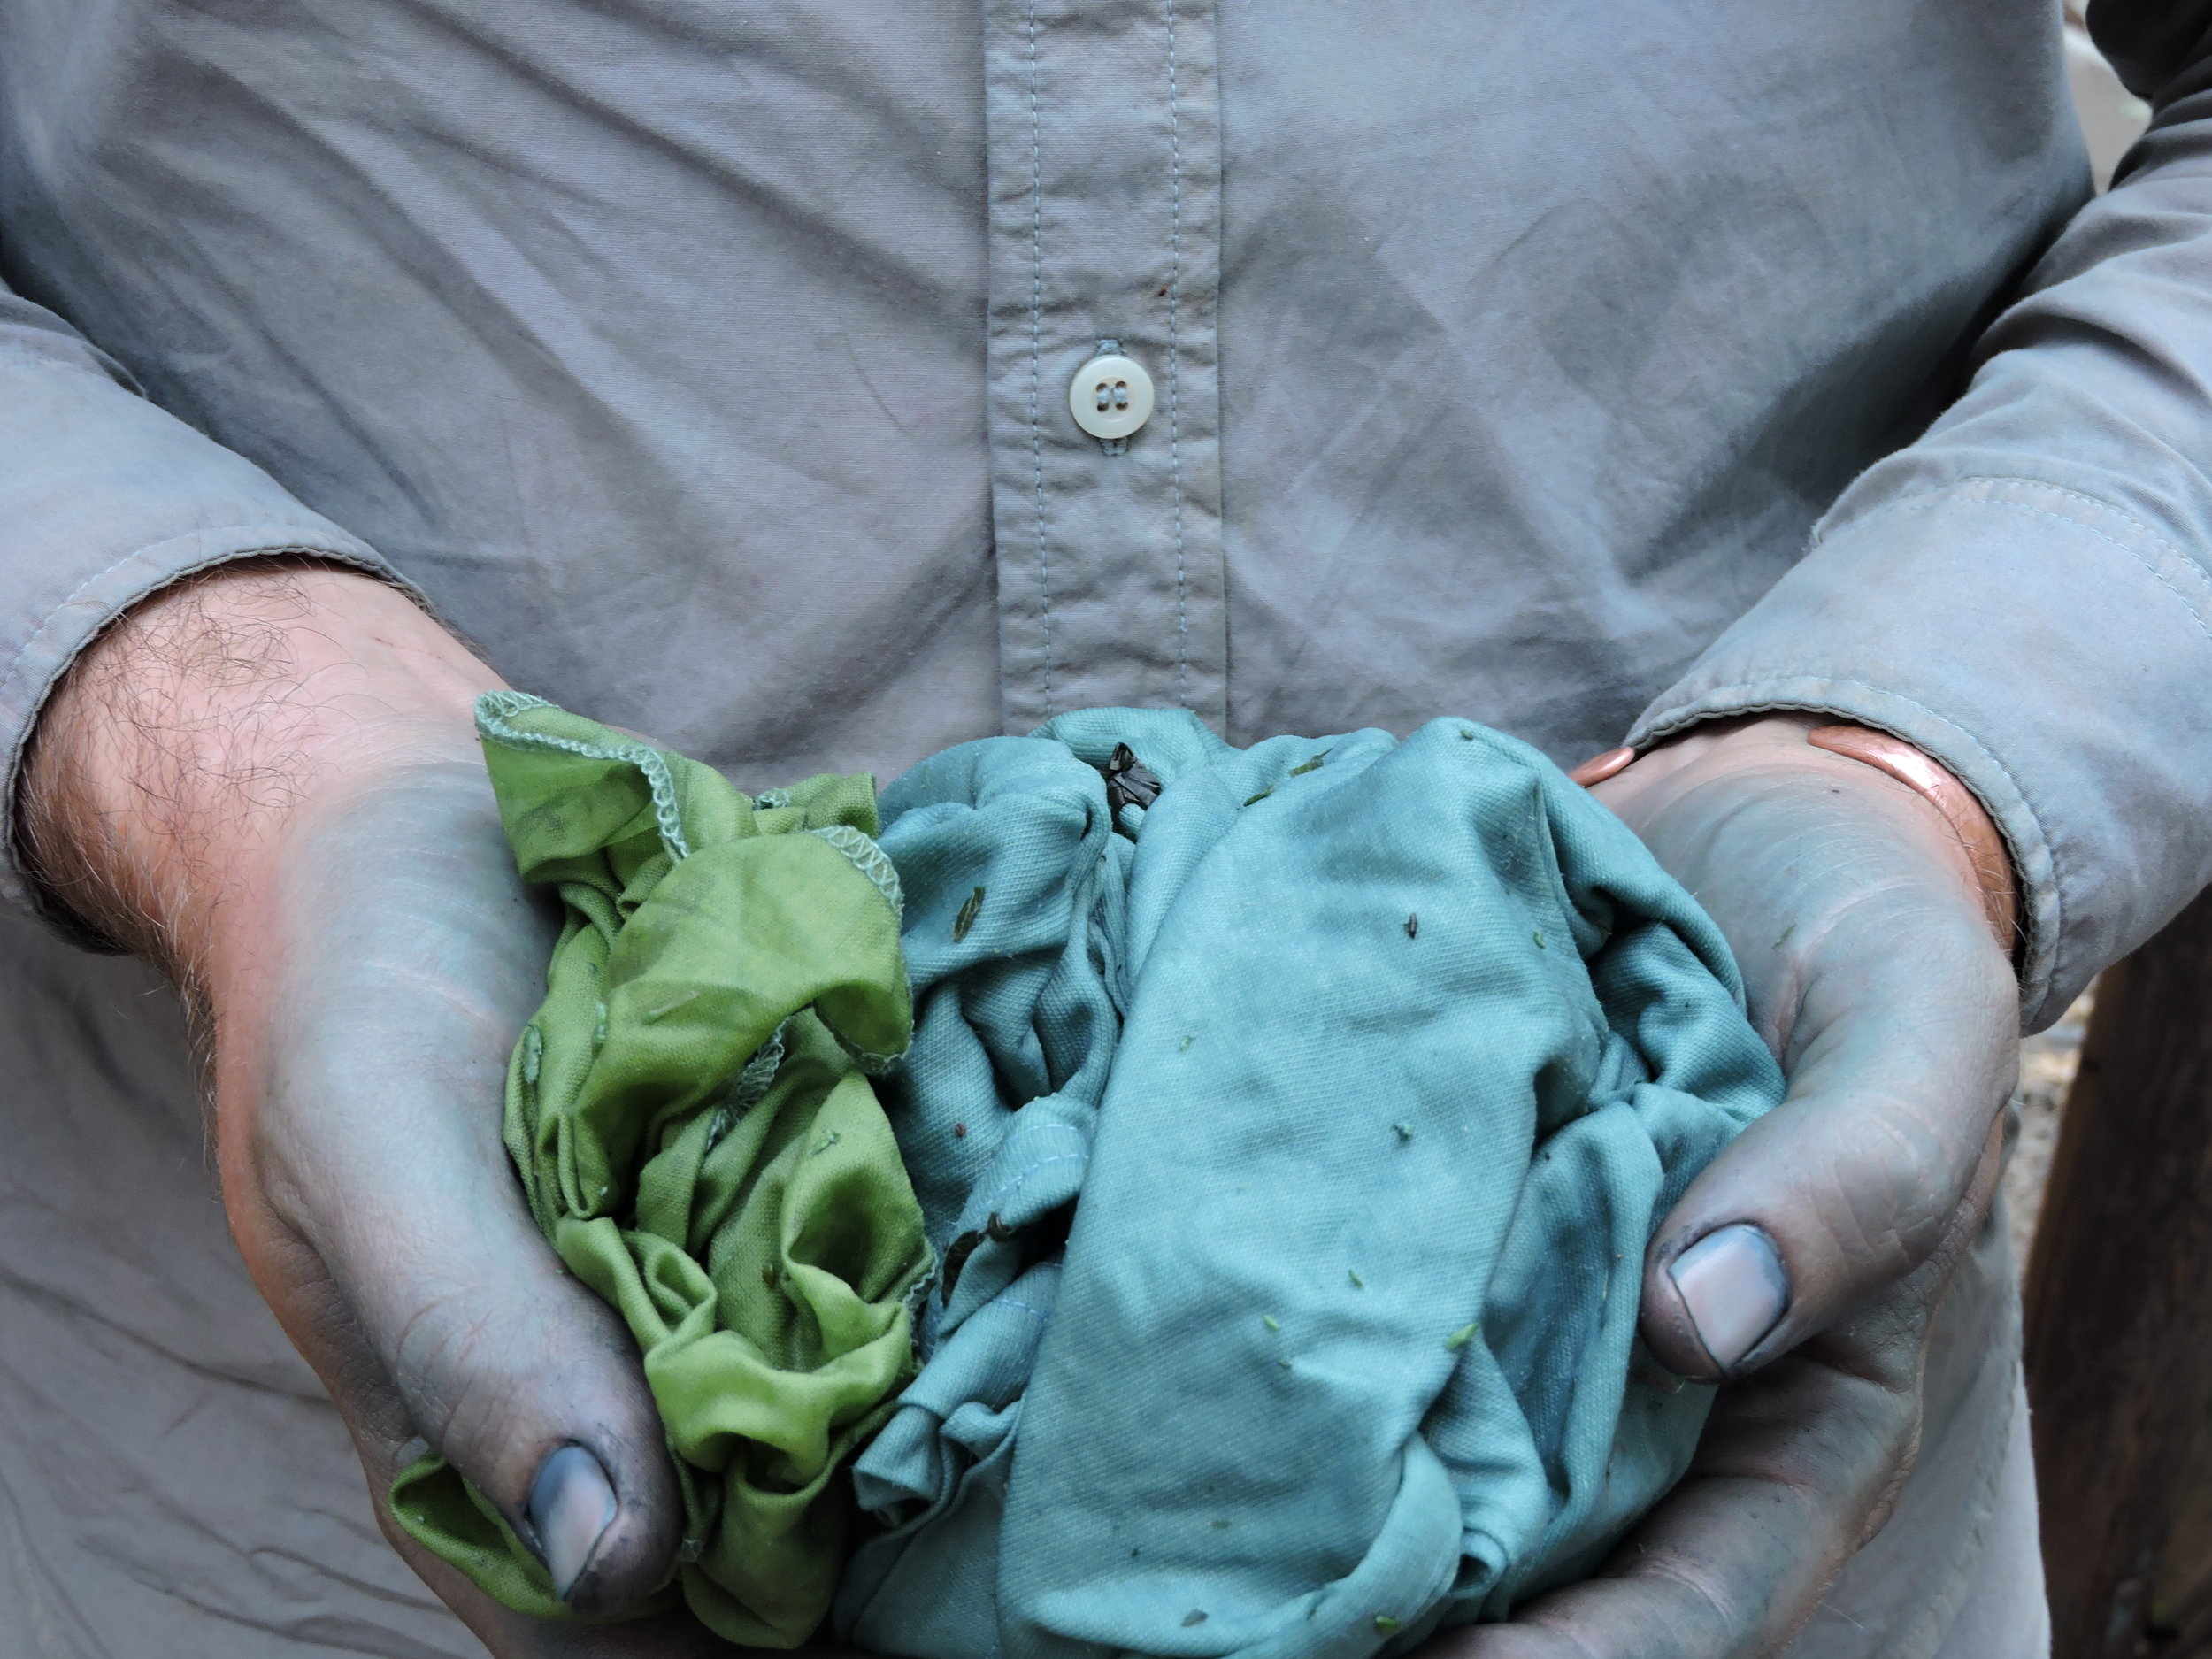
Japanese indigo (Persicaria tinctoria) is pure magic. Watching fibers transition from yellow-green to vibrant blue as you expose them to oxygen is a highlight of natural dyeing. There are SO many ways to dye with indigo, but our go-to last season was the fresh leaf salt method. This method is super quick and doesn’t require creating a fermentation or chemical vat. Simply strip indigo leaves into a large bowl, add a couple tablespoons of salt, and then mash your selected natural fibers into the salt leaf mixture for 30+ minutes. It’s a great upper body workout! The colors produced from the fresh leaf salt method aren’t as dark as with a vat, but the teals that it produces are vibrant.
The lower left-hand photo shows a bandana dyed with dyer’s chamomile, a white bandana, and my harvest shirt before the salt method, with the photo on the far right showing the results. Isn’t that green from dyer’s chamomile and indigo delicious?! I really like how the shirt didn’t take the indigo in a uniform manner. There are areas where orange and salmon were still visible, and other areas that were solidly lavender or grayish-blue. Beautiful gradients like these often occur when over-dyeing with natural dyes. Each piece is so unique and difficult to replicate.
To grow Japanese indigo in Utah, we seed our plants early to mid April. Because they aren’t very tolerant of frost, we wait a solid week after our last frost date to transplant them into our fields at 1’ spacing. Once plants are full and bushy, you can begin to cut and come again, obtaining multiple harvests within a season. Some people will strip the leaves off of their harvested stems, place the stems in water to allow them to root, and then replant the stems to increase the size of their indigo plot.
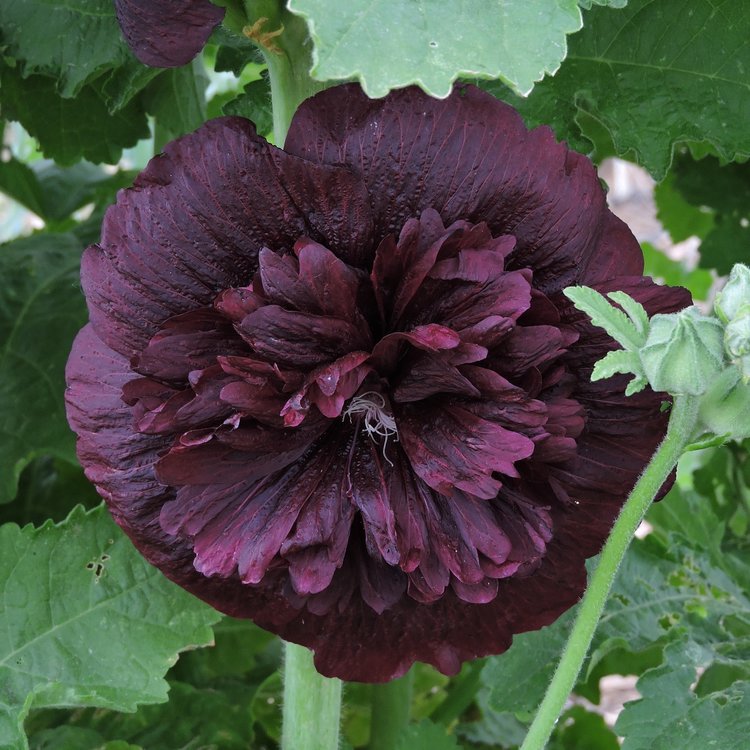
Double Black Hollyhock
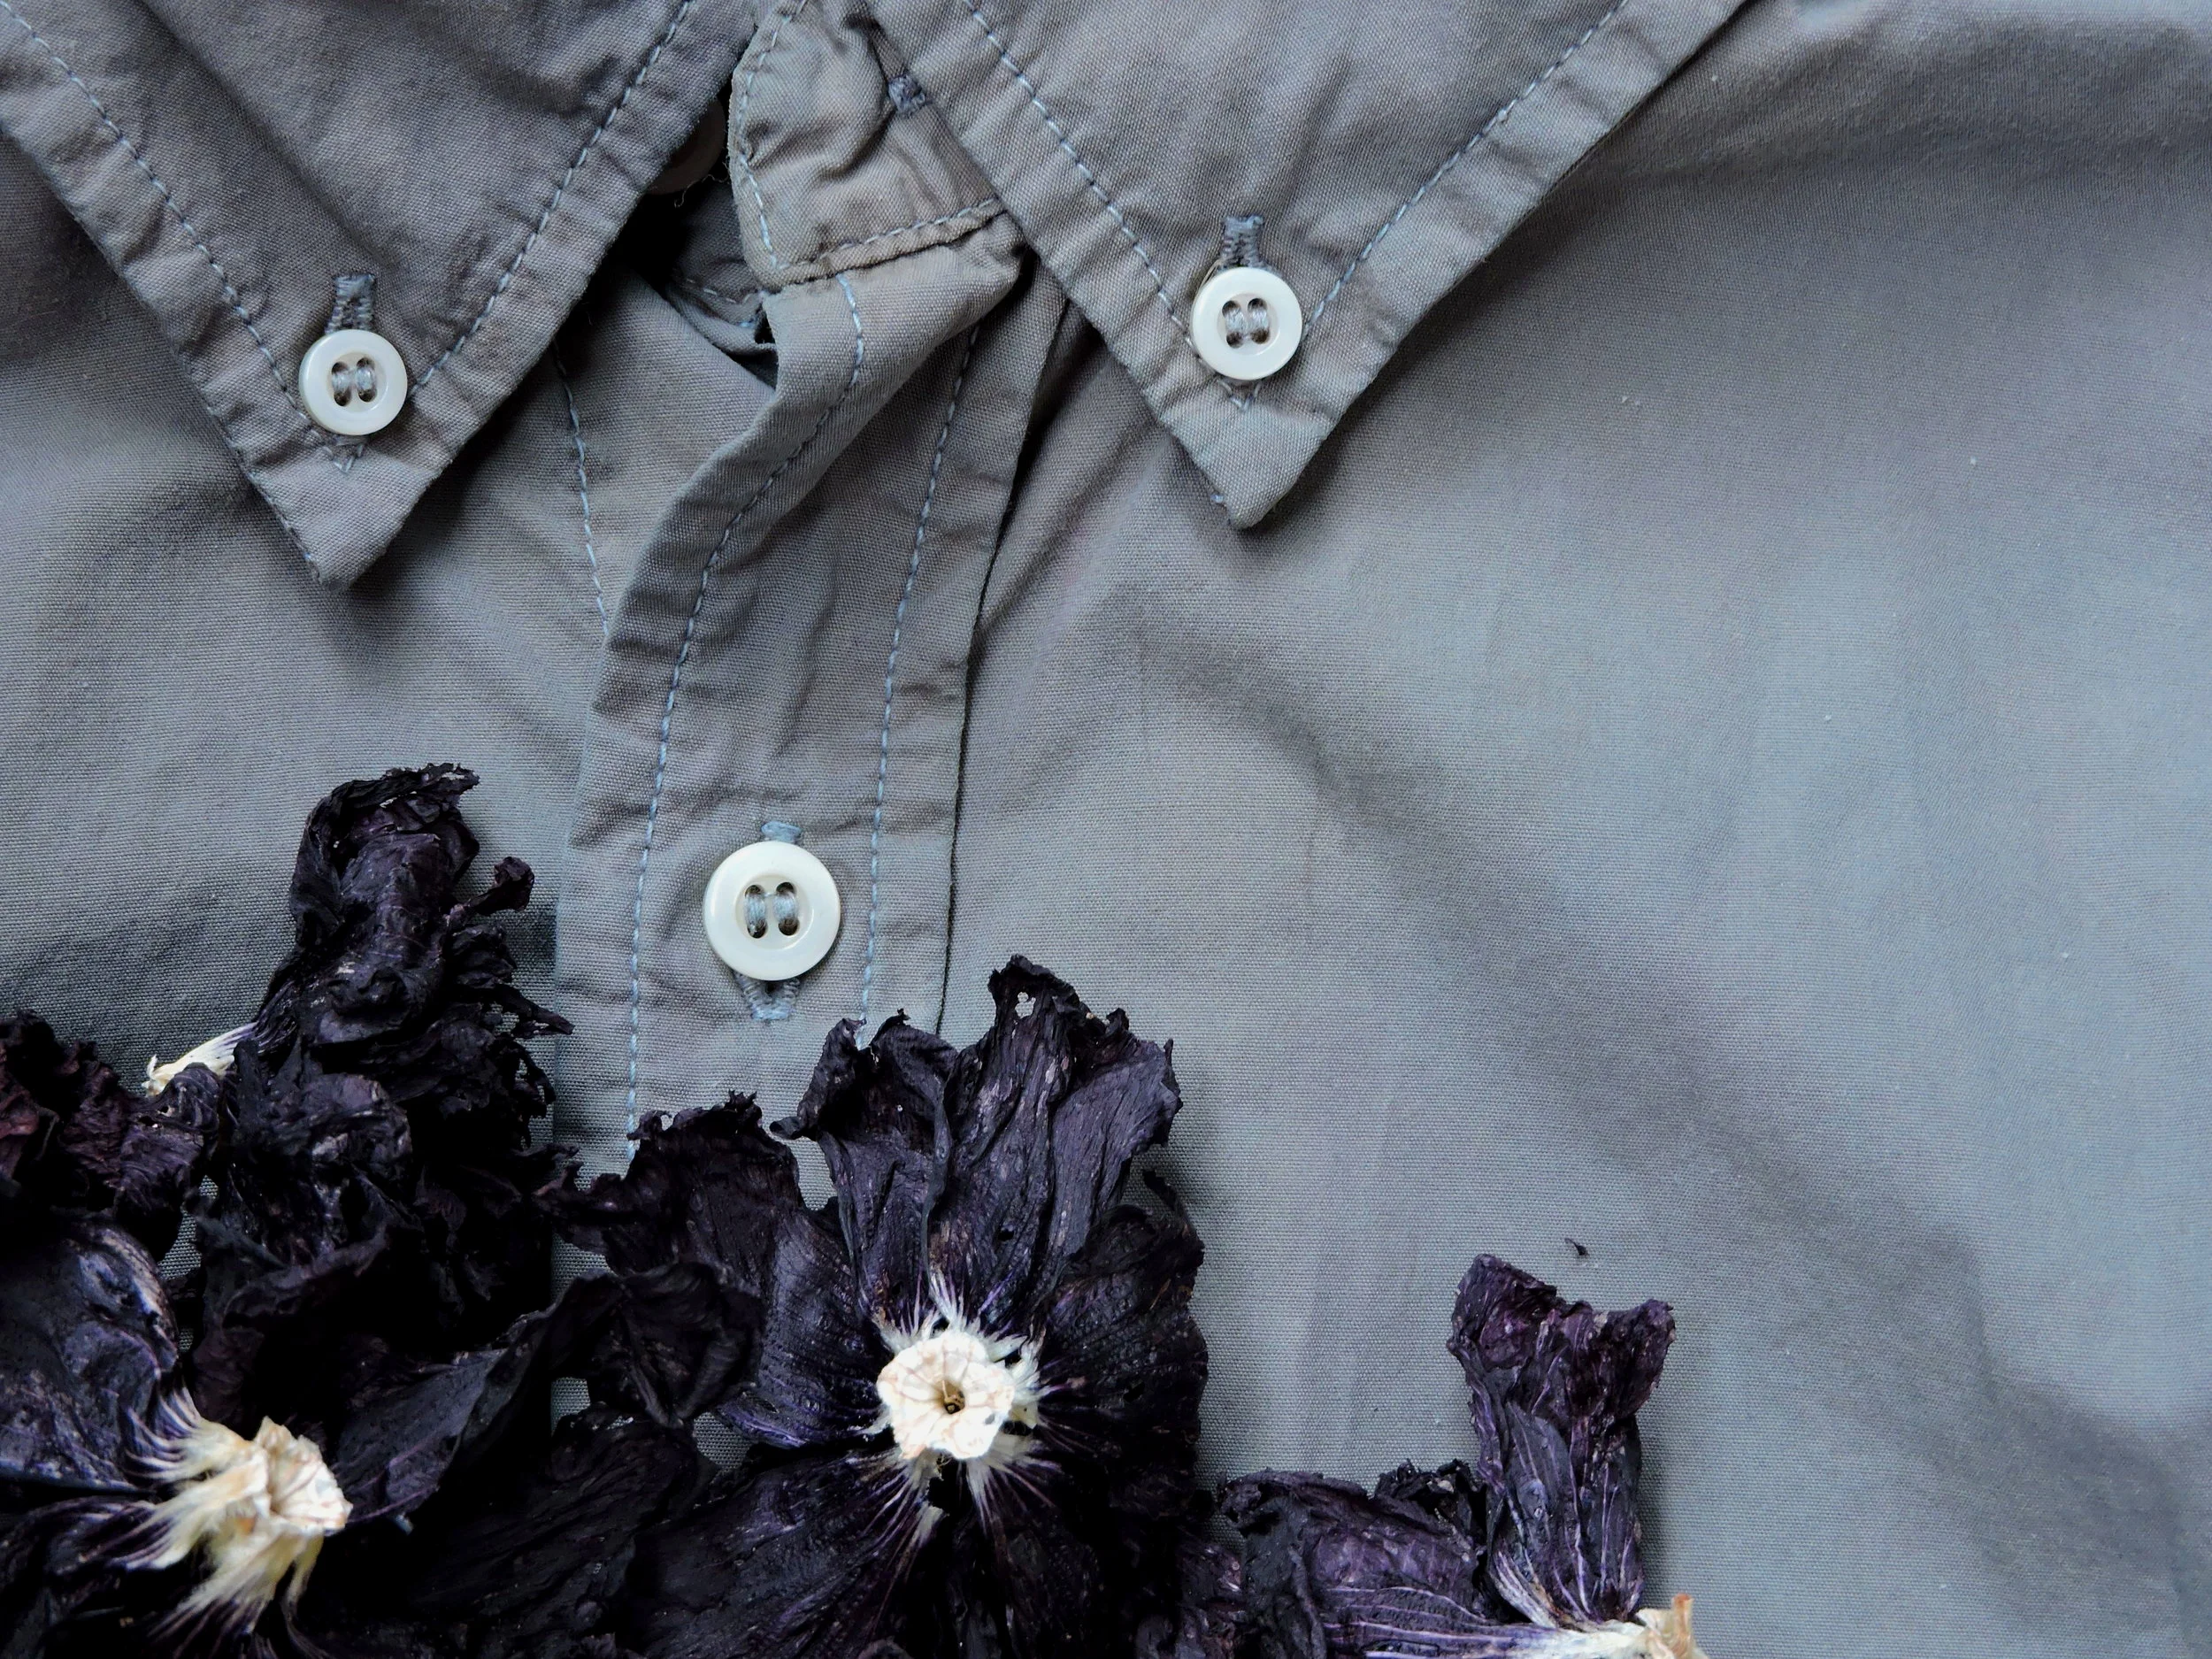
Double Black Hollyhock (Alcea rosea) is definitely a showstopper in the garden. The plants produce bodacious double-petaled blooms from summer through first frost. These plants are biennials with many becoming short lived perennials. Plant your seeds mid-to-late summer to form overwintering rosettes that will bloom the following year. If you start your seeds in the spring, don’t expect them to bloom within the same season (though some might)! For anyone who wants to try out the dye before committing to a biennial dye plant, we are selling dye material here.
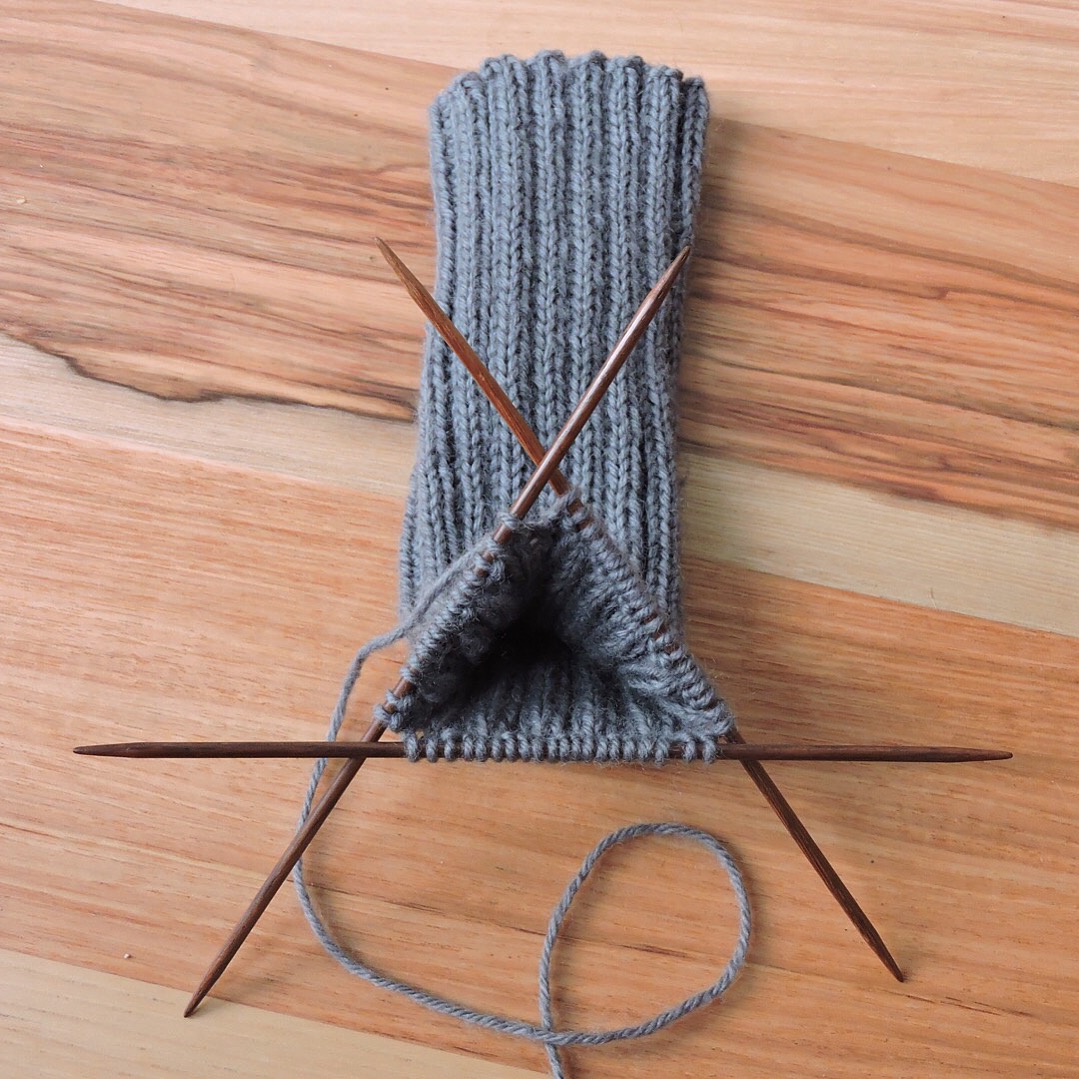
It’s a little difficult to see the color shift in the harvest shirt from the Japanese indigo version to the hollyhock version in the photo above, but if you scroll to the color spectrum at the top of this blog post, you can see the shift from a warm lavender color to a cooler color with blue-green tinge. On white cotton bandanas, I’ve received lovely greenish gray and sage hues, and on wool (like the sock-in-progress below), you can get lovely bluish-green, gray, teal, sage, and a whole range of other colors depending on pH and mordant. The sock below had 10g of petals for 100g of fiber with an aluminum sulfate/CoT mordant. (Our tap water is slightly alkaline.)
We harvest our flowers after they have dried on the plant but would recommend harvesting fresh flowers to dry in dehydrators if you live in a humid area. Fresh flowers often have honey bees digging throughout the lush petals, so like I mentioned with the ‘Shades of Gold’ marigold, be careful for buzzing while harvesting!
a few more lives
I’m excited to see what life this shirt still has in it! It’s definitely one of those pieces that passes the KonMari method, and will stay with me until it’s just a pile of rags. I think the next transition will be a cool brown color by over-dyeing with walnuts, followed by some experiments with gypsywort in a few months. I’m already excited to see what 2019 brings to it!
Comment below with questions about my process or with your favorite over-dyeing color combos!